Deck Stain
DIY Projects -> home improvement -> yard
protect your wood deck from the elements
enhance the lifespan of your deck with proper prep and stain
project by Kevin Sherrod
Disclosure: This site contains affiliate links. As an Amazon Associate, I earn from qualifying purchases. Clicking on links, and purchasing products, may result in the seller paying us compensation at no extra cost to you. Affiliate links are in green.
After the bulk of our Northwest cottage remodel was completed, it was time to take on the deck project.
Also see:
Lifestyle Blog
Remodel Projects
Fence Projects
Yard & Exterior Projects
Save Your Deck
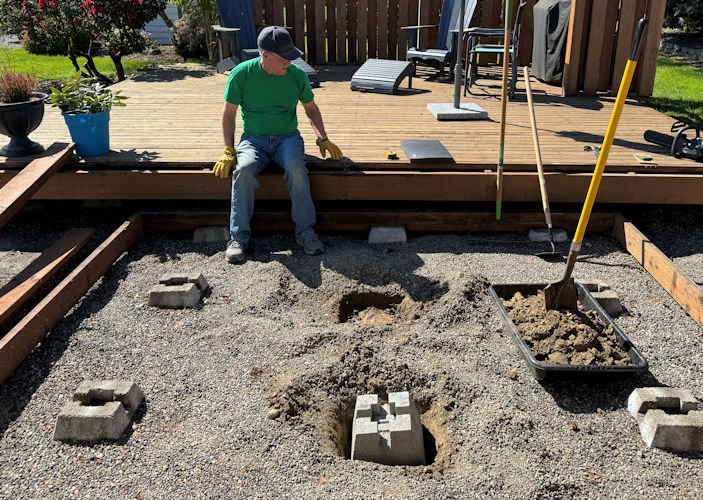
When we first purchased our home in the Pacific Northwest, we knew that the upper deck needed a new stain. It was in good shape, otherwise. The lower deck, however, would need to be replaced. Boards were rotted through.
Don’t let your deck get to that point! Proper maintenance can greatly enhance the lifespan of a wood deck.
The west coast area of the Pacific Northwest environment can be quite harsh on wood. Hot, dry summers. Misty, foggy, damp fall and spring. Ice and snow in winter.
We knew we would need a stain that would hold up to harsh weather conditions.

PROJECT SUPPLIES
General Painting / Staining Supplies tape, sandpaper, paint brushes, stir sticks, paint can opener, drop cloths for surrounding shrubs
Work gloves or gloves to protect hands if using oil base stain
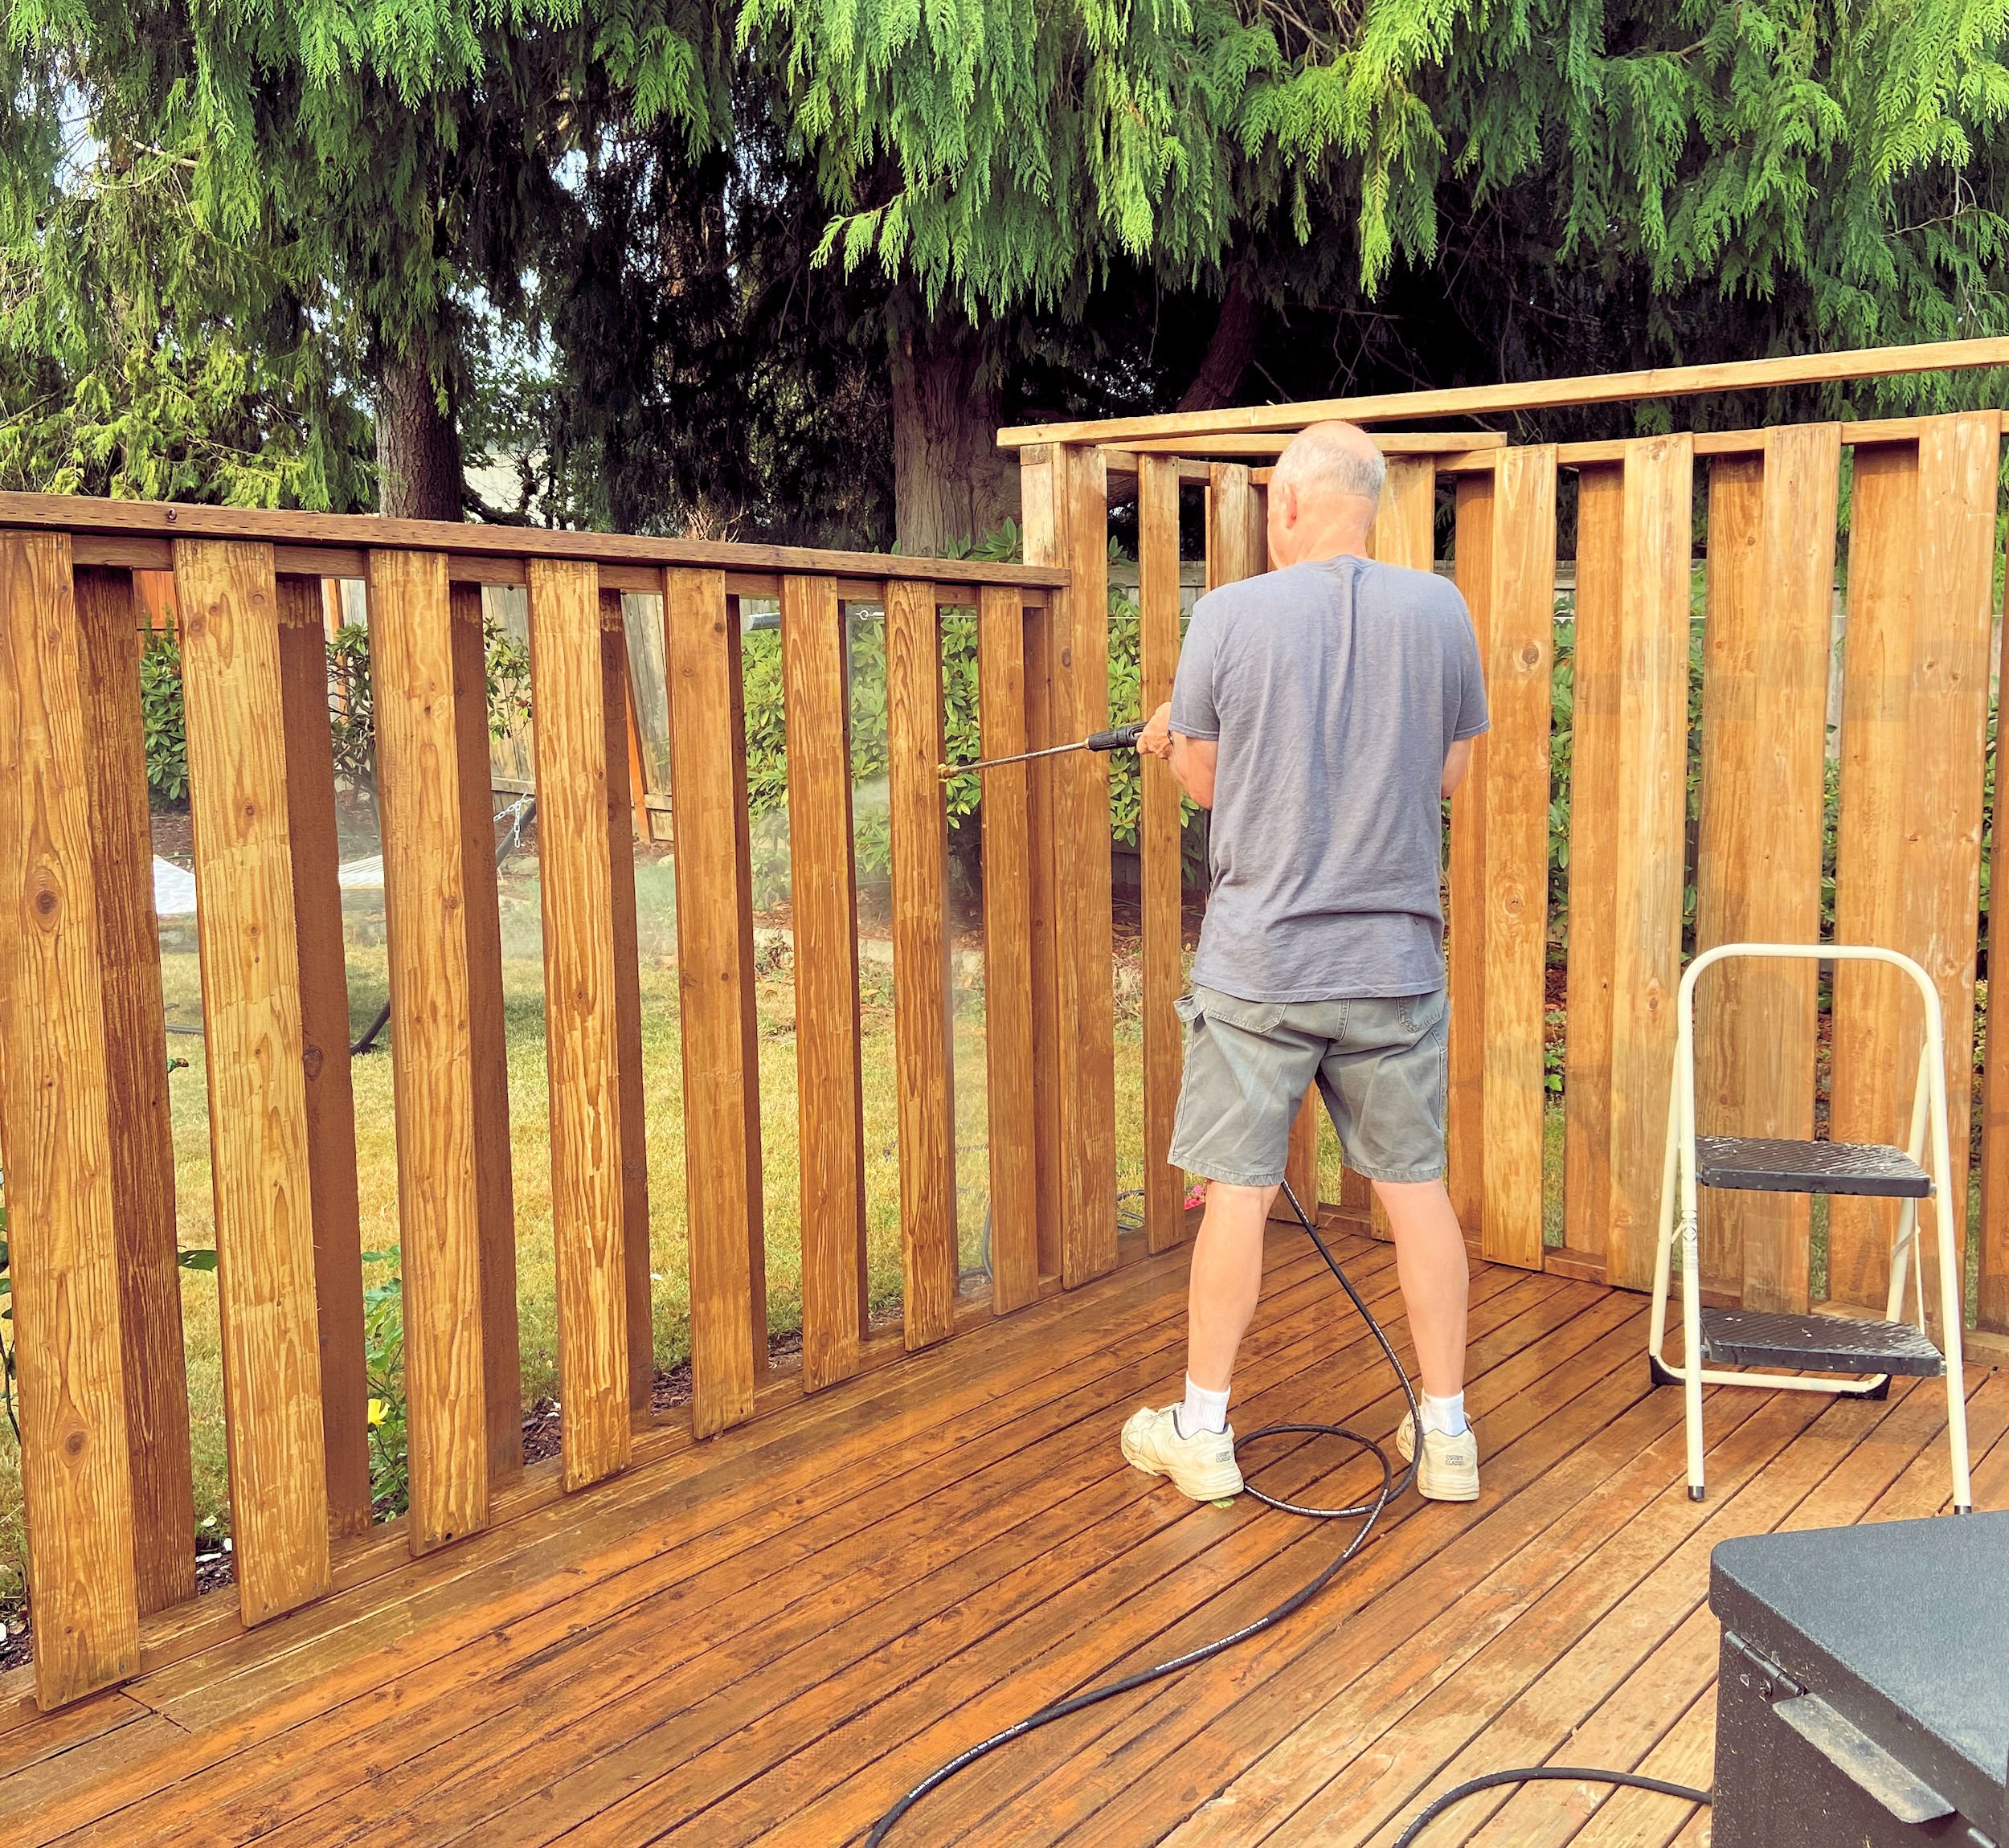
Pressure Washer you can also use a yard hose, but the pressure washer does a better job – use a brush as needed as well
Garden sprayer I used a small hand held lawn and garden sprayer for the stain
Stain
On our first attempt, we tried a stain from a local paint store. It didn’t hold up. It looked great the first season, but two summers later we knew it would not protect our deck through another winter.
This time, I chose Olympic Elite Stain and Sealant. We are not affiliated with the company in any way. I am listing their stain because I have been very happy with it. Olympic Elite stains and seals, which I like - no need to apply a separate sealant.
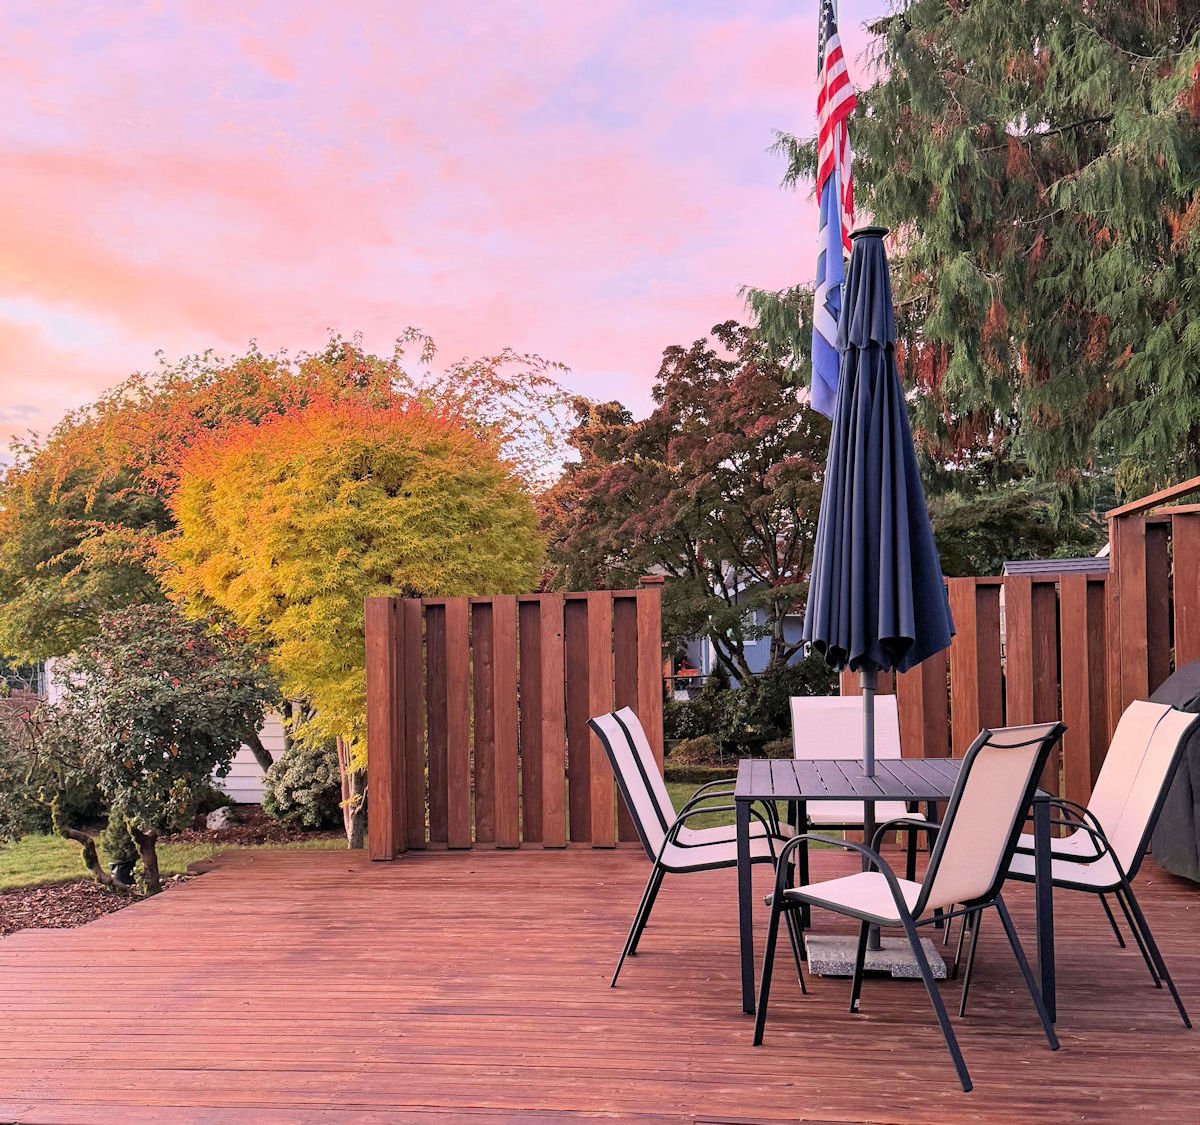
As you can see from the photo, I got the job done in late fall - just in time before the rainy season hit.

Preparation For Staining
The first step is to clean the deck. I did this in three steps.
Use a leaf blower to remove loose debris
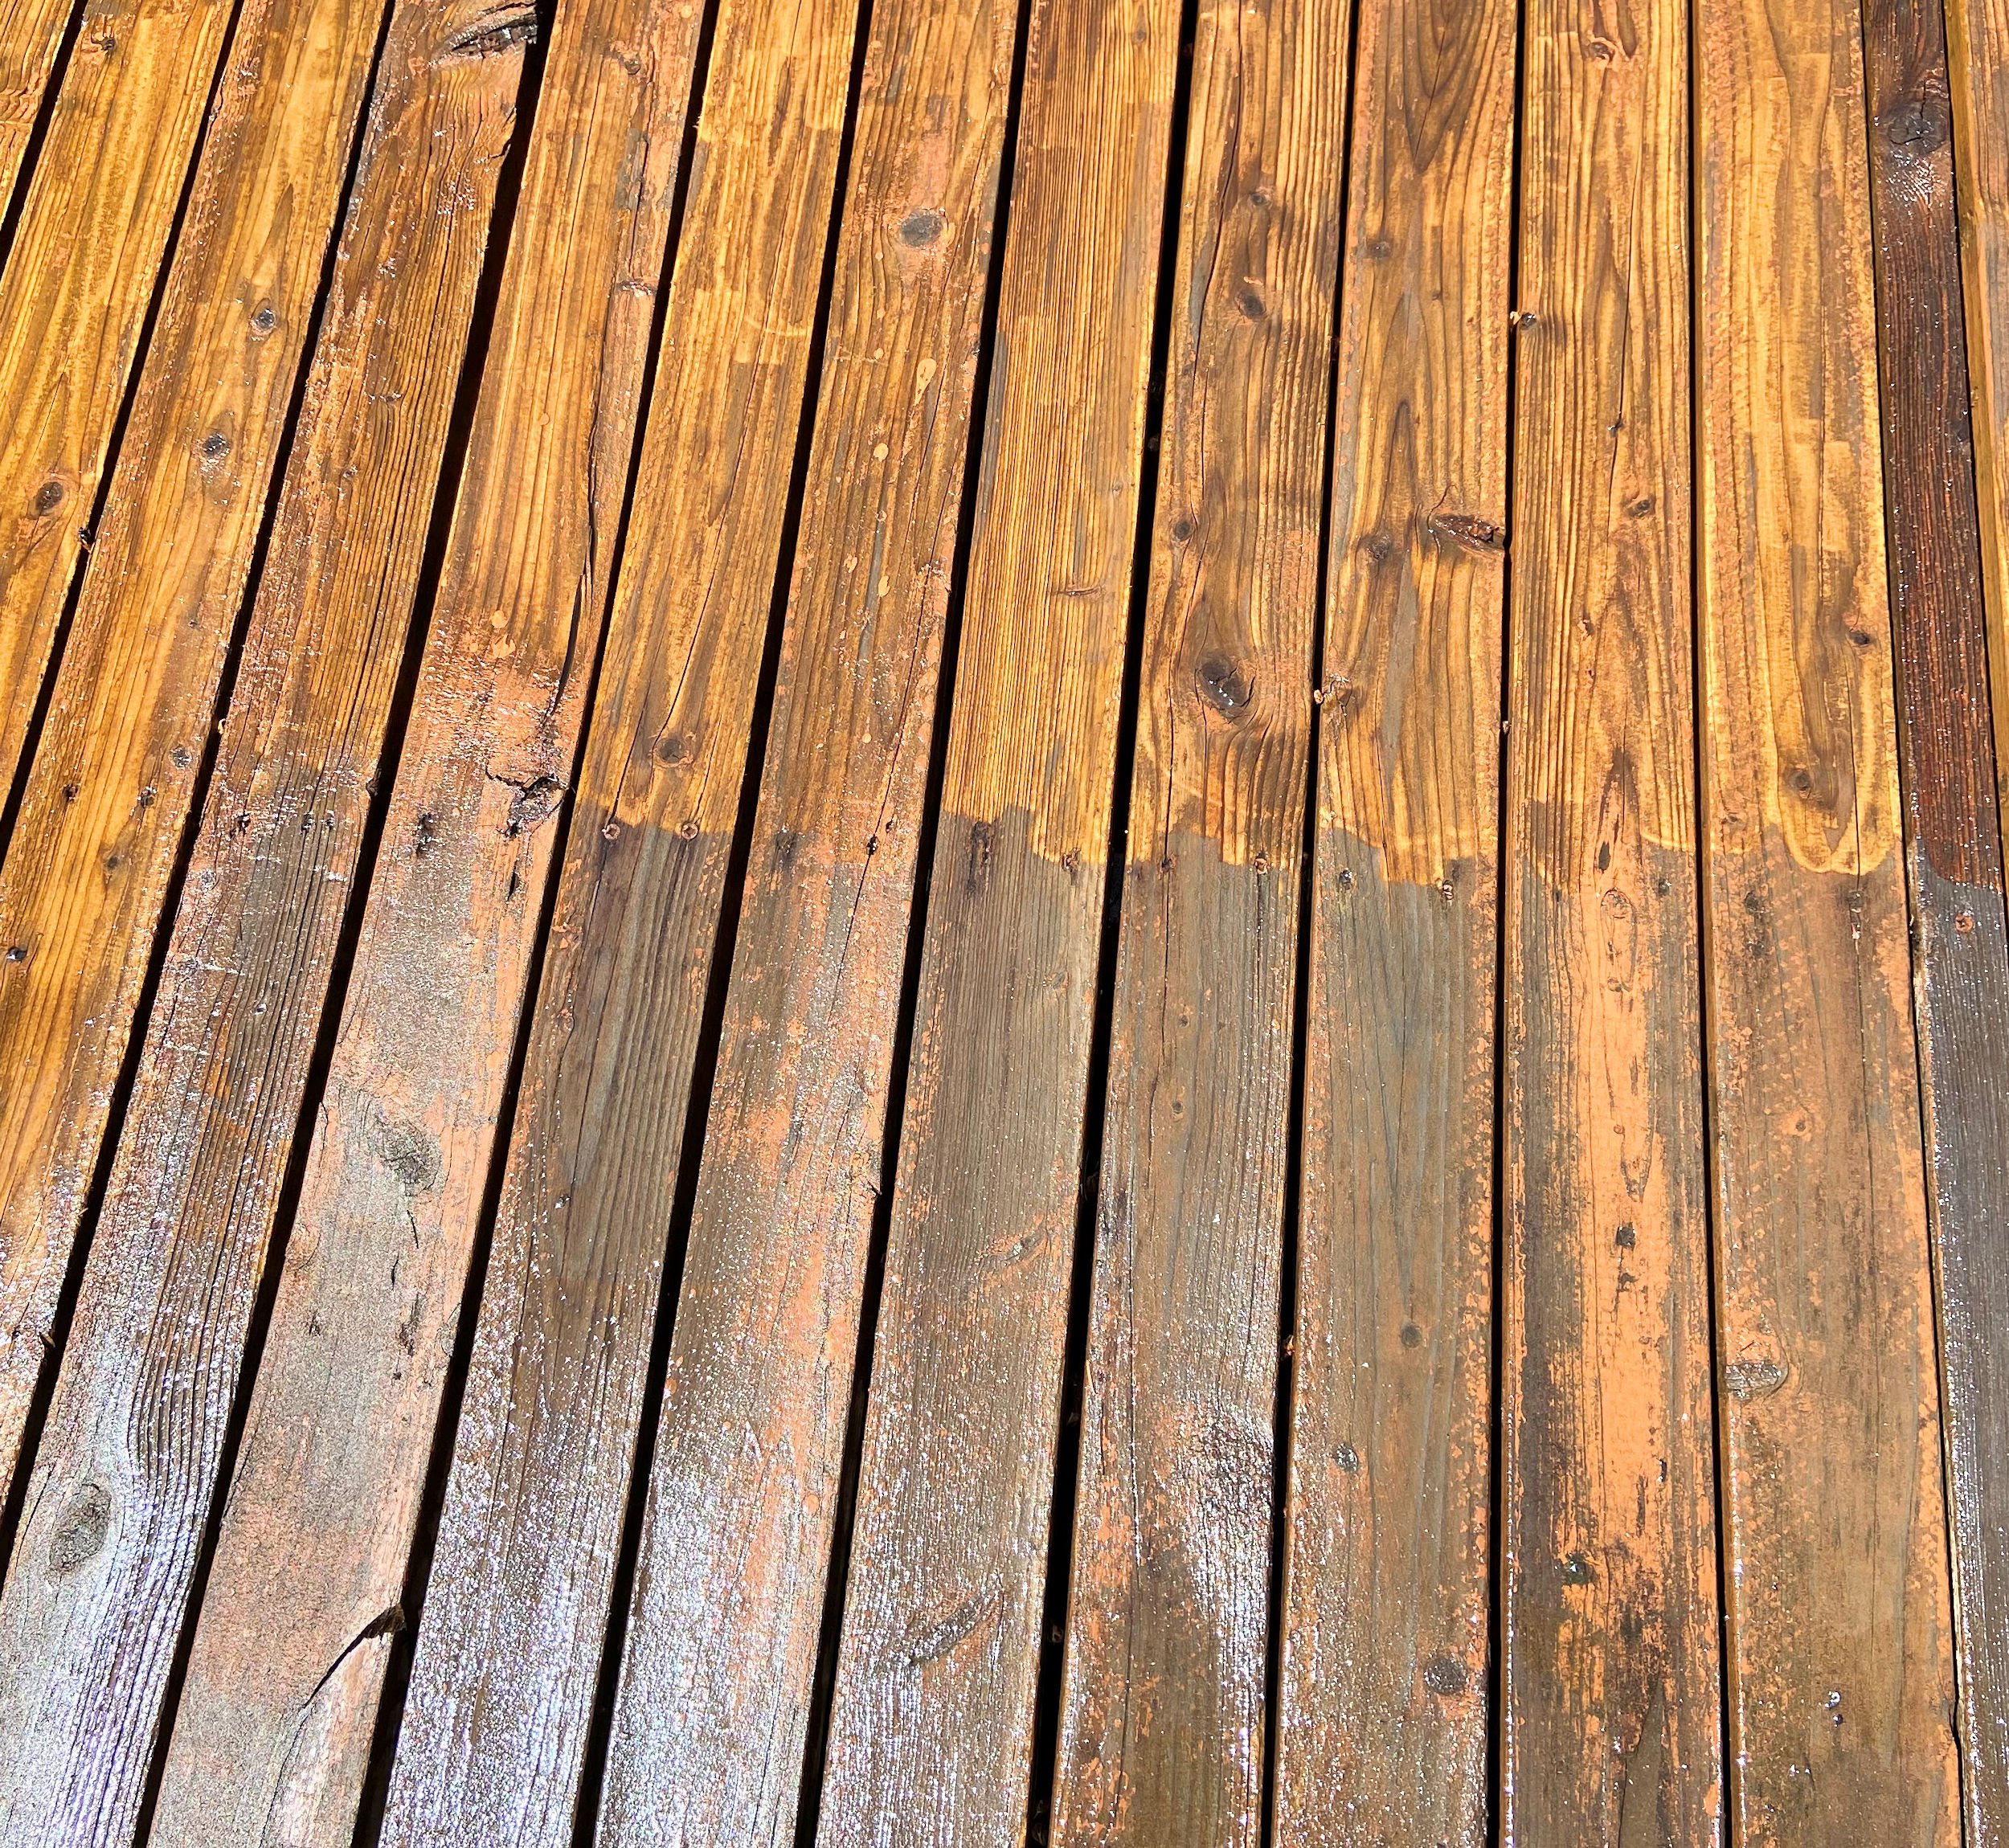
Pressure wash all wood to be stained
Sand or repair/replace any loose or rough areas
The pressure washer removes dirt, moss, and other build-up from the wood.
Allow the deck to dry completely before staining.

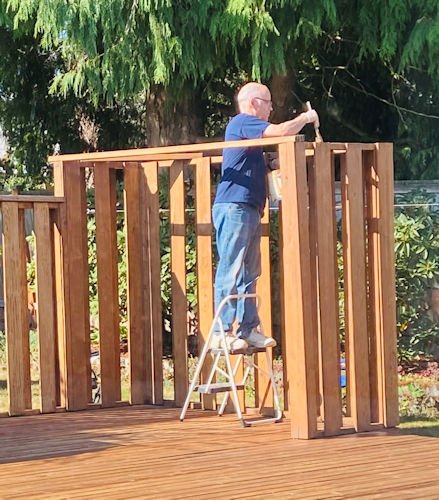
Apply Stain
After the deck has completely dried, it is time to apply the stain.
FOLLOW ALL INSTRUCTIONS ON THE CAN OF STAIN YOU CHOOSE. USE PROTECTIVE CLOTHING, MASK, EYE PROTECTION, GLOVES.
Before staining, I used a leaf blower again to remove debris that had fallen onto the deck while it was drying. About a week passed between pressure washing and staining, so a bit of debris had gathered.
Spraying vs Hand Painting
I used a garden sprayer for most of the deck. It was the same type of hand held sprayer used for bug spray. It worked well.
I applied two coats of stain.
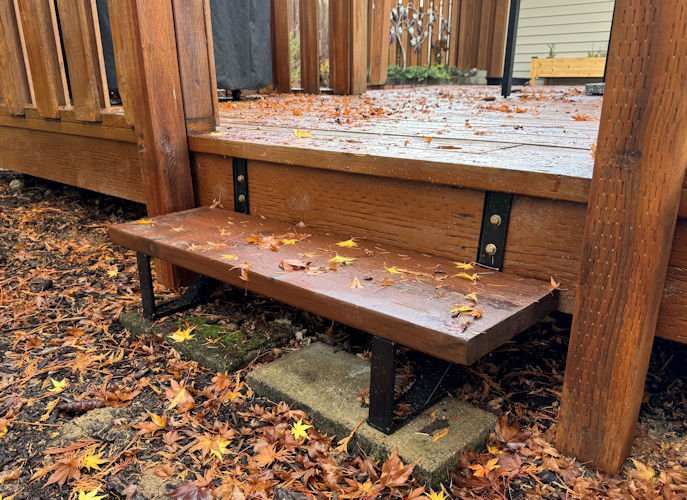
I also hand painted some smaller areas and grooves that the sprayer wasn’t able to get stain into. The little “cubby” area shown in the following photo is the space that holds my grill. It helps protect the grill during windstorms.
Results
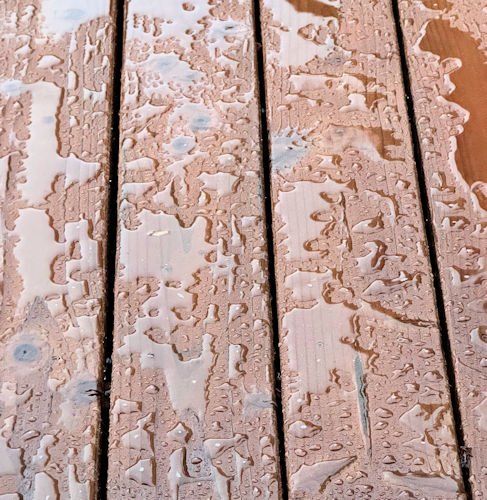
I’m very happy with the deck stain/sealant. The water beads up on the deck. We didn’t see that on the previous stain.
Steps & Access To Garden
I also decided to add an opening and steps along the back fence of the deck. This allowed better access to the part of the yard beyond the deck.
To see how that was done, go to: Deck Fence Opening
To learn how to paint a chain link fence, go to: Paint A Chain Link Fence
Yard & Garden


Lifestyle Blog - hiking


There is nothing like hearty butternut squash soup to add warmth to a cold, blustery day. Learn our secrets for creating an easy, flavorful soup.