Basket Weave Lap Protector

DIY Projects -> sewing -> crochet
Lap Protector, Blanket, Scarf
front post double crochet / back post double crochet
basket weave stitch design
Disclosure: This site contains affiliate links. As an Amazon Associate, I earn from qualifying purchases. Clicking on links, and purchasing products, may result in the seller paying us compensation - at no extra cost to you. Affiliate links are in green.
Also see:
Lifestyle Blog
10 Easy Sewing Projects
Kitchen Projects
Embroidery & Crochet
This project a soft 4 oz yarn. My kitchen scrubby used fine cotton yarn (see Supplies below for more detail).

lap protector, trivet or blanket block
Lap Protector Weave Crochet Pattern
We ALL need these! After seeing my woven trivet, a friend asked me to create a “lap protector” for placing on her lap as protection against a hot or cold dish. I had never heard of a lap protector (I just grab a wash cloth or towel). Her old, knitted lap protector had worn out, and she loved my sampler. What a GREAT IDEA! Not only would it be nice for her (and for myself), this would make a quick-and-easy gift for anyone.
I whipped up the blue square for her - shown below. This square was made per my directions in this post EXCEPT that I added a row of dc (double crochet) all the way around the outside perimeter. I added that after the piece was completed. Each side contains 26 dc, with a ch-2 in each corner. I think it creates a more finished look.
With the added row of dc around the perimeter, the piece measured 8.5” square. I used a size I hook, and 4 oz acrylic yarn. These are SO MUCH NICER than an old dish cloth! I use mine all the time now.
NOTE: This protects a person’s lap the way a wash cloth would, and it is NOT insulated. It would NOT protect a person from a really hot dish, such as directly out of the oven.
Size
The finished woven square, with dc border, measures 8.5” square. It contains 4 sets of weave (each set being 3 FPDC and 3 BPDC).

lap protector woven crochet
Follow our printable recipe and tips for flavorful butternut squash soup. Use your new crocheted lap protector with this delicious soup.
WEAVE DESIGN
Front Post Double Crochet & Back Post Double Crochet
I am not showing how to create these stitches. There are numerous, very good YouTube videos that show it very clearly. This is an example. It is not my video, and we are not affiliated with the creator in any way. I like the video: video: fpdc and bpdc
fpdc: front post double crochet
bpdc: back post double crochet
dc: double crochet
ch: chain
ch 2: chain 2 for turning (this always starts the next row and is your dc that starts that new row)
Math For The Weave Stitch
Many weave patterns you follow will state that you need to start with a chain that is a multiple of 6, plus 4 extra chains. Why?? Let me explain! When I first learned this stitch, it was a bit confusing. I have simplified it for you in this article (hopefully).
Each “weave set” is made up of 6 stitches across: 3 fpdc and 3 bpdc. 3 fpdc + 3 bpdc = 6 stitches. That means that you need a multiple of 6 stitches for anything you make, such as a hot pad, scarf, etc. For example, if you want 4 weave sets across your scarf, you will have 24 stitches across. If a row begins with 3 fpdc, it will end with 3 bpdc. If a row starts with 3 bpdc, it ends with 3 fpdc. There is a reson for this! It keeps things easier as you create your item.
Also, it takes 2 rows to create one square box of a weave.
The following photo is a close-up of 2 rows, creating the weave pattern. On the right are two rows of bpdc; on the left are two rows of fpdc.

one weave set: 3 fpdc / 3 bpdc
You will start and end a row with 1 dc. That creates a nice edge. So, you need a multiple of 6 for your weave sets, plus a dc on each end.
Lap Protector Math
Let’s do the math. The following diagrams show my project with 4 sets across. Each weave set is 6 stitches. That means I need to start with at least 24 chains (4 x 6). I start and end the row with one dc, so that totals 26 chain stitches.
I have created diagrams for you to help make it crystal clear.
The following diagram shows the first chain to start the project. The blue chains (24) will be for my weave sets. The red chain on the left is for a dc, and the 3 chains on the right are for my first dc of Row 1.
My starting chain meets all the rules. It is a multiple of 6, plus 4 more chains. 24 + 4 = 28 chains. This will create an item that is a total of 26 stitches wide (dc, 24 weave stitches, dc).
The following diagram shows my starting chain. I will place my first dc of row one in the chain the arrow points to.


Basket weave pattern - my favorite
SUPPLIES
YARN
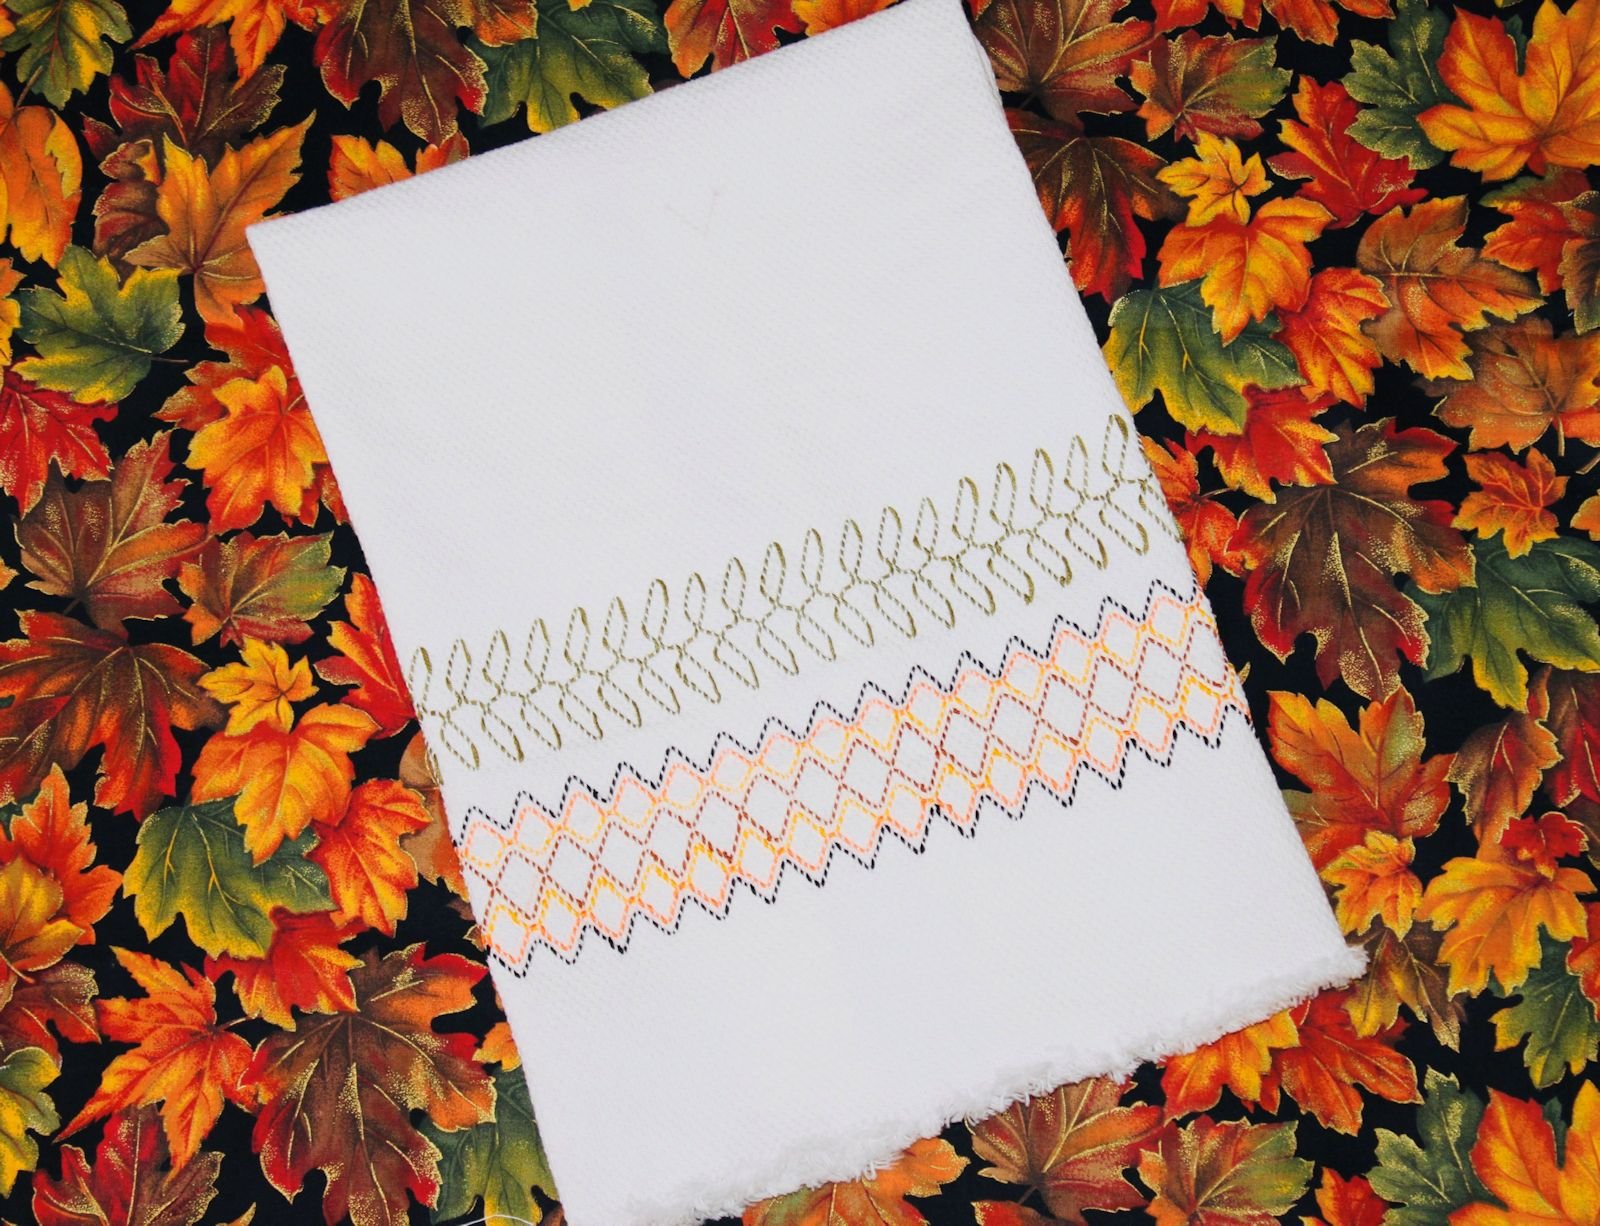
I chose Yarn Bee yarn for this project.

Main Color: I used a soft Yarn Bee. Color Evening Glow. 4 oz weight 60% acrylic / 40% polyester. I love this autumn color blend.
Crochet Hook
I used a size J crochet hook . I crochet a bit tight, so tend to choose a size larger than what patterns call for.
The important thing is to obtain the correct overall size and design that is not too tight and not too loose. The yarn you choose will state the best sized hook to use.
General Directions
You will need to start by getting your yarn onto your hook. There are many good YouTube videos on this, and illustrations on other websites. For a quick refresher, refer to my photos below.

Start by creating a loop.

Complete a “pretzel.”

Pull a the piece closest to ball of yarn onto the hook.

Tighten up the yarn ends into a knot, creating a loop on the hook.
Lap Protector: 4 sets of weave stitches
Row 1
Chain 28. DC into the FOURTH chain from the hook (remember the 3 chains on the right are your first dc for the Row 1). You now have what counts as 2 dc. dc across 24 more stitches. COUNT YOUR STITCHES. You should have a total of 26 dc (including your first that was made from chains).
The following diagram shows you where to start your first dc. If you count the blue chains that will each have a dc, the left red chain that will have a dc, and the 3 on the right that create one dc, you will see that it equals 26 stitches.
ch 2, turn
From here on, end each row with ch 2, turn.
Row 2
This starts your first row of weaves.
Your chain 2 counts as your first dc (stitch 1). Skip the first post. fpdc in the next 3 posts, bpdc in the next 3 posts. Repeat until you have 4 sets. dc 1.
COUNT YOUR STITCHES. You should have a total of 26 stitches (24 weave stitches, plus a dc on each end).
ch 2, turn.
Row 3
Your chain 2 counts as your first dc (stitch 1). Skip the first post. fpdc in the next 3 posts, bpdc in the next 3 posts. Repeat until you have 4 sets. dc 1.
ch 2, turn.
COUNT YOUR STITCHES. You should have a total of 26 stitches (24 weave stitches, plus a dc on each end).
Time For A Change
NOTE: in row 2 and 3 you started each row with fpdc, and ended with bpdc.
Now, we change things up.
Row 4
Your chain 2 counts as your first dc (stitch 1). Skip the first post. bpdc in the next 3 posts, fpdc in the next 3 posts. Repeat until you have 4 sets. dc 1.
ch 2, turn.
Row 5
Your chain 2 counts as your first dc (stitch 1). Skip the first post. bpdc in the next 3 posts, fpdc in the next 3 posts. Repeat until you have 4 sets. dc 1.
ch 2, turn.
NOTE: in row 4 and 5 you started each row with bpdc, and ended with fpdc.
Complete The Piece
Continue rows 2-5 until your desired size. Then end off and weave in yarn ends (I use a bent tapestry needle), or create one row of dc or sc around the perimeter if you want and added edge. Refer to my notes under Lap Protector above.
If you wish to add the edging, as I did, add a row of dc around the entire perimeter. You will need 26 dc per side, with a ch-2 on each corner.

Double Sided
Each side is basically the same, but you might have a favorite side. The image below shows side 1 and side 2 of my blue “lap protector.”

two sides of my woven piece
Related Projects

Snuggly Scarf
Crochet Pattern
Learn the art of huck weaving. Lesson and 2 free patterns.
Recipes


Our traditional Fattigman Day tradition. Swedish cookie making instructions with printable recipe.