Swedish - Huck Weaving

DIY Projects -> sewing -> embroidery
Learn Huck Weaving - also known as Swedish Weaving
We include 2 free huck weaving embroidery patterns plus a sheet for you to create your own pattern.
This project has been moved here from our previous site: CraftAndFabricLinks
Disclosure: This site contains affiliate links. As an Amazon Associate, I earn from qualifying purchases. Clicking on links, and purchasing products, may result in the seller paying us compensation - at no extra cost to you. Affiliate links are in green.
Also see:
Lifestyle Blog
Easy Sewing Patterns
Embroidery
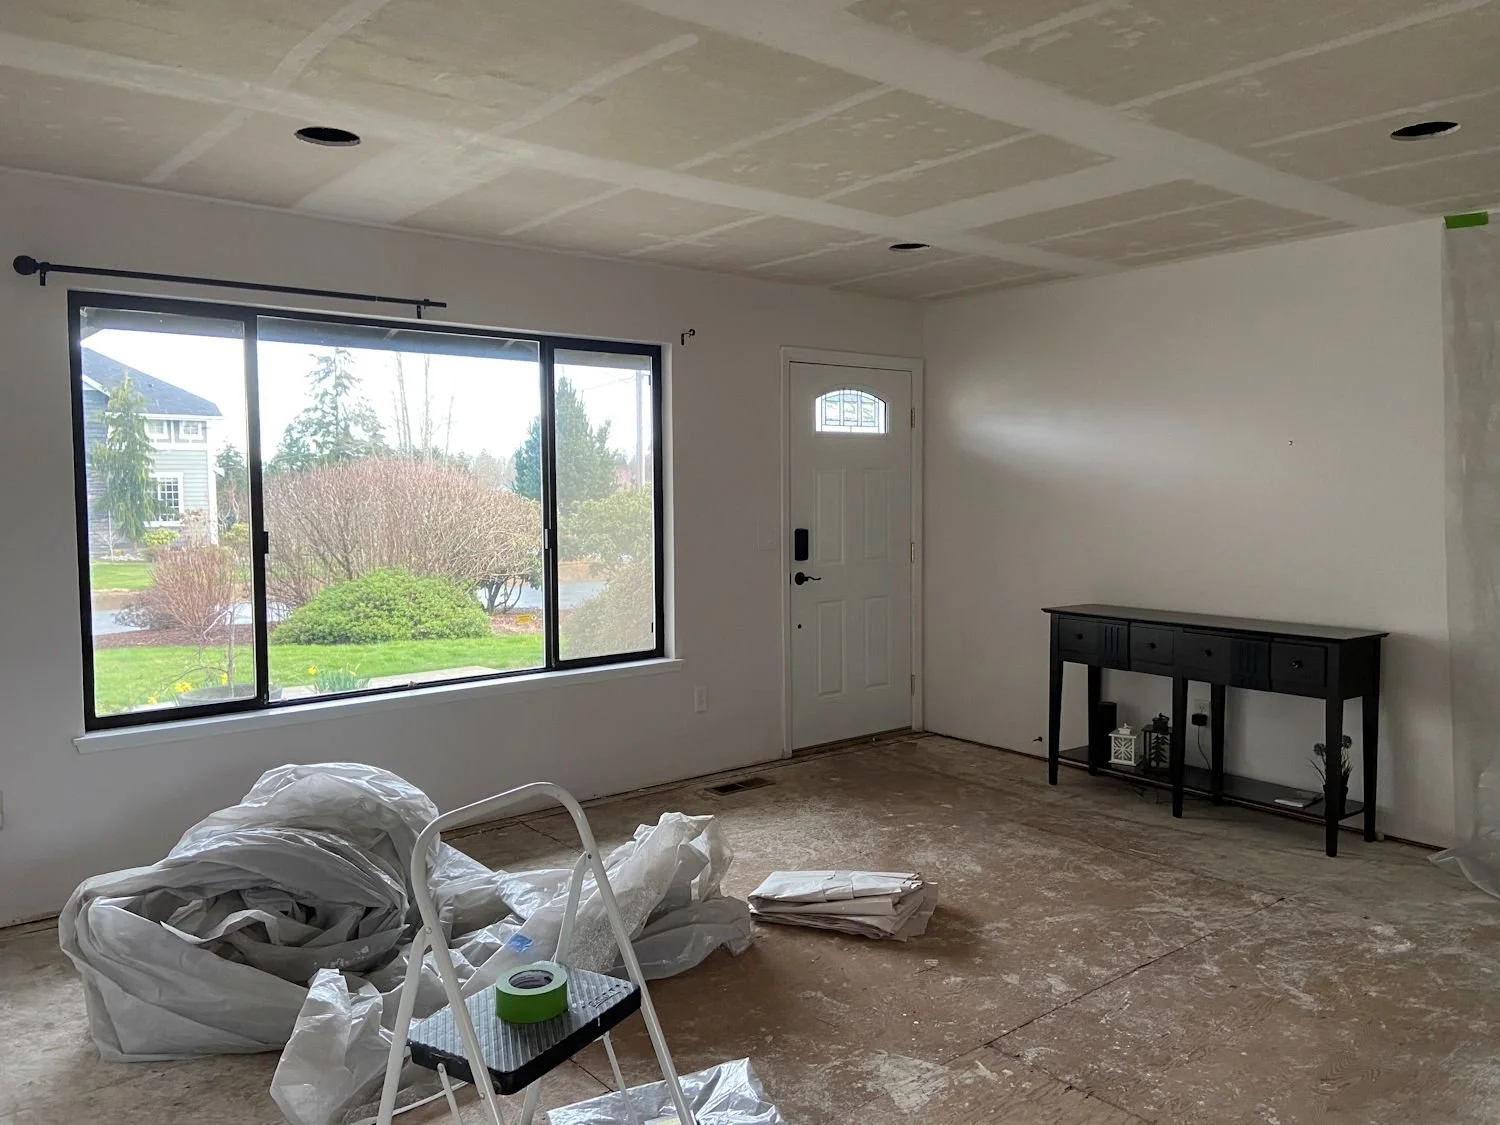
Home Improvement
What Is Huck (Swedish) Weaving?
"Huck" refers to the cloth that is used for this type of embroidery, although other types of cloth can be used as well, such as monk’s cloth. Toweling that comes on a roll (such as sometimes used in public restrooms) is usually huck cloth.
Huck weaving uses the vertical threads, called "floats", on one side of the cloth, or the horizontal floats on the opposite side of the cloth to create beautiful designs. The floats sit on top of the cloth. A stitch pulls the embroidery floss through the vertical or horizontal floats, so the pattern shows on one side of the cloth and not the other. The choice of vertical vs. horizontal floats is based on the design. For my design, vertical floats were used.
Towel Size
3/4 yard of huck toweling will make one towel (see “Supplies” below for information on where to find the fabric). The towel would be approximately 16" wide (huck toweling is usually 16" wide). Embroider one end, and then fold the towel over (when placing it onto towel bar for display).
EMBROIDERY PATTERNS
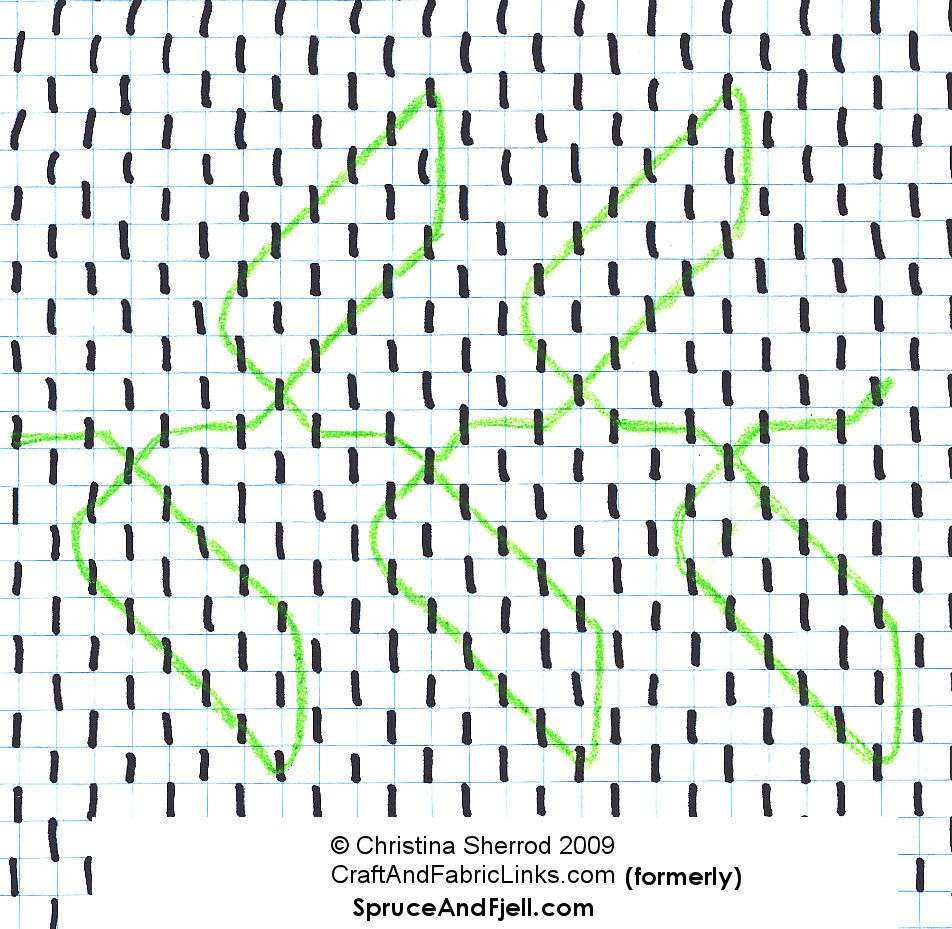
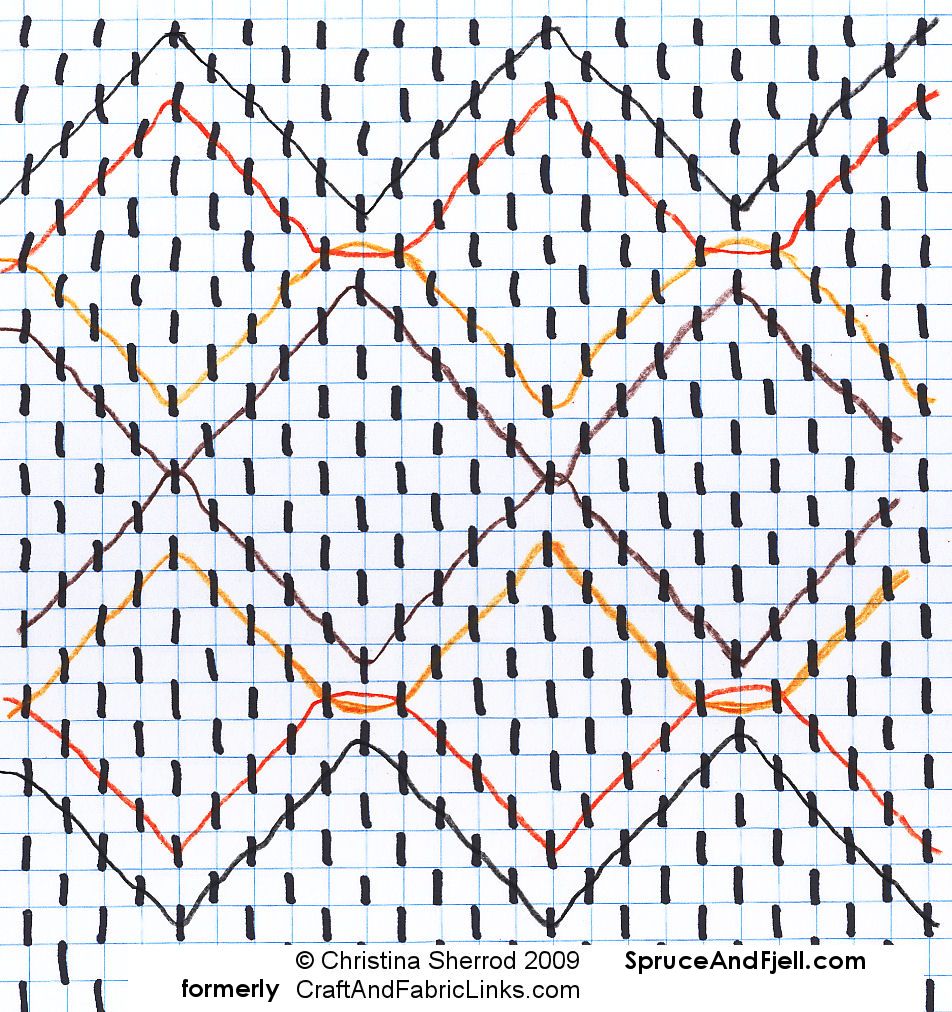
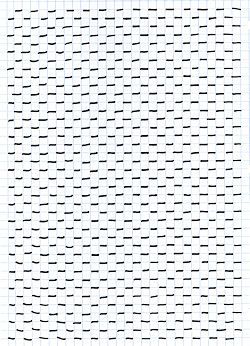
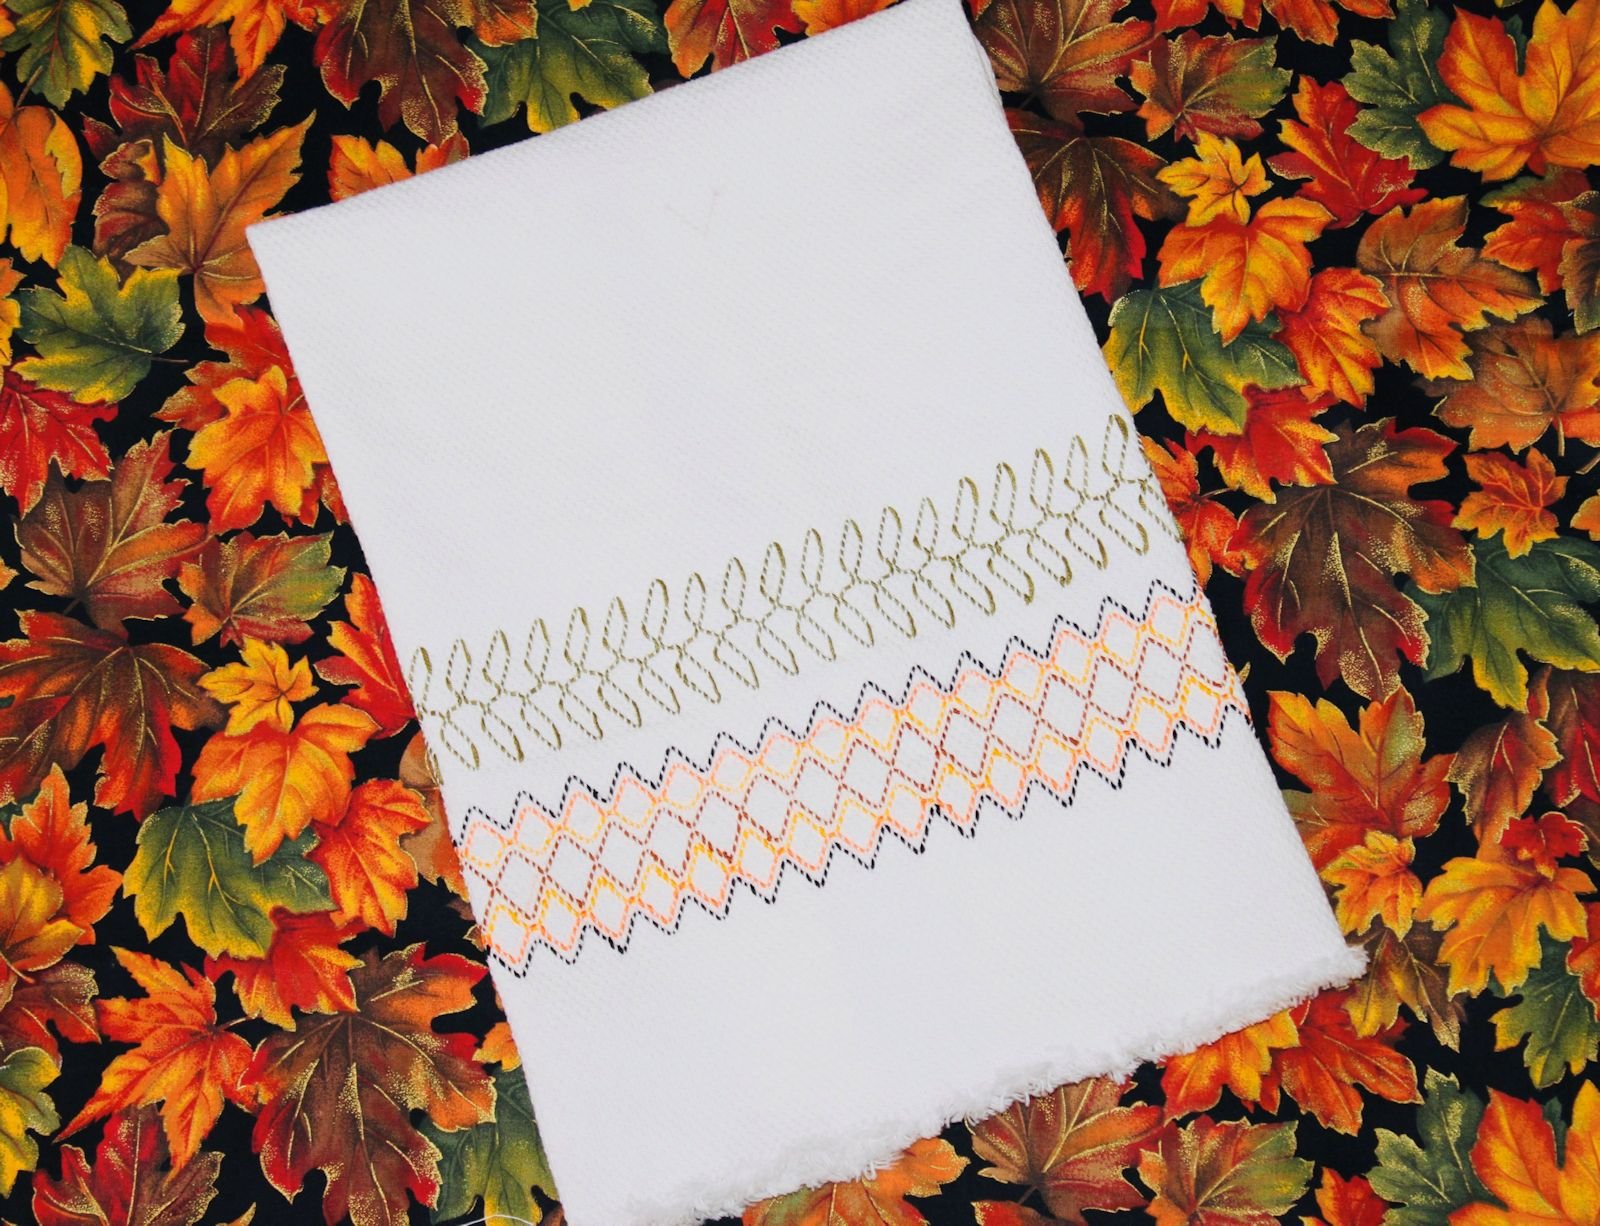
I provide free patterns for both the green leaves and diamonds (shown in the photo above and below), as well as a free template. Click the links below; they are all jpg files and can be saved, or printed, then copied to the size you need. FREE HUCK WEAVING TEMPLATE: Use colored pencils to draw your own design. Print the template and make as many copies as you need.
Swedish Weaving cloth (I use huck toweling - others use Monk’s cloth)
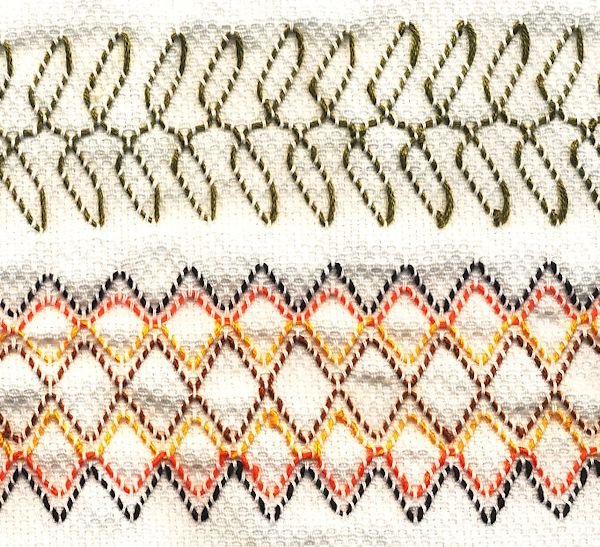
Huck Weaving: Leaves & Diamonds

Our Etsy shop helps support this site, allowing us to continue to provide free content. Northwest and Scandinavian inspired original watercolor paintings. Tabletop and wall size - perfect for smaller spaces.
SUPPLIES - Project Supplies
Check Amazon for prices. Affiliate links are green.
choose your own colors: I will refer to colors I used
3/4 yard of huck toweling ( this will make one towel)
Note: You may be able to find huck towels that are finished and ready for embroidery.
Amazon carries many Huck Embroidery Books featuring lessons and patterns.
Huck cloth is difficult to find. Amazon sometimes carries it. You can also do Huck Embroidery using Monk's Cloth - Monk's cloth is much easier to locate. It is similar to huck cloth and will work for Swedish weaving.
(You can also use #5 perle cotton): I used DMC 6-strand embroidery floss. One skein is 8 m (8.7 yd). I used one skein each of the following colors:
3011 - green
310 - black
970 - orange
975 - brown
972 - gold
SUPPLIES - GENERAL SEWING SUPPLIES
rotary cutter and cutting mat makes cutting straight lines a snap
large clear sewing ruler I can't say enough about large rulers – I use them in my home remodeling and art projects as well
straight quilting pins (optional) quilting pins are larger than regular pins, so are easier to see
spring action fabric scissors regular and micro tip – I use both; the spring action is a huge assistance when doing a lot of cutting
thread most of my thread is on large serger cones – very economical

Preparing Huck Cloth For Weaving
Usually, huck cloth comes 16" wide, with 15" area for embroidery. It is nicely finished on the sides that will be the long sides of the towel.
Prepare For Straight Rows
Stitches are done in rows, so you need to be sure that the fabric is cut straight. To do this, flip the cloth to the back side (side with horizontal floats) and use a seam ripper to cut one horizontal thread on the bottom and one horizontal thread on the top of the fabric piece. Pull this thread out, all the way across. This gives you a visible line that is one horizontal thread across the fabric. Cut the fabric on that line. Cut across the top and cut across the bottom. Don't worry if the fabric doesn't appear to be straight. You can pull it into shape. The important thing is that the cut is on one straight line of fabric thread. OR, if you have good eyes, use your vision to cut across the width by cutting along one even line of thread. NOTE: the photo below right shows the thread being pulled from the top side (vertical float side). It is actually easier to do from the back side.
NOTE: Cutting across the width along a thread is not crucial, but think of it as you would cross stitch. Your design will be done exactly on the lines, by counting vertical floats. Your design will run across the fabric in a straight row. If the top and bottom edges of the fabric are cut at a slight angle, the top and bottom edges will appear a bit crooked. When purchasing your fabric, purchase a bit extra because the seller will simply cut straight across - not paying attention to the actual weave. The towels do not have to be exactly 18" in length, so if you lose a bit by evening up the top and bottom, that is OK, but if you need an exact amount (such as for a quilt block) purchase extra fabric.

Wash & Dry Fabric
Wash and dry the fabric. The ends will fray. This is fine. You can leave the frayed ends as is when finished or add a hem.
Mark The Center
Decide where you want the enbroidery row to be. Fold the cloth in half, lengthwise, to mark the center of the row. Place a pin on the center float. I counted the floats on each side to be sure my pin was in the exact center.
Start Stitching
The top of my green leaves are approximately 6" up from the bottom edge. The top of the black diamond peaks are approximately 4.5" up from the bottom edge. Use the leaf pattern, the diamond pattern, or both.
Cut a piece of green embroidery floss 5 times the width of the fabric. Cut the other colors 4 times the width of the fabric. Thread the tapestry needle and pull the floss through the center float until HALF of the floss is through the float. Leave the tail of the floss. You will work from the center to the left, then turn the fabric and work from the center to the right.
NOTE: There are different methods for huck weaving. I learned the above method - working from the center to one side and then the center to the other side. Many people start in the lower right corner and work their way across. Experiment and choose the method that works for you. I like the first method because I can be sure that my design will be exactly centered (as long as I start in the center float).
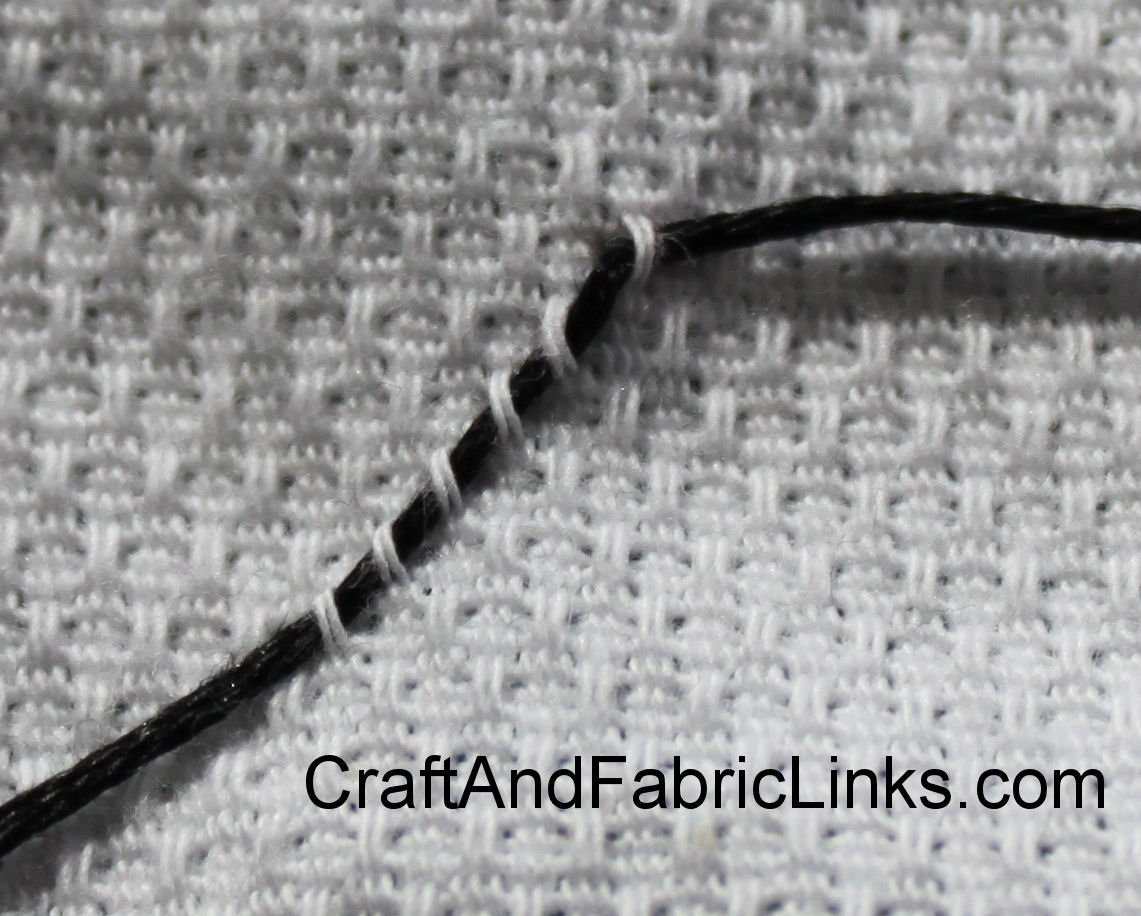
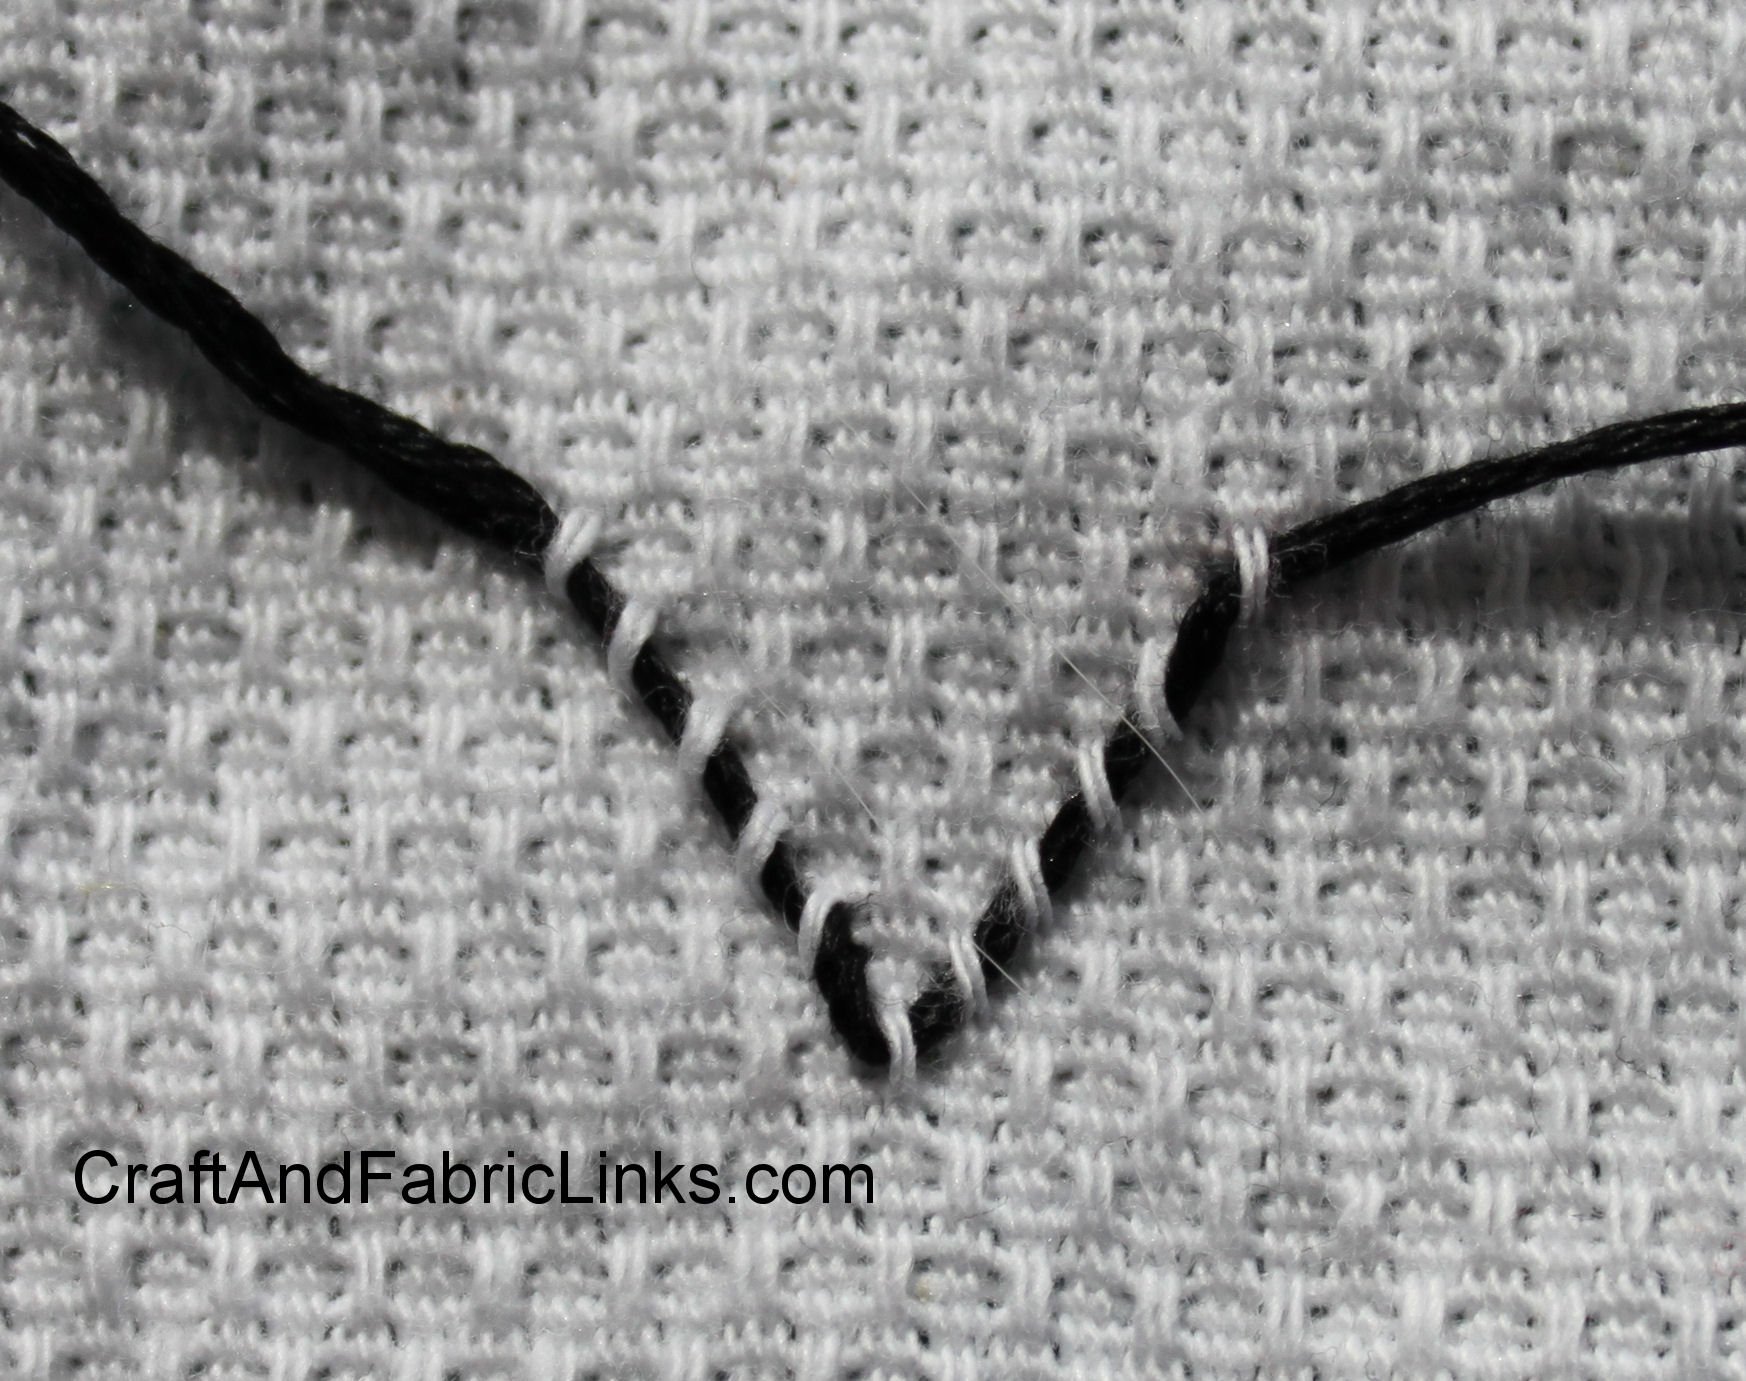
Follow the pattern for leaves. The photos below show the start of the diamond stitch. The leaf pattern is made the same way. Simply weave through the loops (floats) to create the pattern.
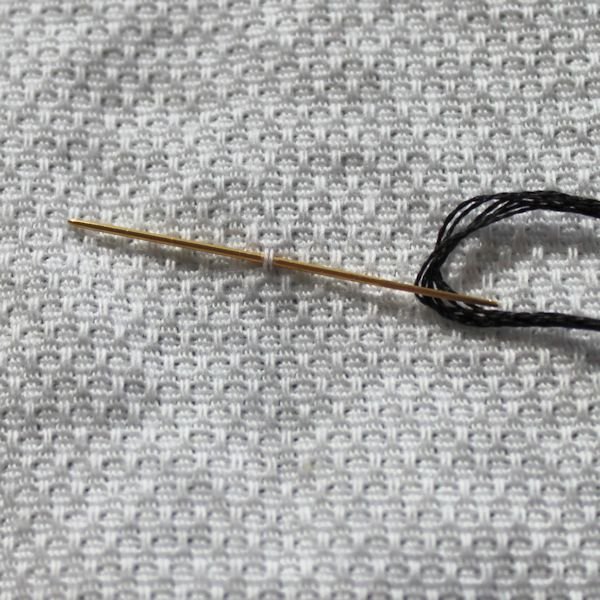
First stitch
Note: the following photos are from our previous site: CraftAndFabricLinks.
Click the following 4 photos for larger image on mobile device.


Finishing A Row
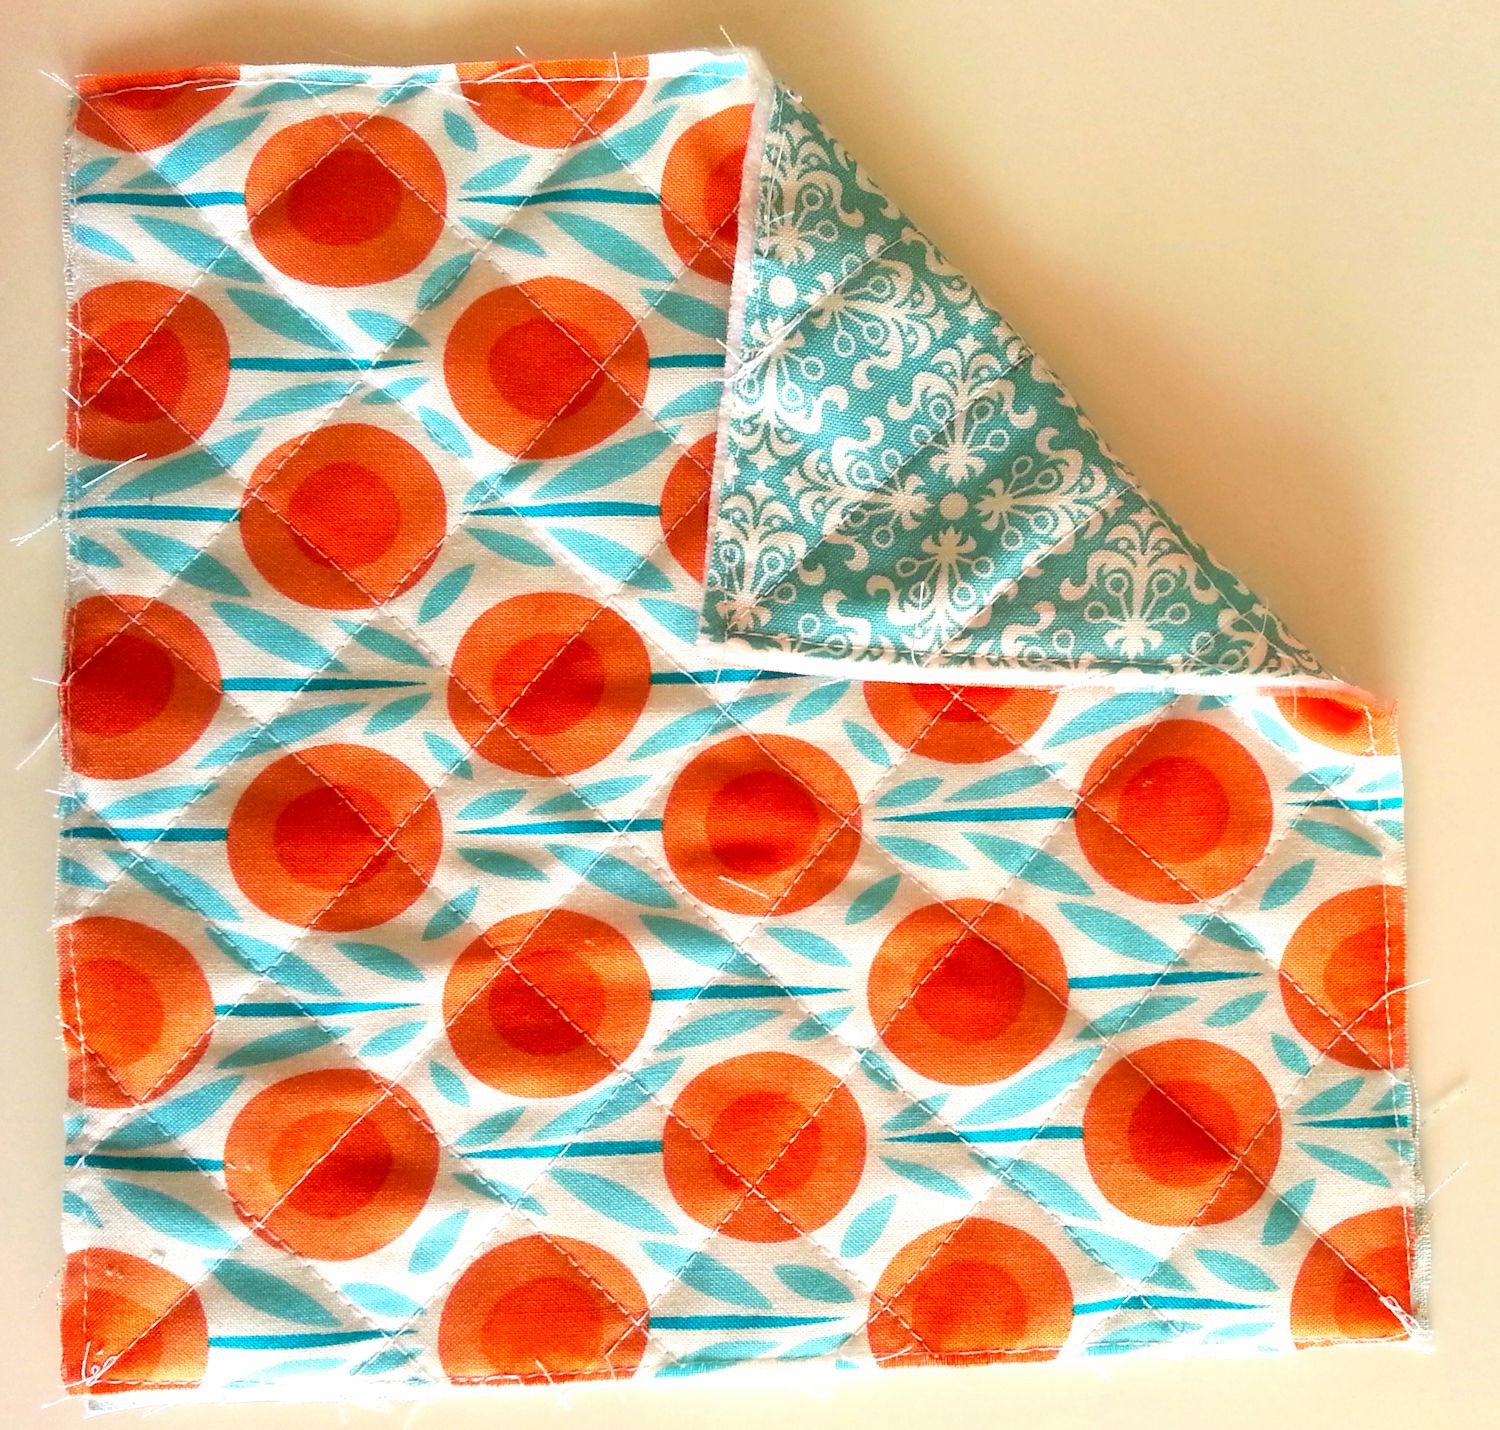
Once you have completed a row, and are at the side edge of a towel, you can knot off the thread on the back side of the cloth, where it will not show. OR, if the edges will be hemmed or inside of and item, you can leave the thread end and it will be caught in the stitching as you stitch layers together. For example, if you were making a pot holder - with a back (lining), the loose thread end caught be caught in the seam allowance.
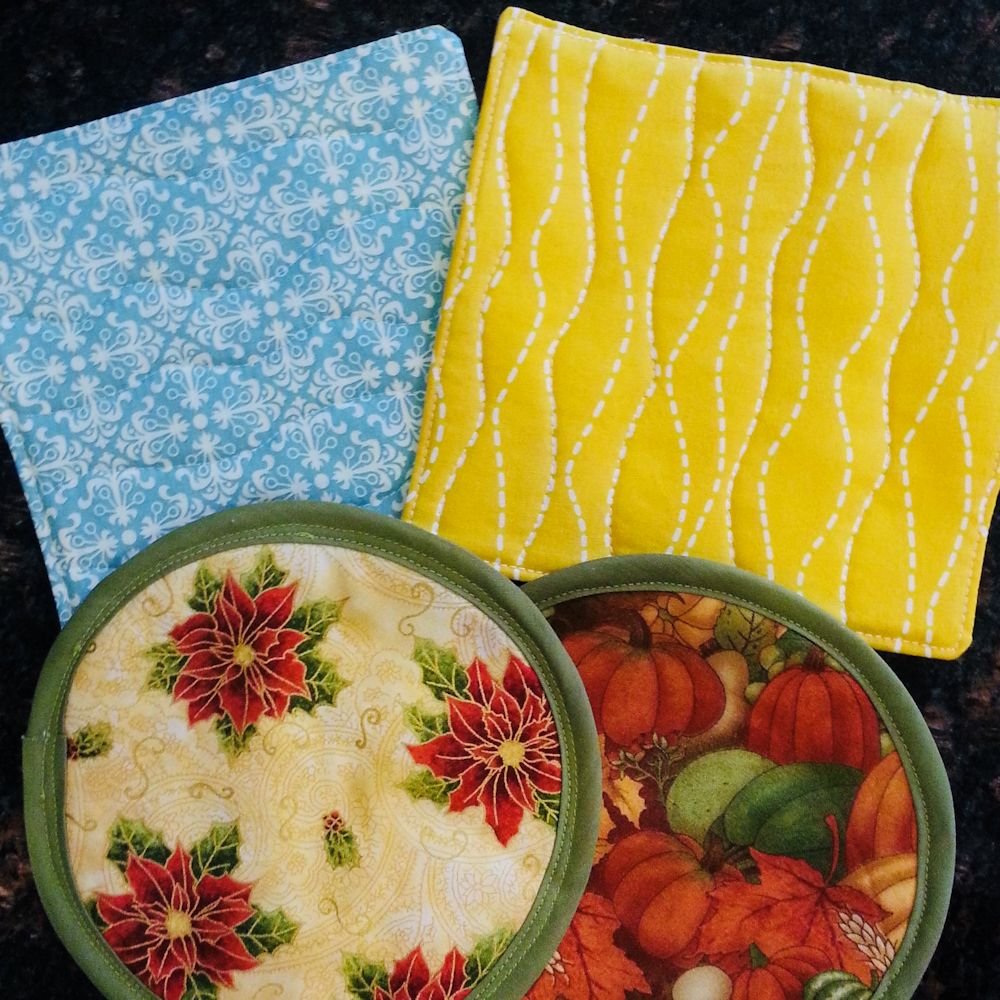
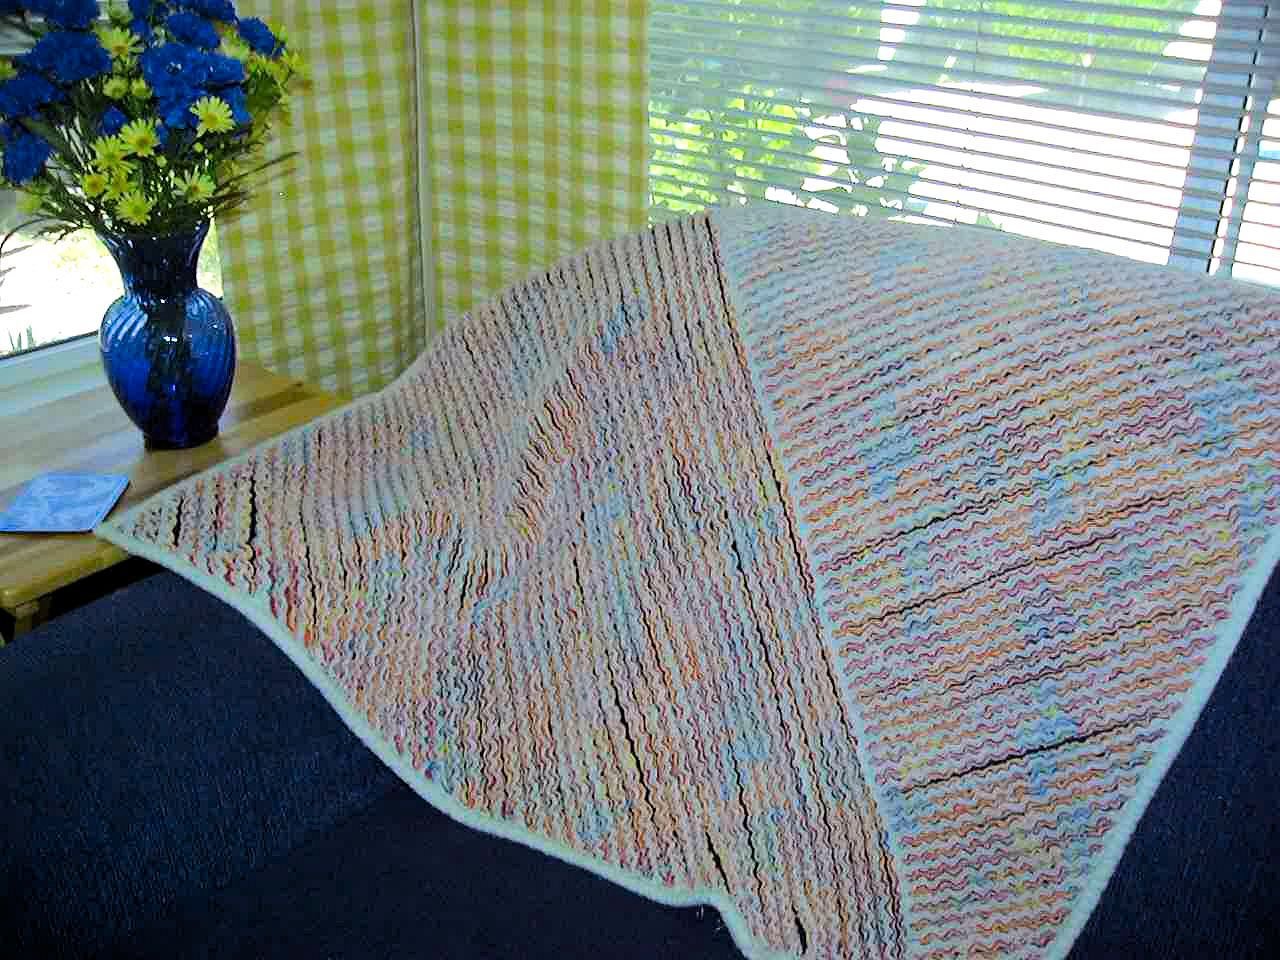
Uses For Swedish Weaving
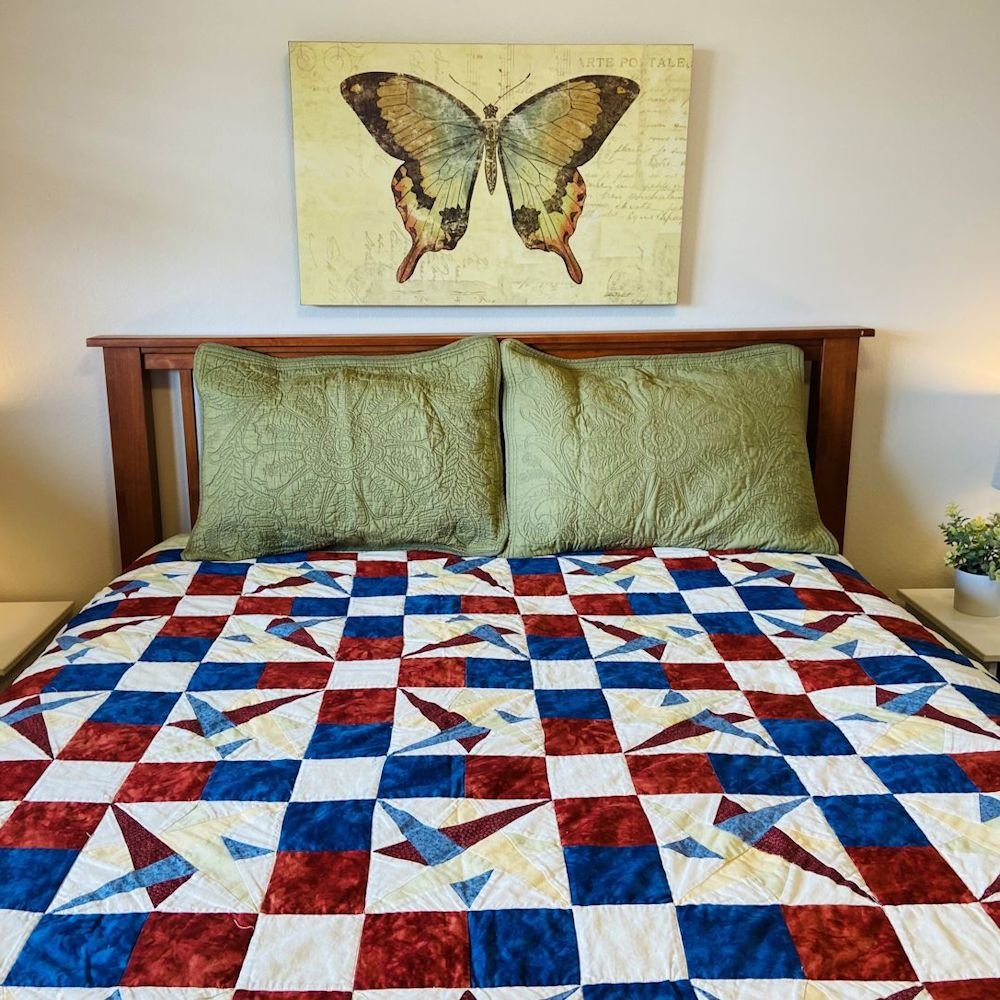
Swedish weaving is not just for towels! Use this beautiful embroidery method for making Christmas ornaments (projects coming), decorative wall hanging, quilt block, etc. Use your imagination.
This project was featured on our previous site: CraftAndFabricLinks.com
We are now Spruce & Fjell. Same owners, new site.
Embroidery & Crochet

Intarsia and Tapestry crochet. Bring Hygge into your home with this cozy, Scandinavian minimalist Christmas tree design. Use for wash cloths, pillows, hot pads.

Fully illustrated embroidery stitch glossary.

Super easy scarf crochet pattern, using only double crochet. Back loop holds layers together.
Autumn Projects


Quilts & Blankets


Lifestyle Blog


There is nothing like hearty butternut squash soup to add warmth to a cold, blustery day. Learn our secrets for creating an easy, flavorful soup.