Crocheted Hearth Basket


Disclosure: This site contains affiliate links. As an Amazon Associate, I earn from qualifying purchases. Clicking on links, and purchasing products, may result in the seller paying us compensation - at no extra cost to you. Affiliate links are in green.
Also see:
Lifestyle Blog
DIY Furniture
Embroidery & Crochet
Quick & Easy!
The only stitches used in this basket are chain, slip stitch, single crochet & double crochet.
Because the yarn is bulky, and the hook is large, the piece goes together quickly.
Abbreviations for crochet stitches:
I am not showing how to create these stitches. There are numerous, very good YouTube videos on beginning crochet.
sl st: slip stitch
sc: single crochet
dc: double crochet
ch: chain
BLO: back loop only
The first chain(s) on a new row counts as a stitch (1 ch = sc; 2 ch = dc).
Start With My Table Round
The bottom of the basket is created as a pretty round, using single and double crochet stitches. The RIGHT SIDE of the round is face up in the bottom of the basket. After that, the bottom (round) is turned up side down, and the sides are created by working from the outside of the basket.
To begin this project, you must first make the bottom. Go to: Table Round Centerpiece for the free pattern.
Basket Size
My bottom round measures just over 10” diameter. Your size will depend on your yarn and hook size.
SUPPLIES
YARN

BULKY YARN
For my basket, I chose Yarn Bee Effortless Super Bulky, in Mossy Acre color for the main basket, and Biscotti for the handle. I chose that yarn because I had some remaining from a previous project, and I love the color.
I used almost a full skein of green yarn, plus a bit of a skein of the Biscotti color yarn.
After using various yarns, I definitely prefer the Lion Brand yarn: Wool-Ease Thick & Quick. It is weight category 6, 82 percent acrylic, 10 percent wool, and 8 percent rayon (composition varies by color). It is not as fuzzy as the Yarn Bee Effortless, so it is easier to see stitches. That is just my personal preference - both yarns are nice.
Crochet Hook
The yarn called for a size N crochet hook . That is what I used.
NOTE: gauge is not important in this piece. Use the hook that works best for your choose. If you use a lighter weight yarn, or smaller hook, your finished size will be smaller.
Tapestry Needle
I used bent tip tapestry needle to weave my ends in. I prefer bent because I can easily work the yarn tail into stitches. Use a straight tapestry needle if that is your preference.
DIRECTIONS
Step 1: Create Basket Bottom
Go to: Table Round Centerpiece for the free pattern for creating the basket bottom. The table centerpiece round is perfect for a pretty bottom for the basket.
When you finish the basket bottom, DO NOT end off.
The following photo shows the round completed, with the final row end slipped stitched to the final row’s beginning. I did NOT end off.

Step 2: Create Sides Of Basket
Many patterns for round baskets create basket sides by using one long stitch line that goes around and around the basket. I did not do that with this pattern. I created separate rows. The reason I am using distinct rows is that I want a certain texture to my basket. I created that texture by working back loop only for some rows (BLO).
Ending A Row - Starting A New Row
At the end of every row, slip stitch to the beginning of that row. Chain 1 if the next row starts with sc; chain 2 if the next row starts with a dc. Then continue on around that row. I will sometimes slip stitch over to the next stitch after slip stitching the end of a row to the beginning of the row. That helps in not creating a line that shows up the side of the basket.
For each row, I will state the total number of sc or dc you need to make in the row. Remember that your chain 1 or chain 2 counts as the first stitch of that new row.
Row 1
After completing the final row of the bottom round, ch-1 and TURN THE PIECE OVER. You will not be working on the WRONG SIDE of the bottom. This is because we want the right side (the pretty side) to be INSIDE the basket when the basket is finished.
sc BLO in every stitch, all the way around.
Total 40 stitches.
The following photo shows row 1 with the first few stitches. By working BLO, you create a nice ridge on the lower edge of the row.

The bottom of the basket is wrong side out; the sides are right side out. I find that it works best to hold my piece with the wrong side of the bottom facing me. I am then working on the right side of the basket sides.
The following photo shows row 1 completed. If you now place your basket on a surface, with basket bottom down, you will see that the sides are being formed. Also, looking down into the basket, you see the pretty side of the basket bottom.

Row 2
*sc in 4 stitches, 2 sc in the next stitch. Repeat all the way around. Every 5th stitch then has two stitches. The basket is now taking shape. The sides are extending upward. NOTE: you are creating sc in both loops (not BLO).
Total 48 stitches.

Row 3
sc BLO all the way around.
Total 48 stitches.
When row 3 is completed, you can see the nice ridges created by crocheting in BLO. A ridge runs along the bottom of the basket side, and along the lower edge of row 3.

Row 4
sc around BLO all the way around.
Total 48 stitches.
Row 5
sc all the way around (both loops).
Total 48 stitches.
Row 6, 7, & 8
Repeat frows 3, 4 & 5.
End off basket color.
Total 48 stitches.
The following photo shows my basket finished through row 8. It is now ready for handles.

Step 3: Create Handles
The handle is created by a row of sc all the way around. When we get to the area of a handle, a chain is created (rather than sc into the row at the top of the basket), and stitches are skipped. The chain is slightly longer than the number of stitches skipped.
Row 9
Change to handle color.
The following photo shows my handle color pulled through the last loop of the green stitch, and onto my hook.

Each handle is created on a chain of 10. This creates an opening between the main body of the basket and the handle.
Work single crochet through BOTH LOOPS from here on.
sc 16, ch 10 - skip 8 stitches, sc 16, ch 10 - skip 8 stitches. sl st to the beginning of the row.
Total 52 stitches.
NOTE: When you make your 10 chains, you will only be skipping 8 stitches. This ensures that the handle is a bit loose, and doesn’t draw up the sides of the basket.
The following photo shows the sc in the handle row, and the chain stitches. 8 stitches were skipped on the previous row, and 10 chains were made. I have just slip stitched to the start of the row, and created 1 chain, which will be the first sc of the next row.

Row 10
Work a sc in both loops of every stitch in the previous row (chain sections will each have 10 sc because there are 10 chains).
Total 52 stitches.
Row 11
Repeat row 10. End Off.

Finished!
I love my basket! It sits on the hearth of my refinished fireplace, and sets off my Christmas tassel tree garland.

Related Projects
Related Projects

Snuggly Scarf

Fully illustrated embroidery stitch glossary.
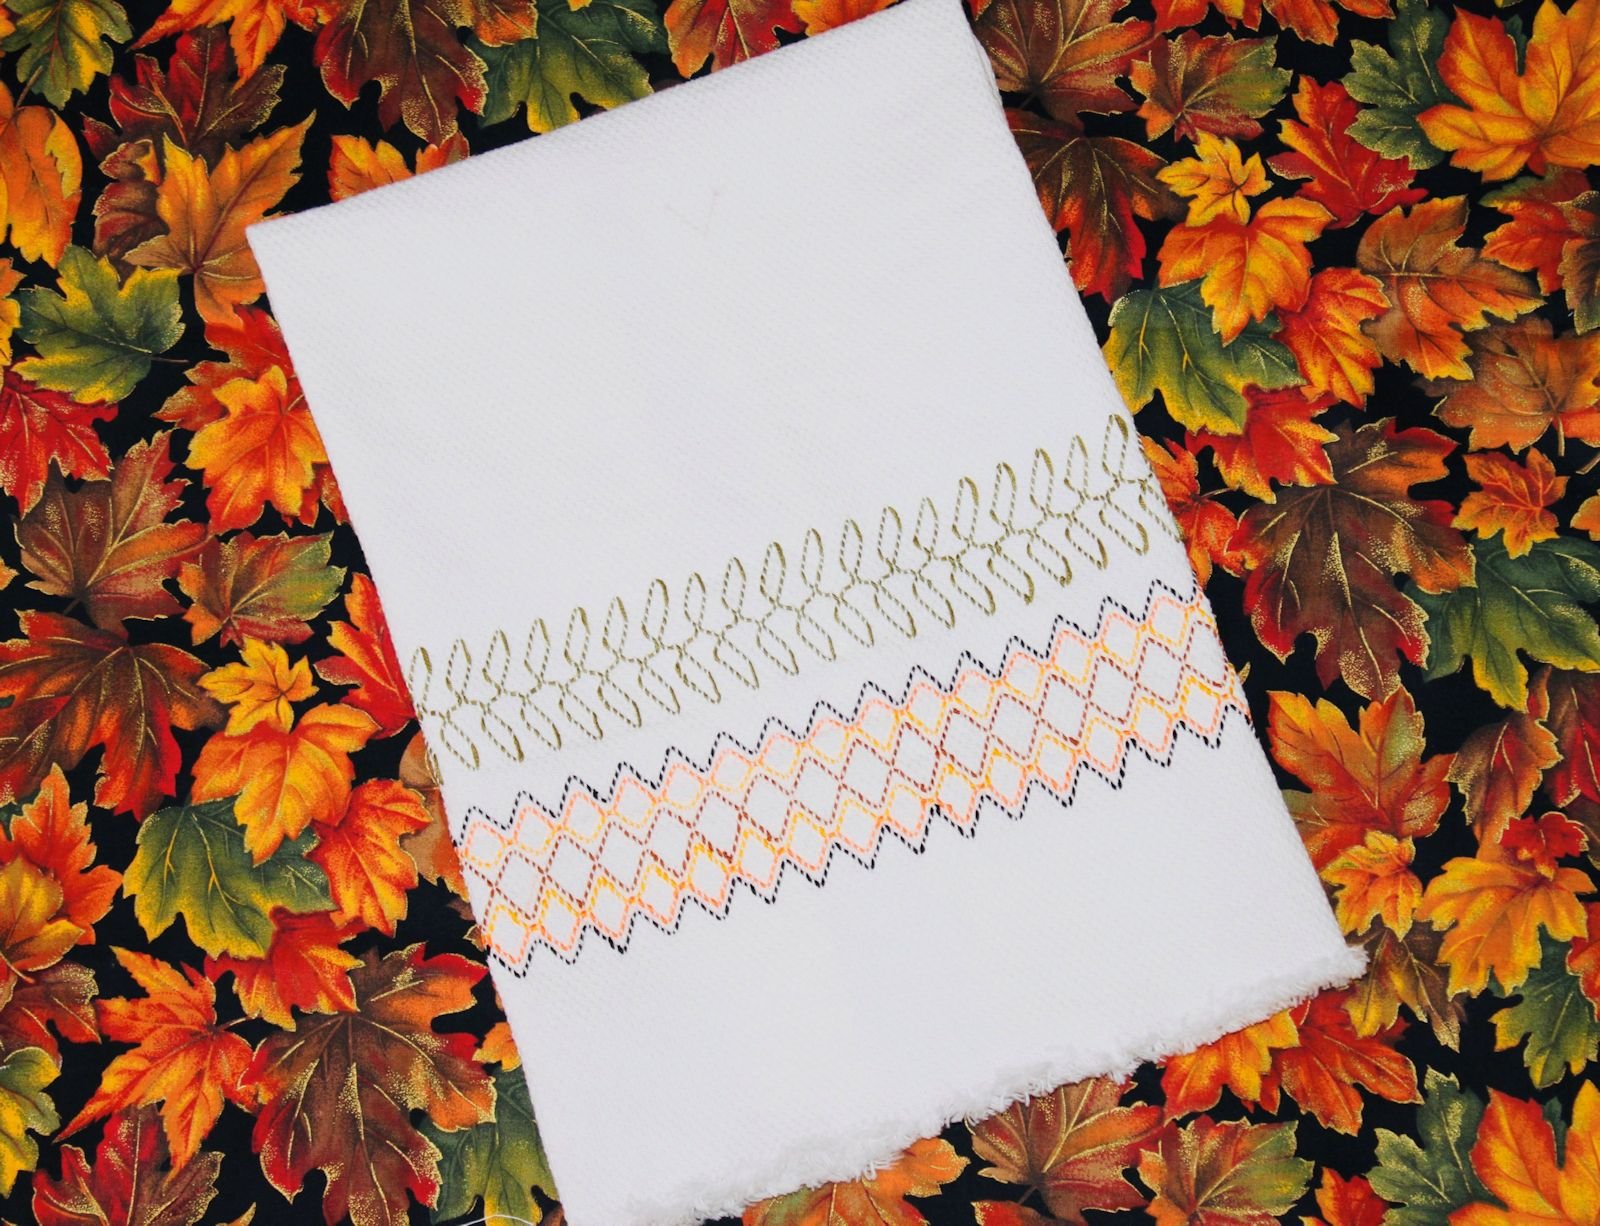
Learn the art of huck weaving. Lesson and 2 free patterns.
Lifestyle Blog - seasons


Our traditional Fattigman Day tradition. Swedish cookie making instructions with printable recipe.