Woven Crochet Trivet
DIY Projects -> sewing -> crochet
8” Square Table Trivet
front post double crochet / back post double crochet
One of my favorite stitch combinations!
Fast & Easy with bulky yarn
Disclosure: This site contains affiliate links. As an Amazon Associate, I earn from qualifying purchases. Clicking on links, and purchasing products, may result in the seller paying us compensation - at no extra cost to you. Affiliate links are in green.

Also see:
Lifestyle Blog
10 Easy Sewing Projects
Kitchen Projects
Embroidery & Crochet
The basket weave pattern is created by alternating front post double crochet and back post double crochet. It’s easy once you get the hang of it. I do recommend keeping track of stitches and rows, however. I have created several items, so no longer need to keep track of stitches (the weave is easy to see), but I do write down FP or BP as I end rows so that I keep track of finished rows.
I have a smaller version of this pattern, using all cotton yarn, for creating a kitchen scrubby. That is a good project to learn this design on.
Table Trivet
NOTE: This provides protection for a table, but it is NOT insulated. It would NOT protect a person from a really hot dish, such as directly out of the oven, so should not be used as a hot pad.
Trivet Size
My finished trivet measures 8” square, including the contrast border.
My trivet is 14 stitches wide, by 8 rows high. This creates a weave that is 4 squares across (plus the dc on each end) and 4 squares high.
Because a bulky yarn was used, it measures about the same size as my Basket Weave Lap Protector, although it contains only 2 sets of stitches, rather than 4.
WEAVE DESIGN
Front Post Double Crochet & Back Post Double Crochet
I am not showing how to create these stitches. There are numerous, very good YouTube videos that show it very clearly. This is an example. It is not my video, and we are not affiliated with the creator in any way. I like the video: video: fpdc and bpdc
fpdc: front post double crochet
bpdc: back post double crochet
dc: double crochet
ch: chain
ch 2: chain 2 for turning (this always starts the next row and is your dc that starts that new row)
Math For The Weave Stitch
Many weave patterns you follow will state that you need to start with a chain that is a multiple of 6, plus 4 extra chains. Why?? Let me explain! When I first learned this stitch, it was a bit confusing. I have simplified it for you in this article (hopefully).
Each “weave set” is made up of 6 stitches across: 3 fpdc and 3 bpdc. 3 fpdc + 3 bpdc = 6 stitches. That means that you need a multiple of 6 stitches for anything you make, such as a hot pad, scarf, etc. For example, if you want 4 weave sets across your scarf, you will have 24 stitches across. If a row begins with 3 fpdc, it will end with 3 bpdc. If a row starts with 3 bpdc, it ends with 3 fpdc. There is a reson for this! It keeps things easier as you create your item.
Also, it takes 2 rows to create one square box of a weave.
The following photo is a close-up of 2 rows, creating the weave pattern. On the right are two rows of bpdc; on the left are two rows of fpdc.

one weave set: 3 fpdc / 3 bpdc
You will start and end a row with 1 dc. That creates a nice edge. So, you need a multiple of 6 for your weave sets, plus a dc on each end.
Table Trivet Math
Let’s do the math. Each weave set is 6 stitches. My trivet contains 2 weave sets. That means I need to start with 12 chains for the weave stitches (2 x 6). I start and end each row with one dc, so that brings it to 14 chains. Then, I need 2 more chains that will become the first dc of the first row. I need a total of 16 chains.
I have created a diagram to help make it crystal clear.
The following diagram shows the first chain to start the project. The blue chains (12) will be for my weave sets. The red chain on the left is for a dc, and the 3 chains on the right are for my first dc of Row 1.
My starting chain meets all the rules. It is a multiple of 6, plus 4 more chains. 12 + 4 = 16 chains. This will create an item that is a total of 14 stitches wide (dc, 12 weave stitches, dc) in every row.

SUPPLIES
YARN
I used Lion Brand Yarn . I liked how it felt, and the quality has held up. The following paragraph gives more detail.

Lion Brand Wool Ease Thick & Quick yarn. Super bulky weight category 6. Color Hudson Bay. I love the variegated colors. 80% acrylic / 20 % wool. One skein was enough to make two trivets.
For the trim, I used Yarn Bee Effortless Super Bulky (6 oz.). Color: Neptune Blue.
Crochet Hook
I used a size N crochet hook for my trivet. Use what works for you – the important thing is to obtain the correct overall design that is not too tight and not too loose. The yarn you choose will state the best size of hook to use.
General Directions
You will need to start by getting your yarn onto your hook. There are many good YouTube videos on this, and illustrations on other websites. For a quick refresher, refer to my photos below.

Start by creating a loop.

Complete a “pretzel.”

Pull a the piece closest to ball of yarn onto the hook.

Tighten up the yarn ends into a knot, creating a loop on the hook.
Trivet: 2 sets of weave stitches
Starting Chain
Chain 16. DC into the FOURTH chain from the hook (remember the 3 chains on the right are your first dc for the Row 1). You now have what counts as 2 dc. dc across 13 more stitches. COUNT YOUR STITCHES. You should have a total of 14 dc (including your first that was made from chains).
ch 2, turn
From here on, end each row with ch 2, turn.
Row 1
This starts your first row of weaves.
Your chain 2 counts as your first dc (stitch 1). Skip the first post. fpdc in the next 3 posts, bpdc in the next 3 posts. Repeat. dc 1.
COUNT YOUR STITCHES. You should have a total of 14 stitches (12 weave stitches, plus a dc on each end).
ch 2, turn.
Row 2
Your chain 2 counts as your first dc (stitch 1). Skip the first post. fpdc in the next 3 posts, bpdc in the next 3 posts. Repeat. dc 1.
ch 2, turn.
COUNT YOUR STITCHES. You should have a total of 14 stitches (12 weave stitches, plus a dc on each end).
Time For A Change
NOTE: in row 1 and 2 you started each row with fpdc, and ended with bpdc.
Now, we change things up.
Row 3
Your chain 2 counts as your first dc (stitch 1). Skip the first post. bpdc in the next 3 posts, fpdc in the next 3 posts. Repeat. dc 1.
ch 2, turn.
Row 4
Your chain 2 counts as your first dc (stitch 1). Skip the first post. bpdc in the next 3 posts, fpdc in the next 3 posts. Repeat. dc 1.
ch 2, turn.
NOTE: in row 3 and 4 you started each row with bpdc, and ended with fpdc.
Rows 5-8
Repeat rows 1-4.
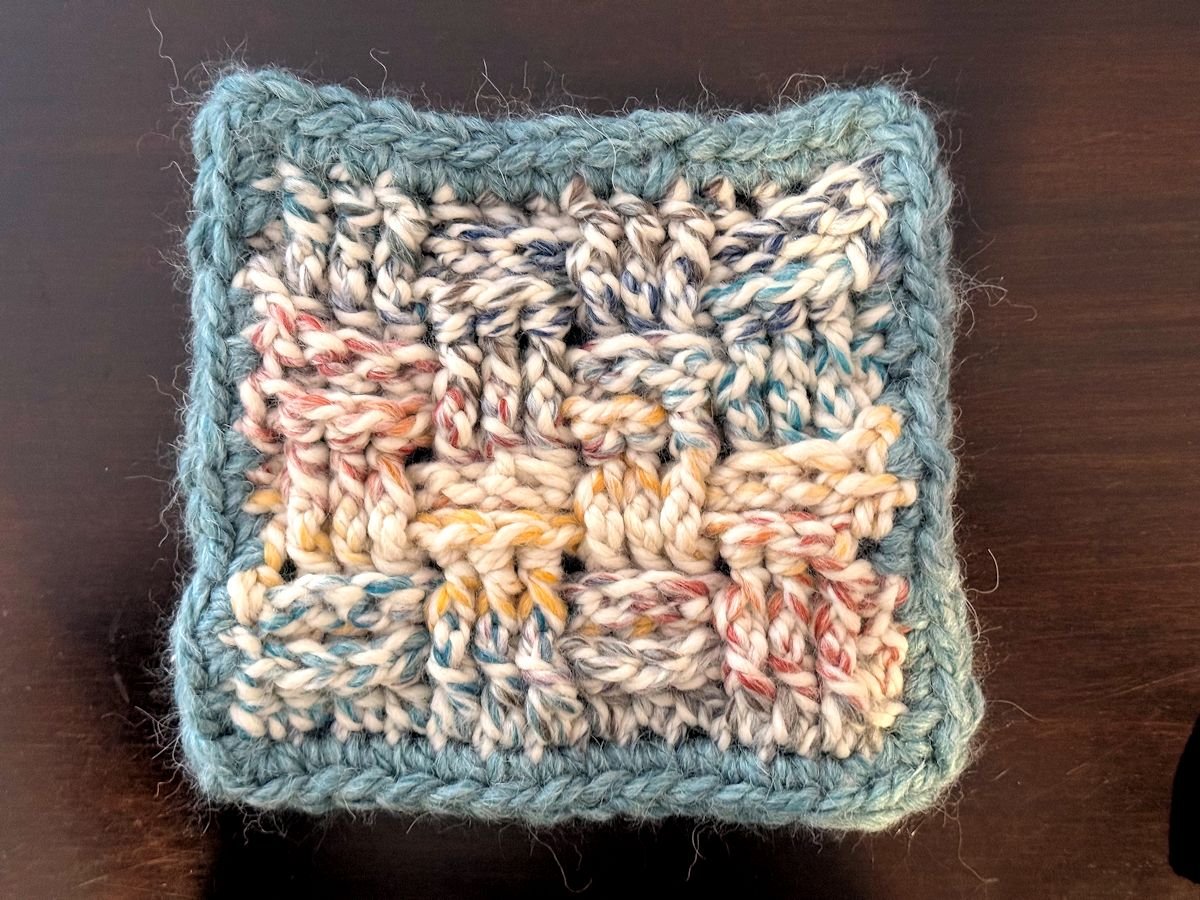
The following photo shows my finished trivet, without the border.

Border
sc in each stitch, all the way around the piece. Each side should have 14 sc. ch-1 in each corner.
Borders add a nice finish to a piece, and they also bring out colors. A border can change the look of a project.

Related Projects

Fast Crochet With Bulky Yarn

Fully illustrated embroidery stitch glossary.
Learn the art of huck weaving. Lesson and 2 free patterns.
Kitchen Projects


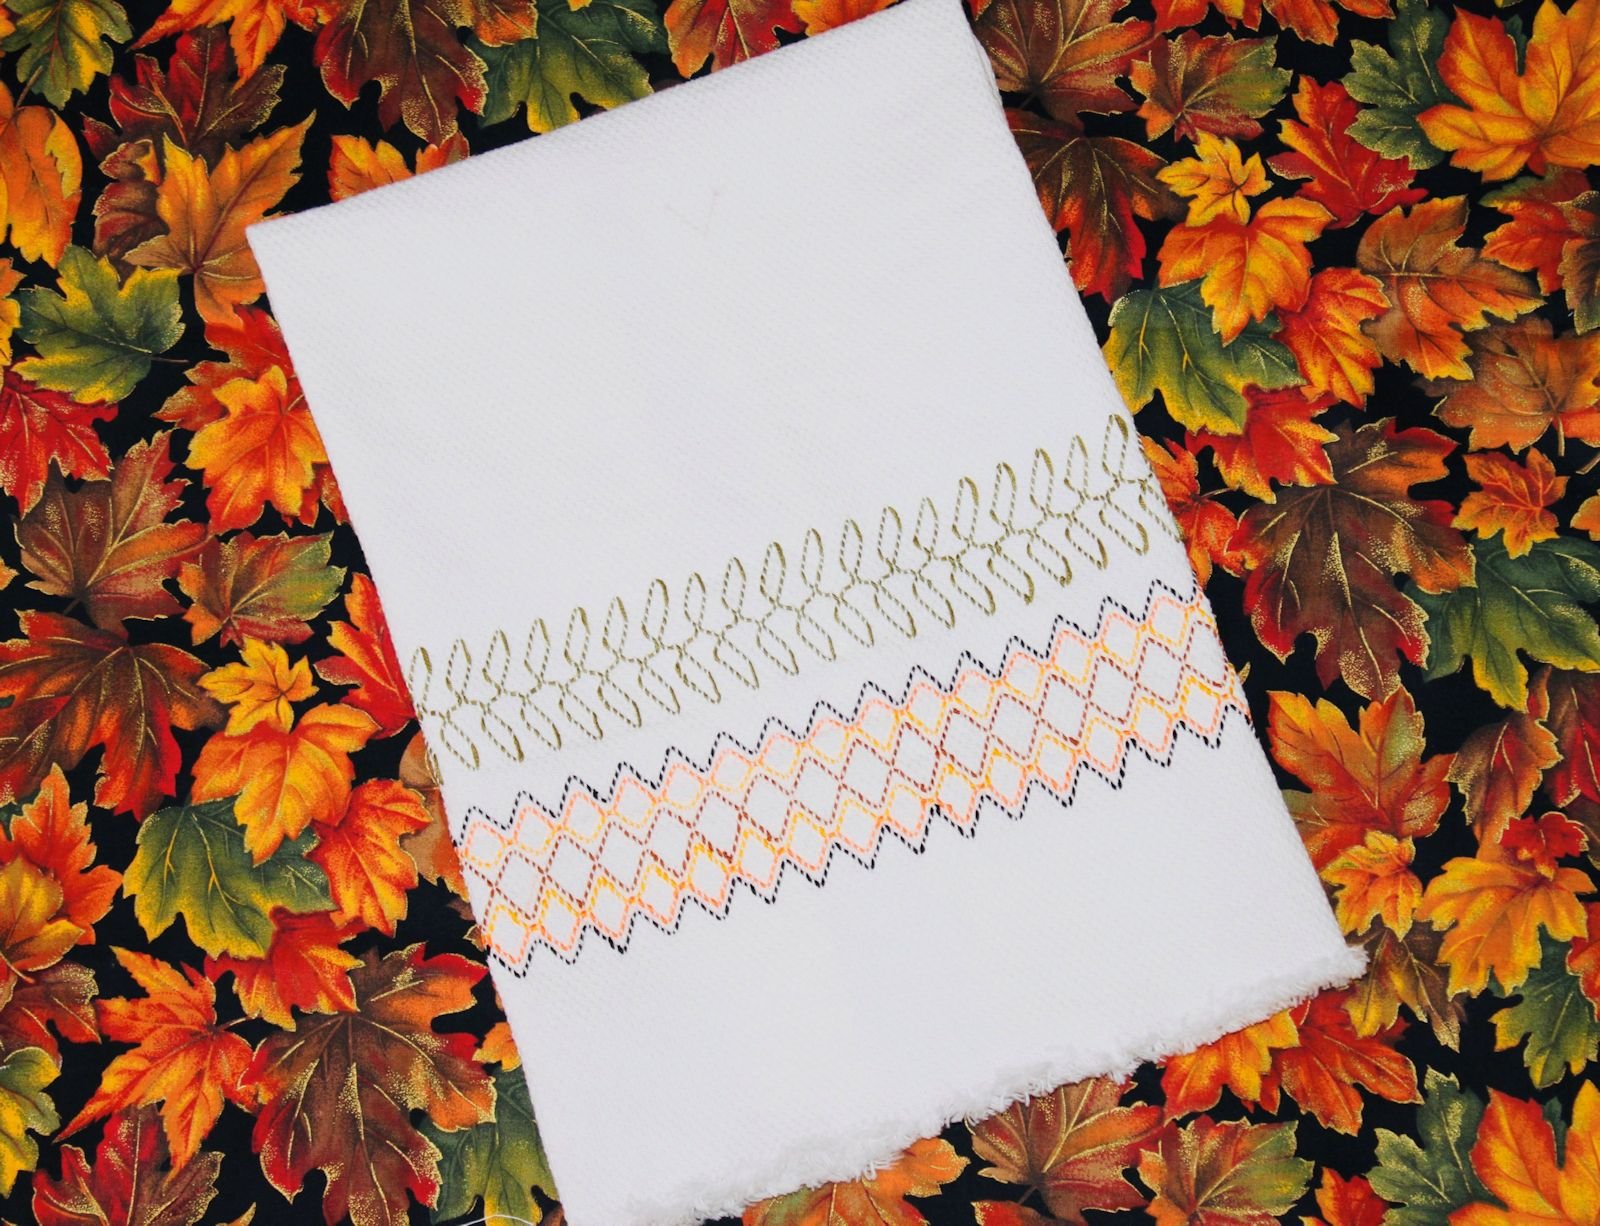
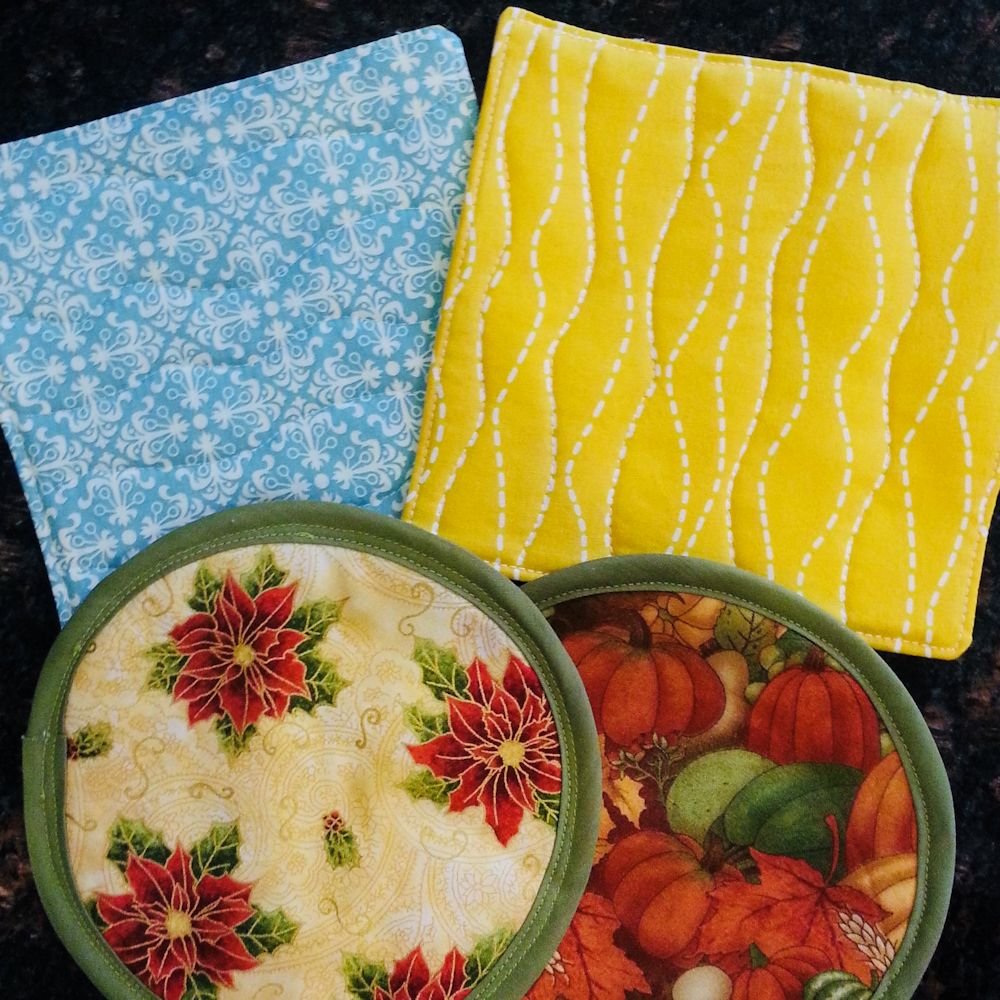
Table trivet - fast crochet with bulky yarn.