Cat Ornament

DIY Projects -> sewing -> Christmas
So adorable & Super easy!
2 free pattern sizes to download
.Disclosure: This site contains affiliate links. As an Amazon Associate, I earn from qualifying purchases. Clicking on links, and purchasing products, may result in the seller paying us compensation - at no extra cost to you. Affiliate links are in green.
Great “beginner” sewing project.
Also see:
Lifestyle Blog
Easy Sewing Patterns
Animal Patterns
Ornaments
Adorable Stuffed Cats
Ornament History

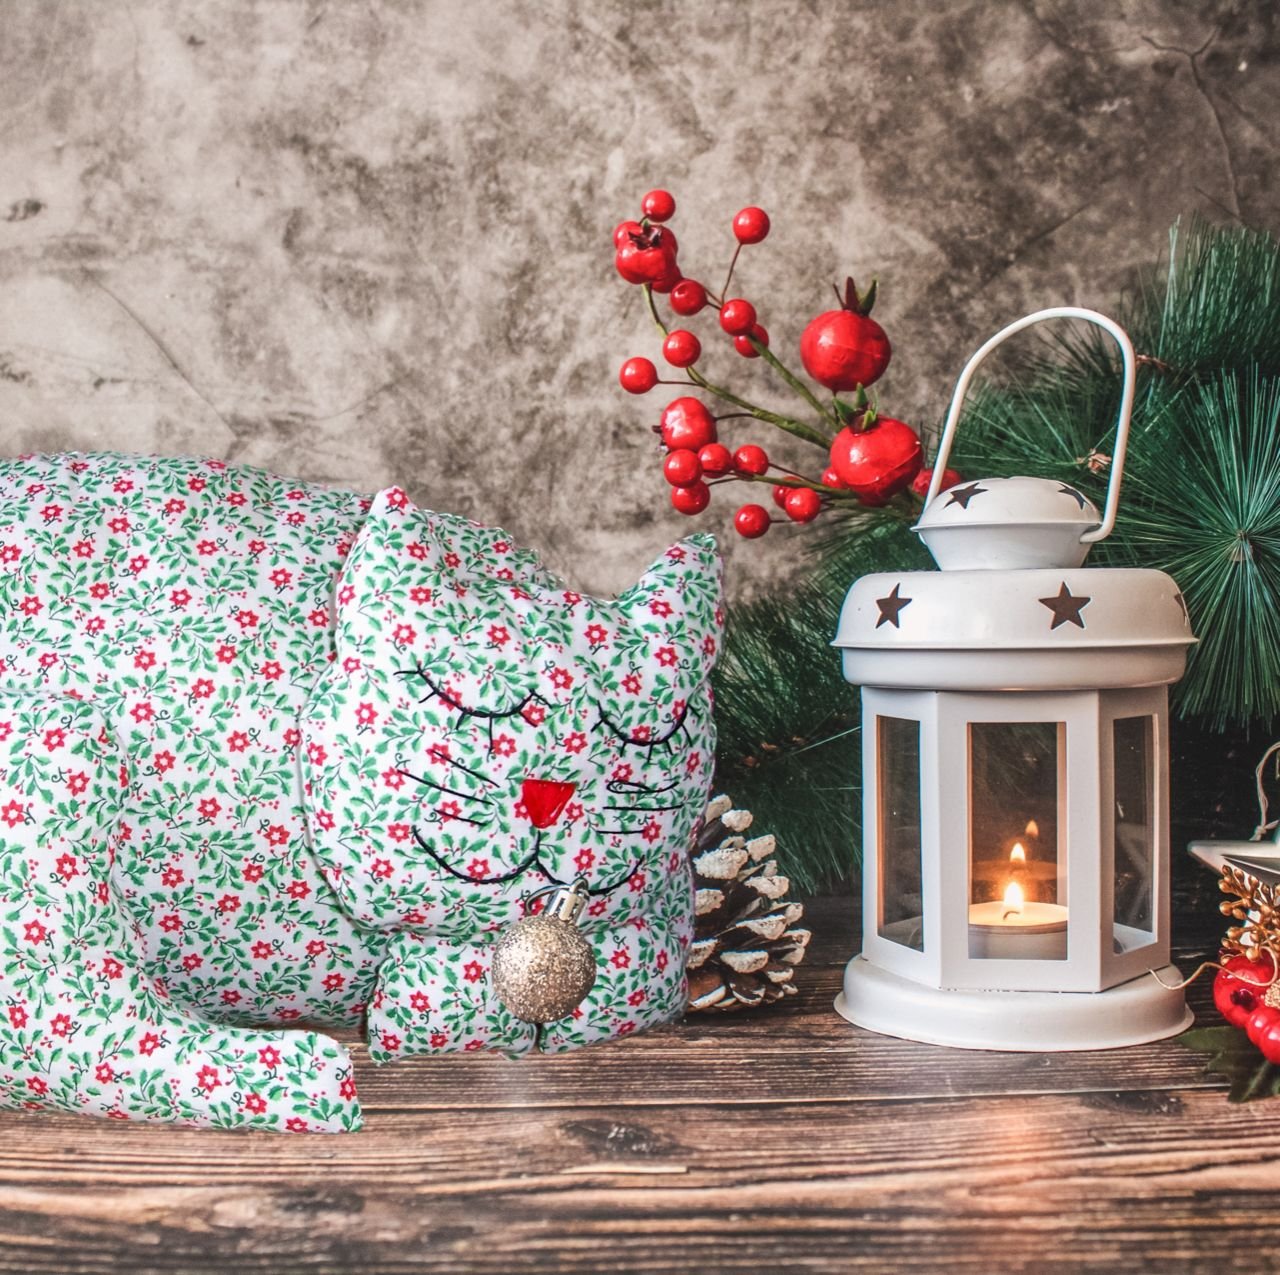
I made these cat ornaments while I was in college. I had very little money for Christmas decorations, but I had a stash of fabric. I drew the pattern, bought a bit of embroidery floss and ribbon and got to work. I loved them, and they have lasted through the years.
Because I made these several years ago, I do not have photos of the steps, but I provide patterns and basic instructions.
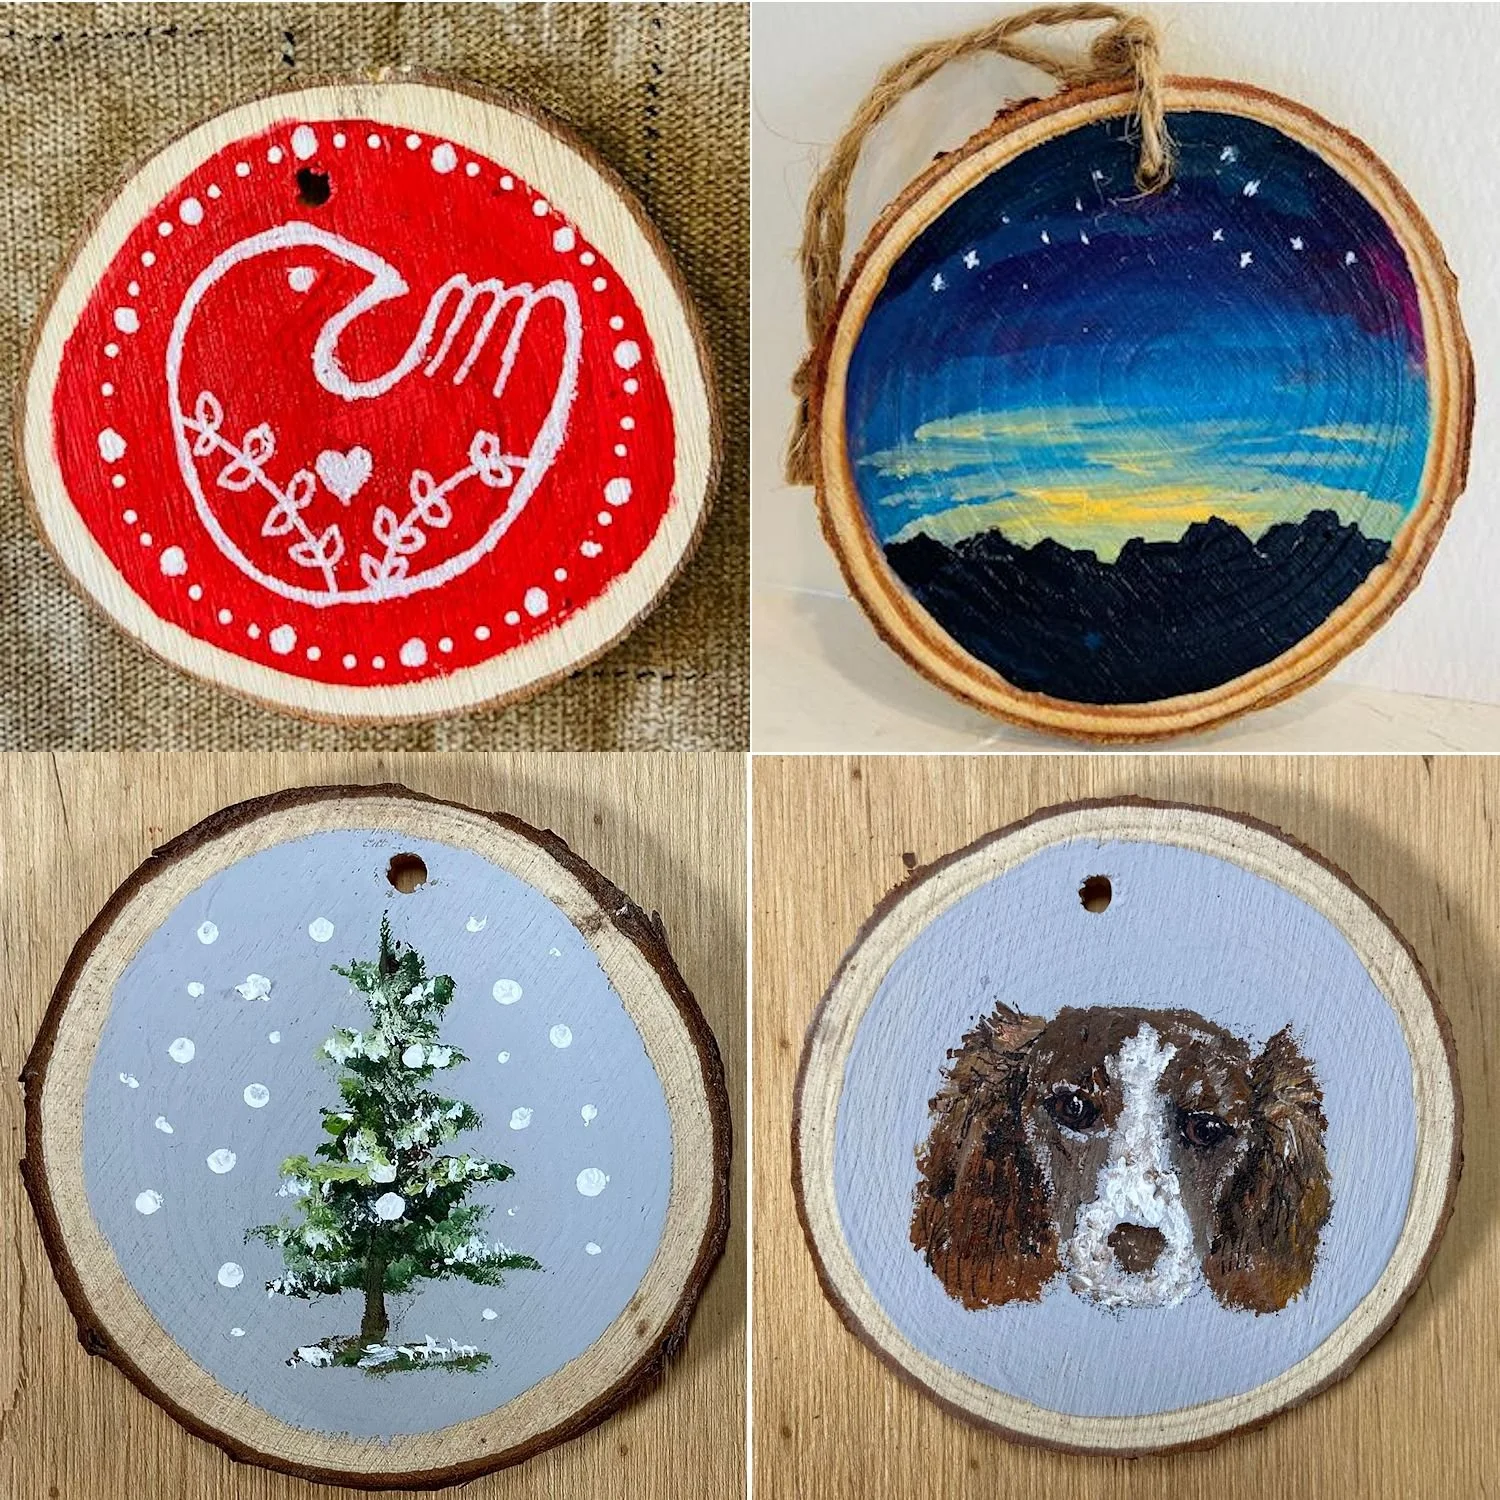
Just fyi, the painted barn ornament in the background is also a project on this site. Go to: Painted Wood Round Ornament.
Two Sizes
I’m including two sizes to choose from.
The smaller pattern is for making ornaments, approximately 5” in height. The ornaments shown in the photos are 5” in height.
The other pattern prints to a larger size, approximately 8.5” in height and can be used for larger ornaments, or small stuffed cats for under the tree. They would be cute as small pillows as well.
These cats can be made for any occasion - not just Christmas.
SUPPLIES - project supplies
PATTERN
Choose from the 2 patterns below to download. They download as pdf files.
NOTE: You will need to add 1/4” all the way around the CAT BODY for seam allowance. The tail does not need seam allowance added.
OTHER
Check Amazon for prices. Affiliate links are green.
fabric: small pieces of fabric in your color choice. I used cotton quilt fabric because it is durable. You will need two pieces of fabric for each cat body, plus two pieces for each tail. The quantity needed depends on the size of cat you are making. Print your pattern, add the 1/4” seam allowance around the cat body, then measure the area you need for fabric.
thread: choose thread to match the background of your fabric
sewing needle for hand stitching
micro sewing scissors for detail and precise cutting
1/8 inch ribbon for bow on body - optional
fabric glue for bow on body - optional
GENERAL SUPPLIES - my “must haves” for any sewing project
rotary cutter and cutting mat makes cutting straight lines a snap
large clear sewing ruler I can't say enough about large rulers – I use them in my home remodeling and art projects as well
straight quilting pins (optional) quilting pins are larger than regular pins, so are easier to see
spring action fabric scissors regular and micro tip – I use both; the spring action is a huge assistance when doing a lot of cutting
thread most of my thread is on large serger cones – very economical
I always have a roll of butcher paper on hand for pattern making. It is economical and easy to use.
DIRECTIONS
PRE-WASH of fabric is not necessary for this project
NOTE: All seams 1/4"
1. Print Patterns - add seam allowance
Print the pattern(s) I have provided (see “supplies” above).
Draw a 1/4” seam allowance around the main body of the cat. The tail does not need a seam allowance added. Using the pattern provided, draw a separate tail pattern.
2. Cut / Press The Fabric Pieces
Lay down two pieces of fabric for the body, right sides together. Using the body pattern, cut out the main body of the cat.
Press under 1/4” across the base of the main cat body pieces. This creates a 1/4” hem across the bottom of the cat body pieces.
Lay down two pieces of fabric for the tail, right sides together (or wrong sides together). Cut out the fabric pieces for the tail.
3. Stitch The Tail
If the tail pieces are right sides together, take the tail pieces apart and place one layer down wrong side up. Place the next layer over the first right side up.
Stitch the tail, close to the edge, along all sides. This will hold the tail layers together and prevent fraying. Your tail is right side out, with unfinished edges.
Treat the tail with fabric stiffener. The tail must be stiff and dry when placed into the cat body.
4. Embroider The Face
If you wish to embroidery the face, you need to do so at this time. You can paint the face now, or after the cat is completed.
For instructions on hand embroidery, see our Embroidery Stitch Glossary.
To see a painted face, go to my cat beanbag pattern.
5. Stitch The Main Body
When the tail is dry, and the face has been embroidered, you can proceed with the cat body.
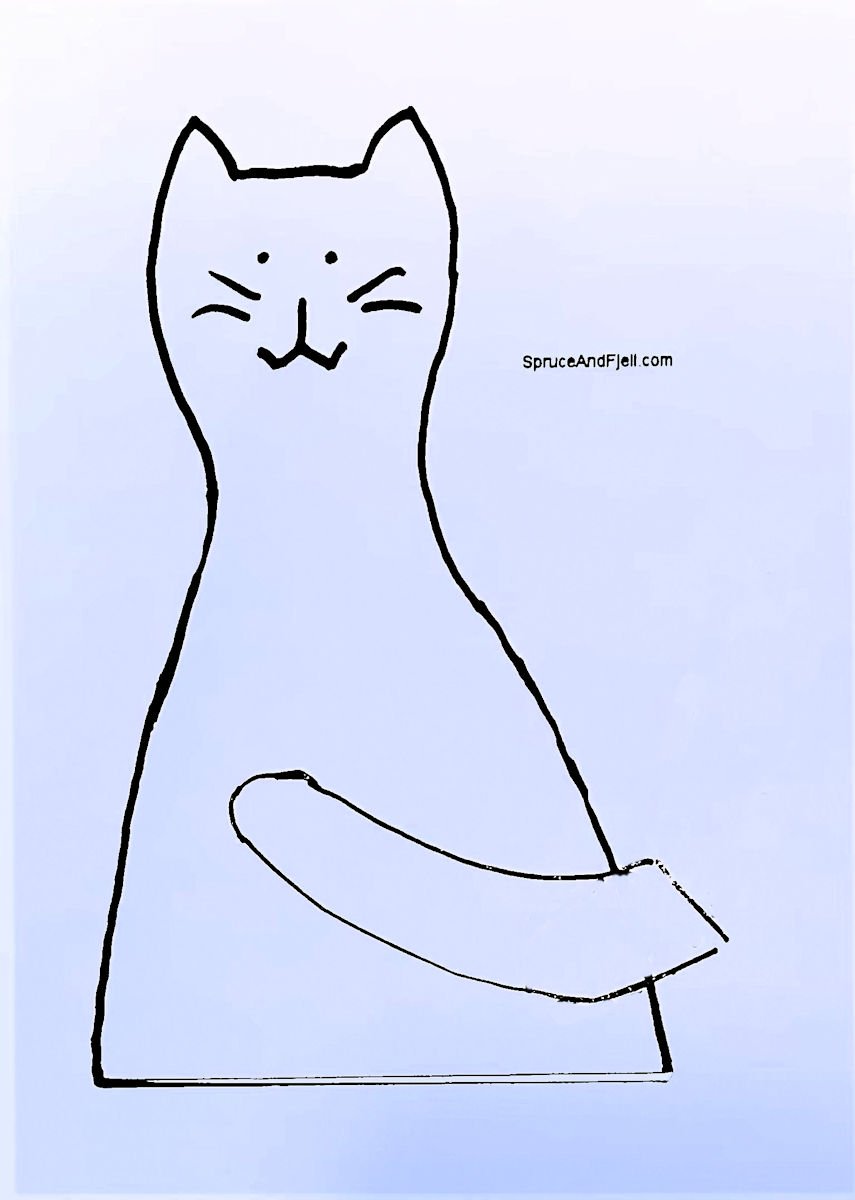
Lay down one layer of the body, right side up. Place the tail so that most of the tail is inside the cat body, with just a bit of the tail going beyond the outer edge of the cat. Refer to my diagram. The tail should be about 1/4” up from the base of the cat body.
Place the second layer over the first, wrong side up. You now have the layers right sides together, with the tail pointing into the body. Just a bit of the base of the tail should be sticking out. Pin the layers together.
Starting on one side at the base of the body, stitch around the cat body, leaving the base unstitched. Keep the base open for turning. Use a 1/4” seam allowance. Your cat will be INSIDE OUT.
Clip curves and cut off points (by the ears), being careful to not snip through the stitching. Using micro sewing scissors helps because they are very sharp and can cut precisely in small places.
6. Turn The Cat Right Side Out
Turn the cat right side out. Use a closed pen, crochet hook or turning tool to push out the points of the ears.
7. Add Stuffing
Fill the inside of the cat body with the fiberfill stuffing. Don’t overfill to the point where you cannot turn under and hand stitch across the base of the body.
8. Hand Stitch Base Of Body
Hand stitch the base of the cat body closed. I used a tight whip stitch.
Having pre-ironed a hem on the lower edge of the cat body, the layers will remain turned under while you hand stitch them closed.
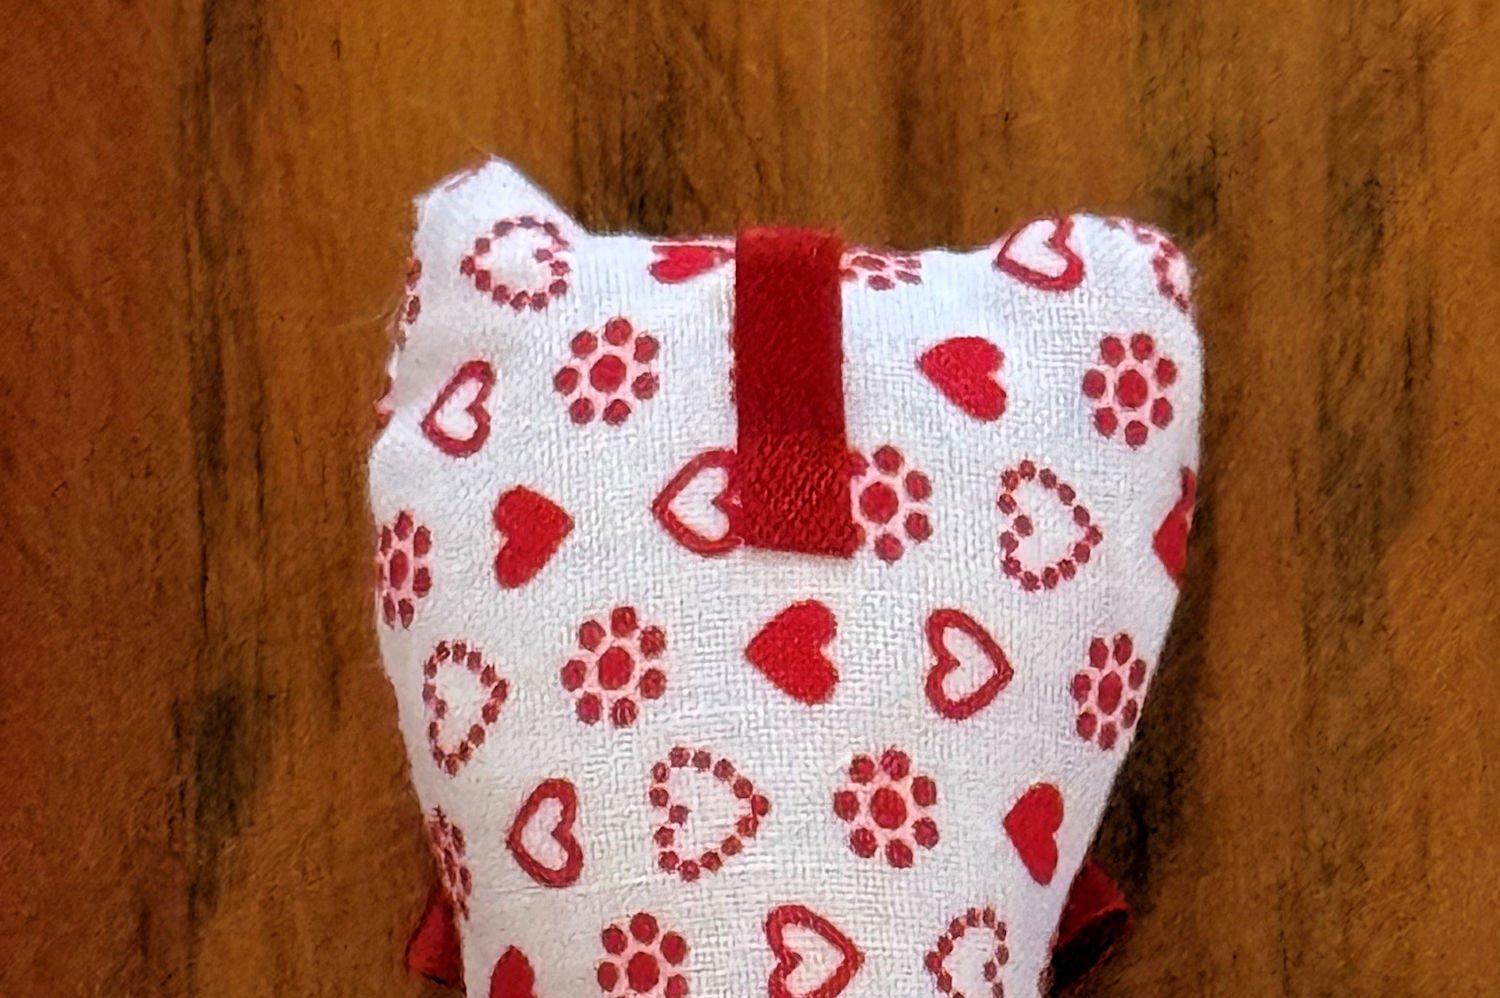
9. Attach Ribbon
Tie a small bow and glue it to the front of the cat. OR cut two short pieces of ribbon. Fold a piece of ribbon in half and glue the layers half way between the fold line and the base of the ribbon. Repeat with the second piece. Place the two pieces together in an “X” shape and glue them together. Wrap a short piece around the spot where the “x” crosses and glue it into place. Refer to the following photo.
10. Attach Hanger
Cut a piece of ribbon long enough to be used as a hanger when folded over.
Fold the hanger in half. Glue or stitch the two loose ends together, close to the ends.
Glue the hanger to the back of the cat’s head.
Enjoy!

Door stop or toy for any occasion.
For Christmas or any occasion.
Ornaments

Christmas Projects


Home Improvement


Lifestyle Blog

Adorable, super easy stuffed cat ornament. Embroider or paint a face. Add a ribbon bow.