Mitered Corners

DIY Projects -> sewing -> lessons
learn how to create mitered corners for tote bags, cushion covers, & other items
Disclosure: This site contains affiliate links. As an Amazon Associate, I earn from qualifying purchases. Clicking on links, and purchasing products, may result in the seller paying us compensation - at no extra cost to you. Affiliate links are in green.
Mitered corners allow a nice fit over items with squared off corners, such as sofa cushions. They also allow bags to have depth and sit nicely, such as tote or gift bags. I will show my two methods. Visit the pattern links at the end of the article to practice making miters.
Also see:
Articles: tips & adventures
Easy Sewing Patterns
Furniture Projects
Pillows & Cushions
NOTE: These directions assume you have already computed the fabric amounts needed, and cut and stitched the seams.
For more direction on those topics, visit the projects at the end of the article.
Method 1: Mitered Corners (my favorite)
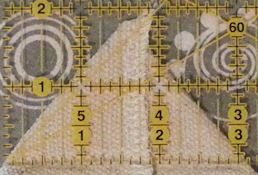
For this method, measure the depth of the cushion and divide the measurement by 2. My cushion was 3" deep, so my measurement will be 3 divided by 2, which is 1.5". Draw a square on each corner of your cover that is the size of your measurement. I drew a 1.5" square on each corner.

Next, cut 1/4" inside the the lines you just drew for your square. The drawn lines will be your stitch line - don't cut the stitch line off!

Line up the seams and stitch across using the visible part of our line as a guide.

Trim the mitered seam to .25" (1/4").

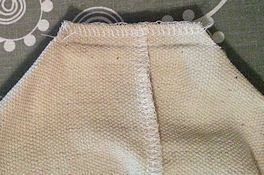
The mitered corner creates a nice fit over the corner of the cushion.

Method 2: Mitered Corners
This is not my favorite method, but was the first method I learned. It works, but is a bit more cumbersome.
First step: Stitch the side seams of the cushion or bag together, right sides together.
AFTER the side seams are stitched, you are ready to create the miter.

Sew A Mitered Corner
Leave bag inside out. To make mitered corners on the bottom of the bag, pull out the corners of the bag, on both sides of the side seam (pulling out the little points). Measure and sew a 3" line perpendicular to the side and bottom seam (or depth you need for your cushion).
Repeat on the other corner of the bag. This easy method of mitered corners can be used for pillows, and any place that calls for a mitered corner.
You can make your bag any depth. To stay with my dimensions, stitch a 3" line perpendicular to the side seam. I use a quilter's ruler to help me find the place where the line will be #" across. After sewing the line, trim off the point.
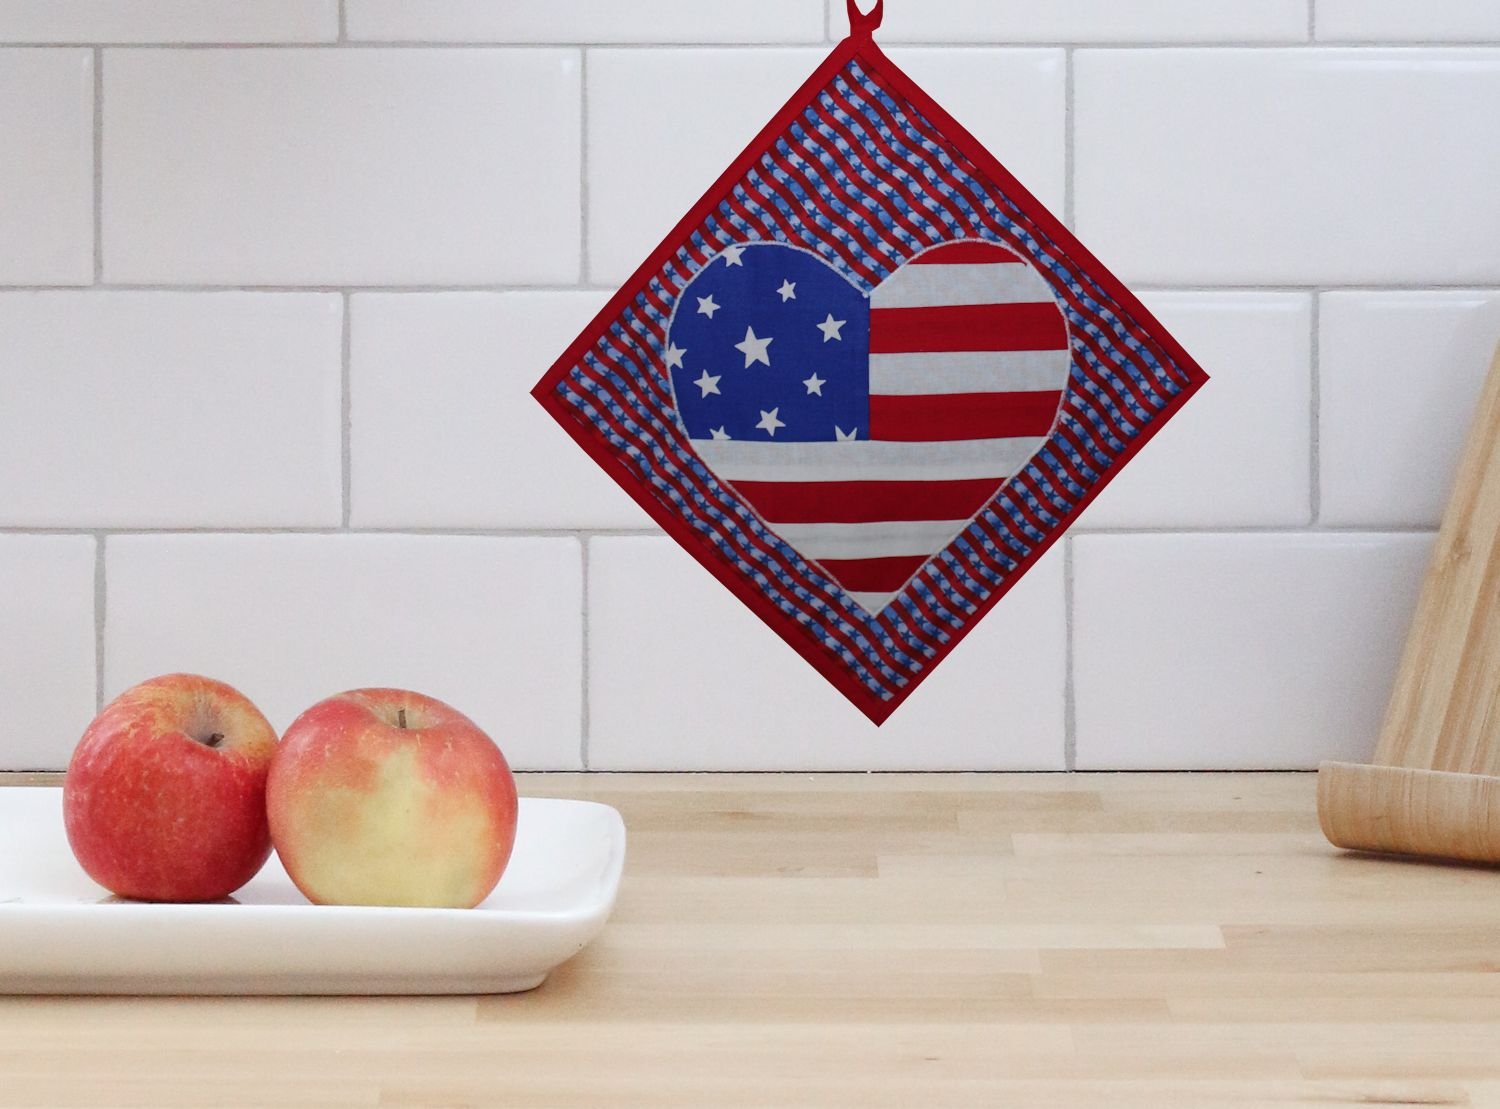
Projects That Use Mitered Corners

The mitered corners create a nice, flat bottom. I use the second method for mitering.

Just straight stitching and mitered corners.

There are so many uses for my cushion cover pattern! I provide directions for cushion covers for lounge, pet carrier, and wheelchair. This method also makes a nice cover for futon or doll bed mattress. Envelope back opening for easy removal of cushion.
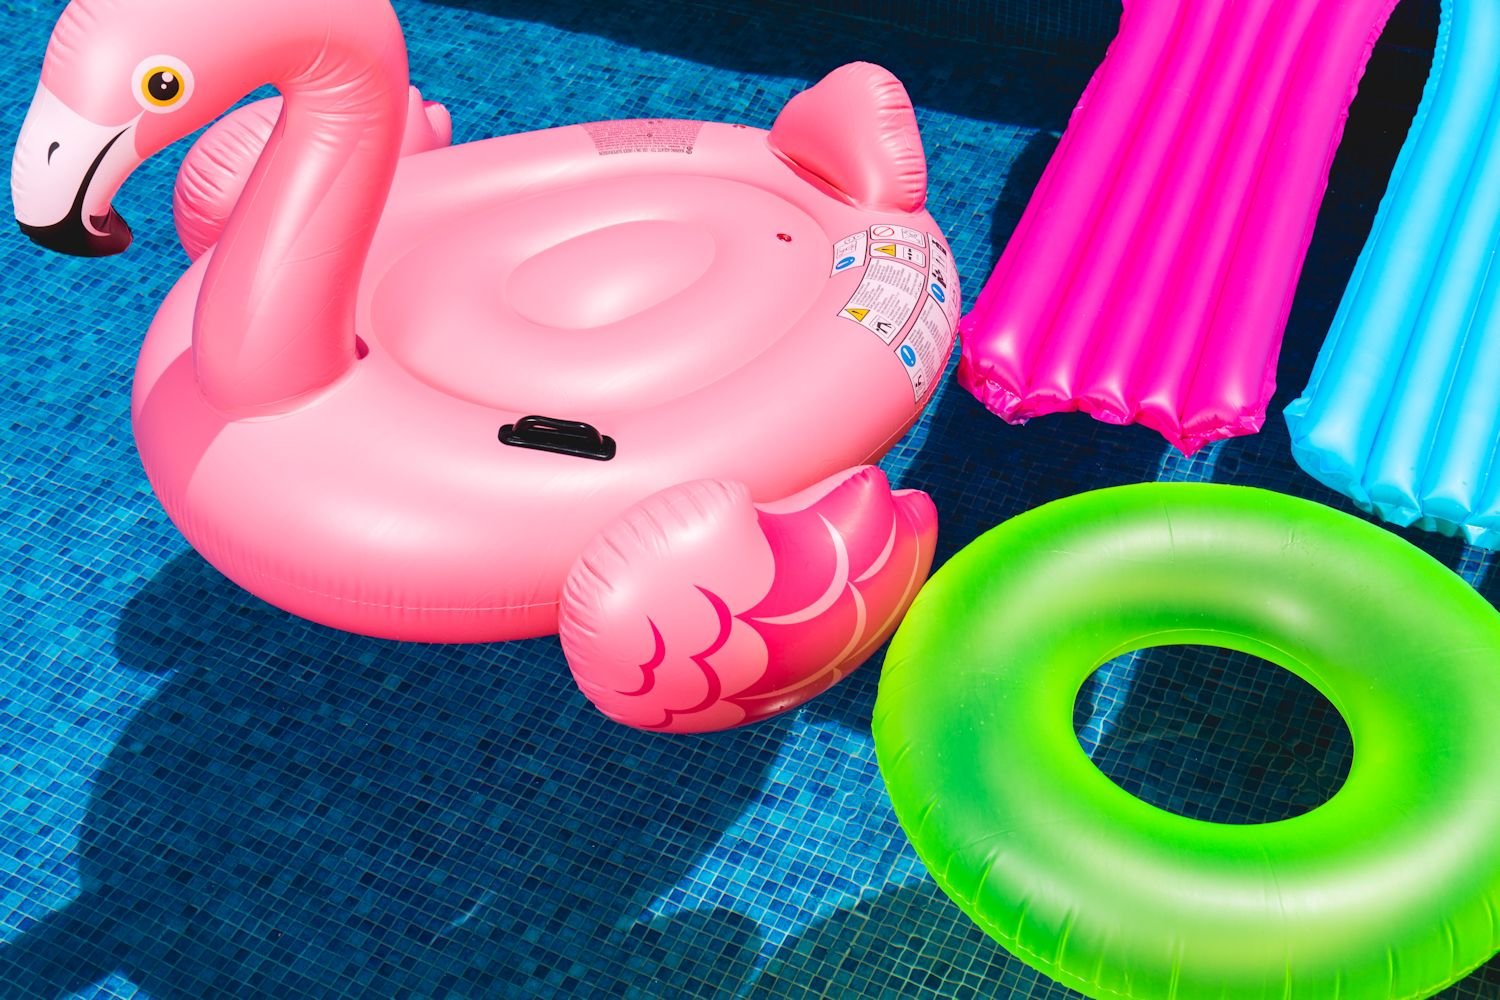
Summer Projects


There is nothing like hearty butternut squash soup to add warmth to a cold, blustery day. Learn our secrets for creating an easy, flavorful soup.