Easy Tote
DIY Projects -> sewing -> accessories
Super Easy
Versatile Multi Purpose Tote
mitered corners for a nice, flat bottom of bag
Disclosure: This site contains affiliate links. As an Amazon Associate, I earn from qualifying purchases. Clicking on links, and purchasing products, may result in the seller paying us compensation - at no extra cost to you. Affiliate links are in green.
Also see:
Follow Our Adventures
Easy Sewing Patterns
Accessory Patterns
Multi-Use Tote Bag Pattern
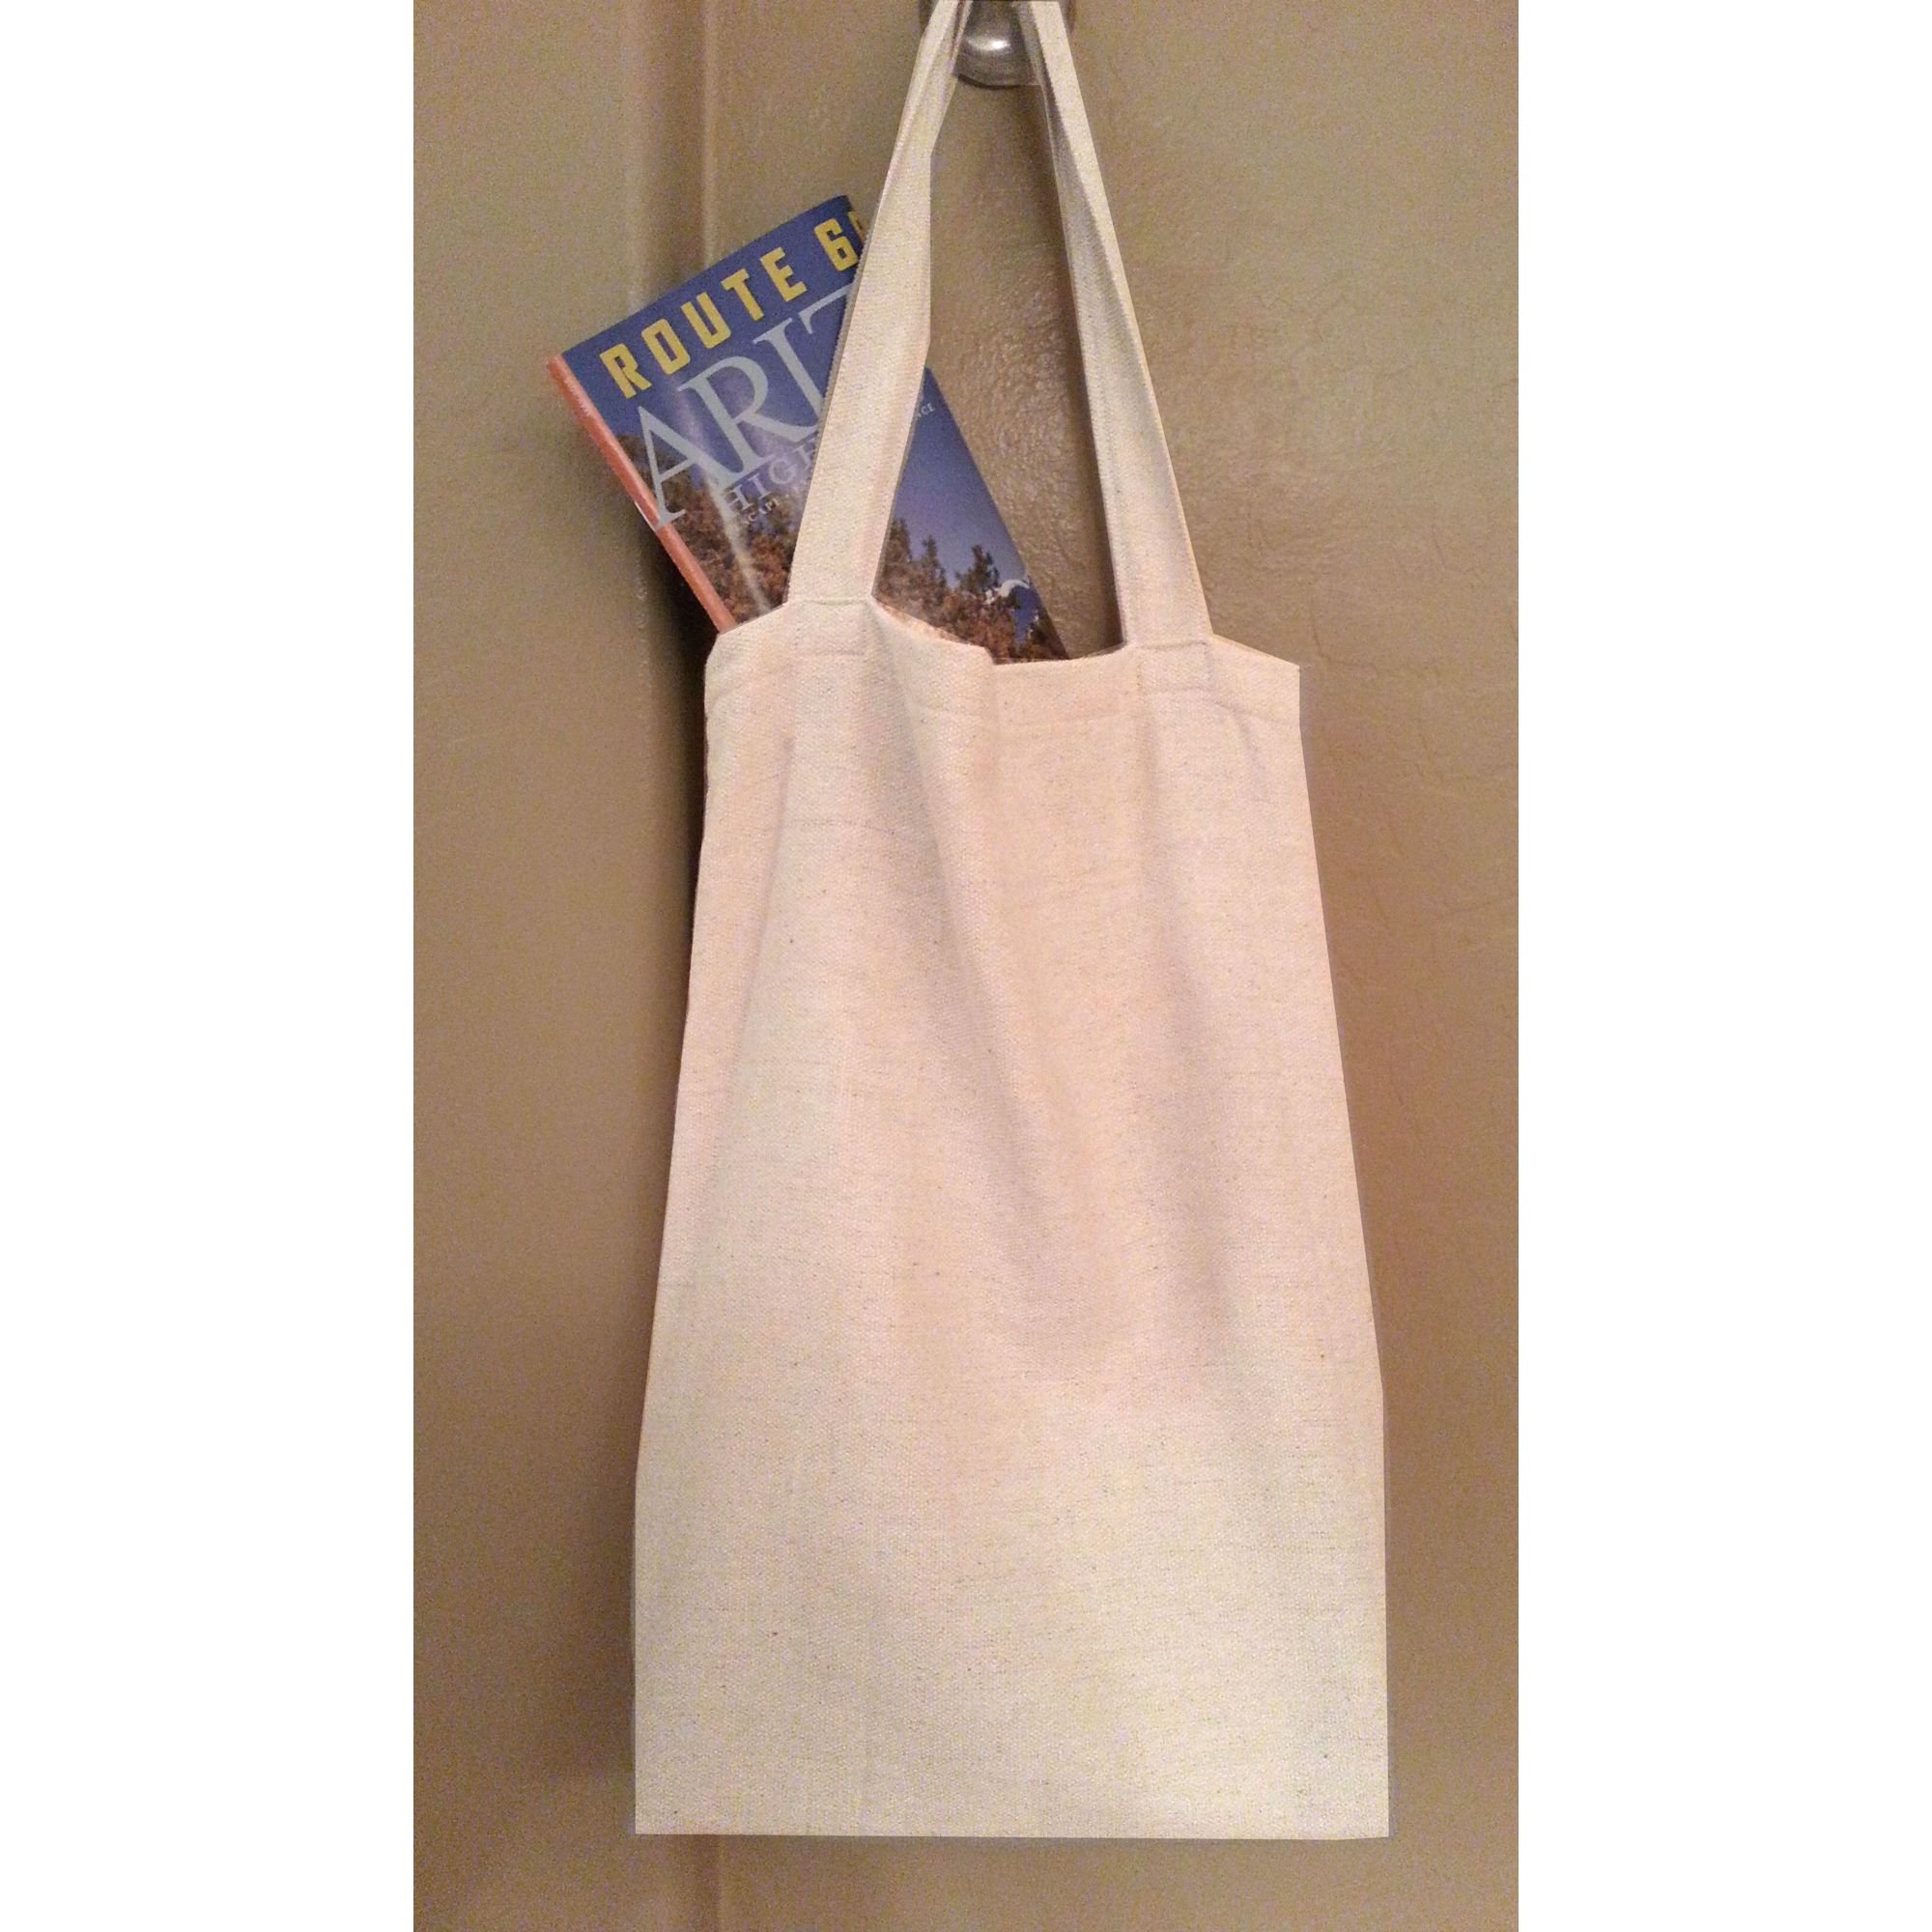
I love to carry a tote with me on trips. I use it to carry snacks, maps, hotel information, water bottles, sun screen and many other items that must be with me, but don't fit into a purse.
I also use my tote for groceries. Store bought totes don't seem to come in the size I want. Plus, I want a washable bag
Another plus is these bags are super cheap to make, since they use inexpensive painter’s canvas. You can make several from one painter’s cloth.
BAG SIZE
overall size: 11.5" wide x 17" high x 3" deep
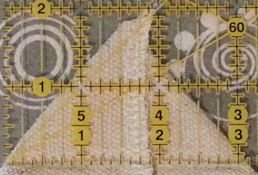
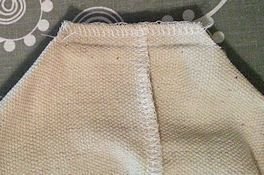
The following photo shows the mitered corners on the bag bottom. This dimension can be changed. My instructions create a 3" depth to the bag.

Mitered Corners
The following photo shows the mitered corners on the bag bottom. This dimension can be changed. My instructions create a 3" depth to the bag.
SUPPLIES
Fabric:
II chose painter’s drop cloth canvas for my bags. It is sturdy and easy to work with, and was a good price for the amount of cloth I got. I found mine at Lowe’s; the green link and links below will take you to Amazon.
By The Yard
One Bag: If purchasing canvas by the yard, you will need 40" in length and 37" in width.
Two Bags: If purchasing canvas by the yard, you will need 40" in length and 44" wide.
NOTE: I used black duck cloth for the black bag shown on this page. The painter's cloth was used for the light bag.
General Supplies
thread to match background, scissors or rotary cutter and mat, quilting pins, large sewing ruler, fabric marking pencils, seam ripper
All seams are 1/4"
INSTRUCTIONS - ONE BAG
Cut Fabric
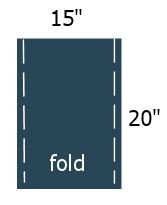
Main Bag: Cut 1 piece 15" x 40"
Straps: cut two pieces, each 3.5" x 24"
For ease in cutting, I folded my fabric, then cut 15" x 20". See diagram below. This created a piece that was 15” x 40” when unfolded. I always use a large sewing ruler, cutting mat and rotary cutter. It makes cutting a snap.

Prepare Fabric Pieces
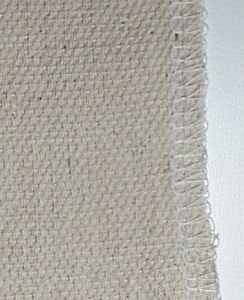
Canvas ravels. It is much easier to work with if the edges are sewn with a serger or zig-zag stitch. Stitch all four sides of the two strap pieces, and across the two short ends of the main bag piece.
Assemble Tote
Main Bag Side Seams & Mitered Corners
NOTE: I use two different methods for creating mitered corners. Both work. On this project, I show the first method I learned.
To learn the method I usually use now, go to: Cushion Cover Pattern.
Also, see: Mitered Corner Lesson
Bag Construction
Stitch Bag Sides
Fold bag fabric piece right sides together. The folded edge will be the bottom of the bag.
Stitch 1/4" side seams. Serge or zig-zag around the open top of the bag if you haven't already done so.
Create Mitered Corners
The bottom of the bag will need a mitered corner on each side.

Sew A Mitered Corner
Leave bag inside out. To make mitered corners on the bottom of the bag, pull out the corners of the bag, on both sides of the side seam (pulling out the little points). Measure and sew a 3" line perpendicular to the side and bottom seam. Repeat on the other corner of the bag. This easy method of mitered corners can be used for pillows, and any place that calls for a mitered corner.
You can make your bag any depth. To stay with my dimensions, stitch a 3" line perpendicular to the side seam. I use a quilter's ruler to help me find the place where the line will be #" across. After sewing the line, trim off the point.
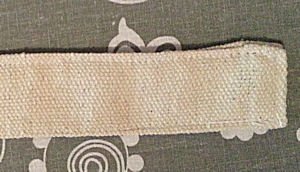
Make Handles
If you haven't already cut the straps, cut two pieces of fabric, each measuring 3.5" x 24". Serge or zig-zag the two long sides of each strap if you haven't already done so. Turn under each long side 1/4" and press with iron. Fold strap in two lenghthwise, wrong sides together. Pin. Stitch the two long sides, stitching 1/8" from the edge. Serge or zigzag across short ends. Alternate: I also turned under the strap ends, but this made the ends a bit bulky. My machine handled it, but if you are using twill, it would probably be too thick for a regular machine. Leaving the short ends of the straps serged (or zig-zagged), and not hemmed, is fine.
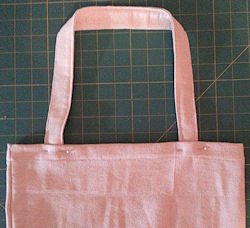
Place one end of strap 2" from the side seam of the bag. Place the other end 2" from the opposite side seam of the bag. Place the strap ends insdie of the bag. After sewing on the handle, stitch a square box on end of handle where it attaches to the tote, stitch an "x" into the box. Follow the picture below. This reinforces the area where the handle attaches to the tote.
Attach Handles
Fold the handle as shown to make it lie flat. Stitch ends to inside of bag. Stitch and "x" to as shown below.

Attach handles to tote
Clothing & Accessory Sewing


Home Improvement Projects


Use double sided pre-quilted fabric to create this roomy tote with pockets. Multi-use bag. Baby supplies, day travel.