Prairie Sue Doll Quilt

DIY Projects -> sewing -> baby / children -> quilts
Applique Doll Quilt
Use as wall hanging, doll quilt, quilt block, or add to a pillow or tote.
Disclosure: This site contains affiliate links. As an Amazon Associate, I earn from qualifying purchases. Clicking on links, and purchasing products, may result in the seller paying us compensation - at no extra cost to you. Affiliate links are in green.
Also see:
Lifestyle Blog
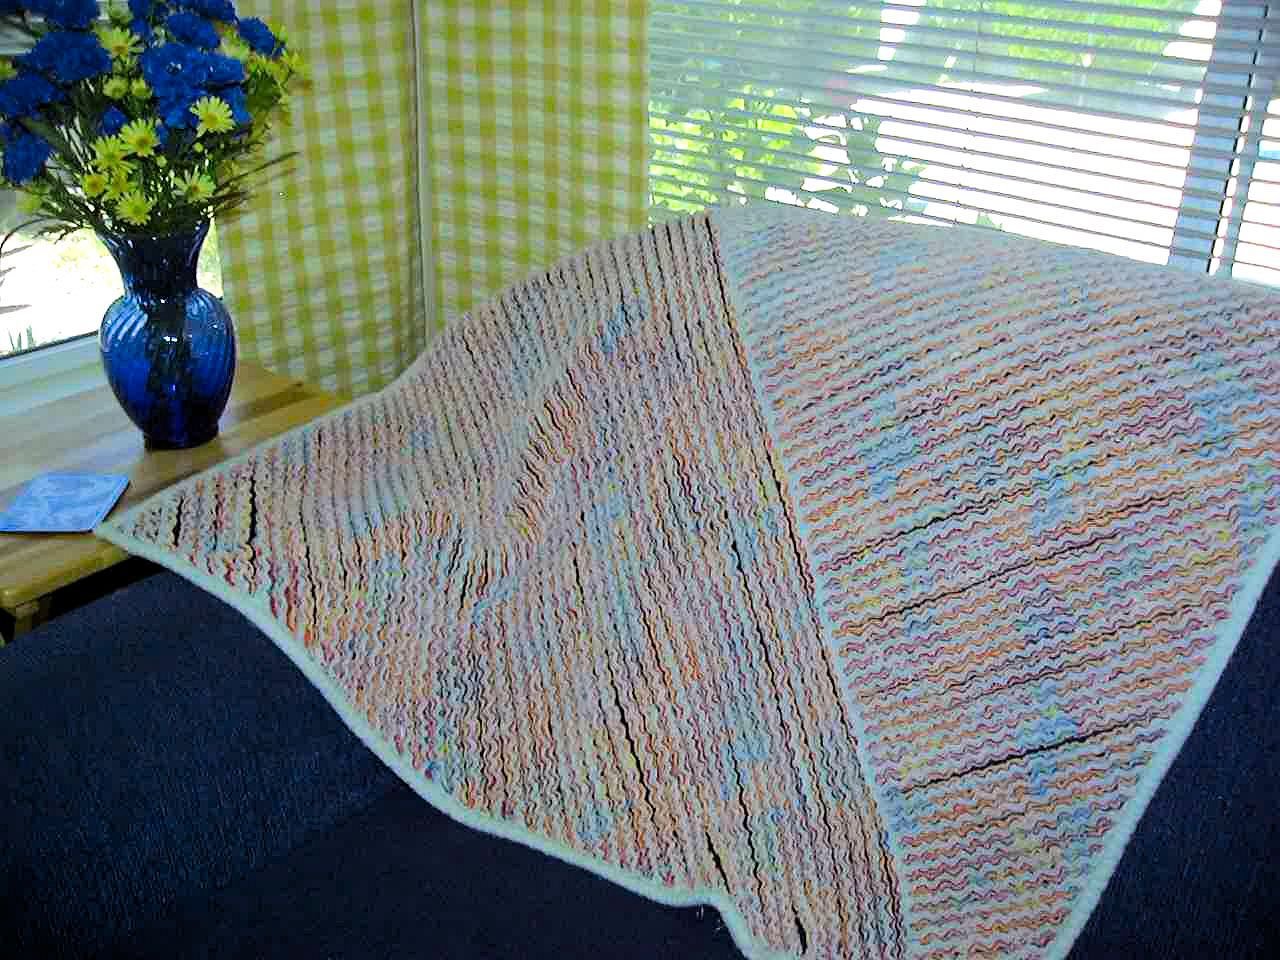
Quilt Patterns
Free Craft Projects
Prairie Sue Doll Quilt Pattern
I designed this piece as a doll quilt for my niece, many years ago. I had meant to post it to my previous site (CraftAndFabricLinks) but never did. So - I am presenting it now.
© Christina Sherrod 2008-2023
Resources
To learn more about applique, and use of applique pressing sheet, go to: Applique Lesson
SIZE
The finished item measures approximately 18.5” high x 15.5” wide.
All seams are 1/4”.
All seams are 1/4”
Pre-wash, dry & press fabric before using
Your fabric will shrink, so pre-wash, dry and press before using if you plan to wash your project in the future.
Iron between each step. Read through all directions completely before beginning.
SUPPLIES
Cutting Tools & Bonding
I recommend a rotary cutter, sewing mat, and sewing ruler . I use these tools for most projects because they allow for easy, precise, and fast cutting.
I recommend Fusible Web for this project. It allows for precision placement of fabric pieces.
General Sewing Supplies
thread to match fabric background
sewing scissors
pins (I use quilting pins)
seam ripper
fabric marking pencil
sewing scissors
Project Supplies
Grass: 7.5” x 15.5” piece of green print fabric
Sky: 11.5” x 15.5” piece of sky or blue print fabric
Dress: 8” x 9” dress print fabric
Sleeve: 2.5” x 4” piece of fabric
Bonnet: 6” square of fabric
Sun Center: 2.5” square of fabric
Sun Rays: 4” square of fabric
Hearts: 2” x 8” strip of fabric
Flowers: 1.5” square per flower
Dog: 5” square of fabric
Hand: 2” square of fabric
Batting/ Backing/ Stabilizer: 18.5” x 15.5”
Binding: 1.5” x 80” (can be pieced from shorter strips)
Fusible Web - for adhering the fabric pieces to the project. One sheet of web, approx. 18” x 15” would be enough.
Optional: 8” eyelet lace for dress and sleeve ends, ready made appliqué flowers (approx. 1” diameter), bow for dog collar, 2” of 1/8” ribbon for dog collar, appliqué pressing sheet
PATTERN PIECES
Print the following pattern pieces.
DIRECTIONS
1. Print Patterns
Download and print the 3 pattern pages above. Cut out the pattern pieces.
2. Create Sky And Ground
Cut one 7.5” high x 15.5” wide piece of grass fabric. Cut one 11.5” high x 15.5” wide sky fabric. Stitch sky to grass, right sides together to create one piece that measures 18.5” high x 15.5” wide. Press seam toward darker fabric.
3. Check Pattern Placement
Lay out the pattern pieces on the sky-grass piece to be sure of size and placement.

4. Attach Fusible Web To Fabrics
Fuse a piece of web to the wrong side of the various fabrics, large enough to hold each pattern piece (for example, cut a piece of fusible web large enough to fit the dog, and adhere the web to the wrong side of the dog fabric). This way, when the fabric piece is cut out, it will already have the fusible web on the back side. Follow the instructions that came with your fusible web.
For a lesson on using fusible web for applique, go to: Applique Lesson Using Fusible Web
5. Cut Out Applique Pieces
Using the patterns, cut out each fabric piece: bonnet, hand, sleeve, dress, hearts, shoe, sun, dog.
Remove the paper backing from each fabric piece. Turn the pieces right side up.
6. Attach Lace To Sleeve & Dress
Stitch eyelet lace to the lower edge of the dress and end of the sleeve so that the right side of the lace extends from underneath the right side of the dress and sleeve. Stitch close to the edge of the dress and sleeve.
7. Attach Ribbon Collar To Dog
Wrap 1/8” ribbon around the dog's neck with each end on the wrong side of the dog. Stitch or glue the ribbon into place (I found that a single stitch down the center of the ribbon worked well).
The following photo shows my dog on the background, with the ribbon around the dog’s neck and ready to be cut. In the photo, the lace is not yet stitched to the bottom of the dress.

8. Check Applique Placement
Lay out all fabric pieces you have just cut (dog, girl, sun, etc.) onto the background, just as you did with the paper pattern pieces, to be sure you are happy with placement and design. It might be helpful to take a photo at this point.
FOLLOW THIS ORDER FOR PLACEMENT
shoe
dress
bonnet
hand
sleeve
hearts
dog
background (flames) of sun
circle of sun
9. Press(fuse) All Pieces
Once you are totally happy with your placement of pieces, use an iron to press the pieces into place. The heat of the iron will activate the “glue” on the fusible web.
10. Applique Stitch Detail
Fusible web sticks quite well, but I find that edges can become loose over time. Therefore, I recommend that you use a narrow satin stitch (also called applique stitch) to outline each piece. If you prefer, use hand embroidery. Fabric paint can also be used to create a fine outline around your pieces. If using machine embroidery, use an applique foot on your machine. Embroider stems for the bouquet of flowers and the flowers in the grass. Be sure to use stabilizer. I cut the stabilizer to 18.5” x 15.5”.
I used an applique stitch to outline the inner circle of my sun, the outer flames, and to create a face.

Use an applique stitch to add stems. Free motion embroidery can be used to add small flowers. I also provide a lesson on free motion embroidery. Go to: Free Motion Embroidery Lesson

Use an applique stitch to add stems for Sue’s bouquet.

11. Dog Bow & Flowers
I provided a pattern for flowers; they can be added as applique pieces.
Instead, I used fabric glue to adhere small, purchased flowers and dog bow. If you are planning to use this piece in a quilt, wait to glue on flowers and other embellishments until after your hand or machine quilting is completed.
I did not add any quilting, because this is a small piece.

Finishing Your Doll Quilt
Layer backing, batting (or fusible fleece) and quilt top. Baste around perimeter, stitching the three layers together. Square up the sides – be sure the horizon line (grass/sky) is straight and exactly horizontal. I had to trim my quilt a bit and its final size was 15” x 18.5”. That was fine – I allowed for some trimming in the overall design. Cut binding fabric into 1.5” strips to create binding. Add binding. Machine or hand quilt as desired. Glue on any additional embellishments such as dog bow and flowers.
For more information on layering and binding a quilt, go to: Quilt Lessons .
More Applique Projects
3 scenes: Halloween Applique

Create intricate appliques.
Quilting


Lifestyle Blog
It’s all about enjoying life.
Adorable doll quilt or quilt block. Prairie girl enjoying her garden along with her dog.