Set of 4 Gift Bags
Affordable, easy-to-make gift bags
Our pattern uses only ONE yard of 43” wide fabric
A casing holds ribbon ties
This pattern comes from our former site, CraftAndFabricLinks. Same owners - new site.
Disclosure: This site contains affiliate links. As an Amazon Associate, I earn from qualifying purchases. Clicking on links, and purchasing products, may result in the seller paying us compensation - at no extra cost to you. Affiliate links are in green.
Great “beginner” sewing project. Practice straight stitching and creating a casing.
Also see:
Lifestyle Blog
Easy Sewing Patterns
Accessory Crafts
Special Occasions
One Yard Gift Bags
Economical
Very economical, these bags were designed to be made from only 1 yard of fabric. Learn straight stitching, hem, creating a casing, and mitered corners. I will teach you a trick for making perfect miters the easy way.
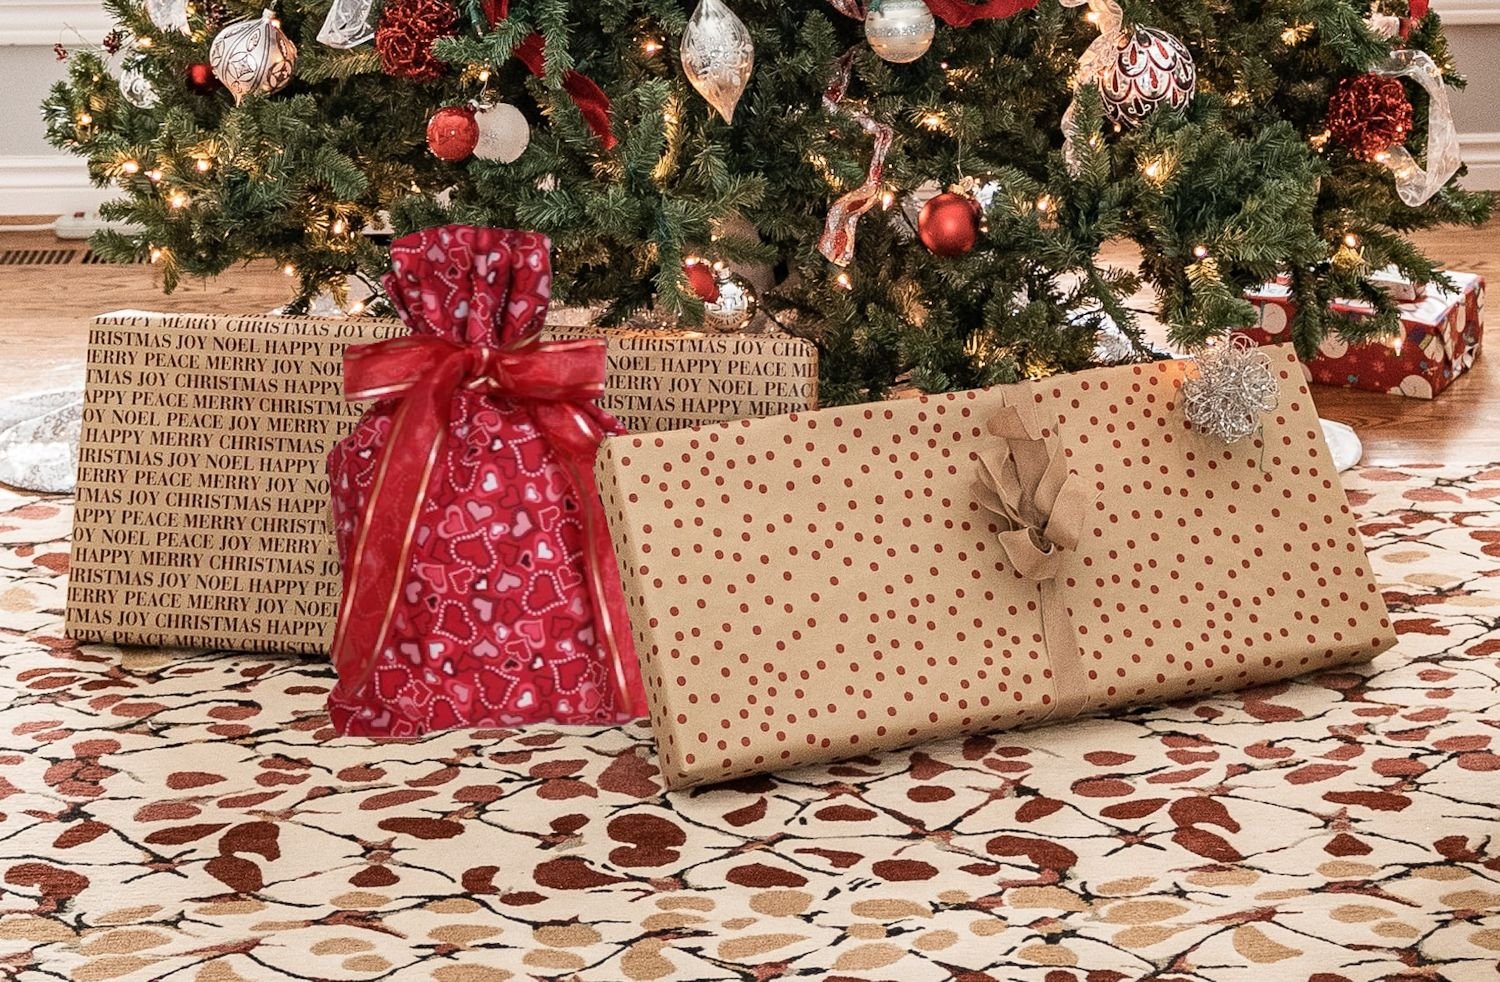
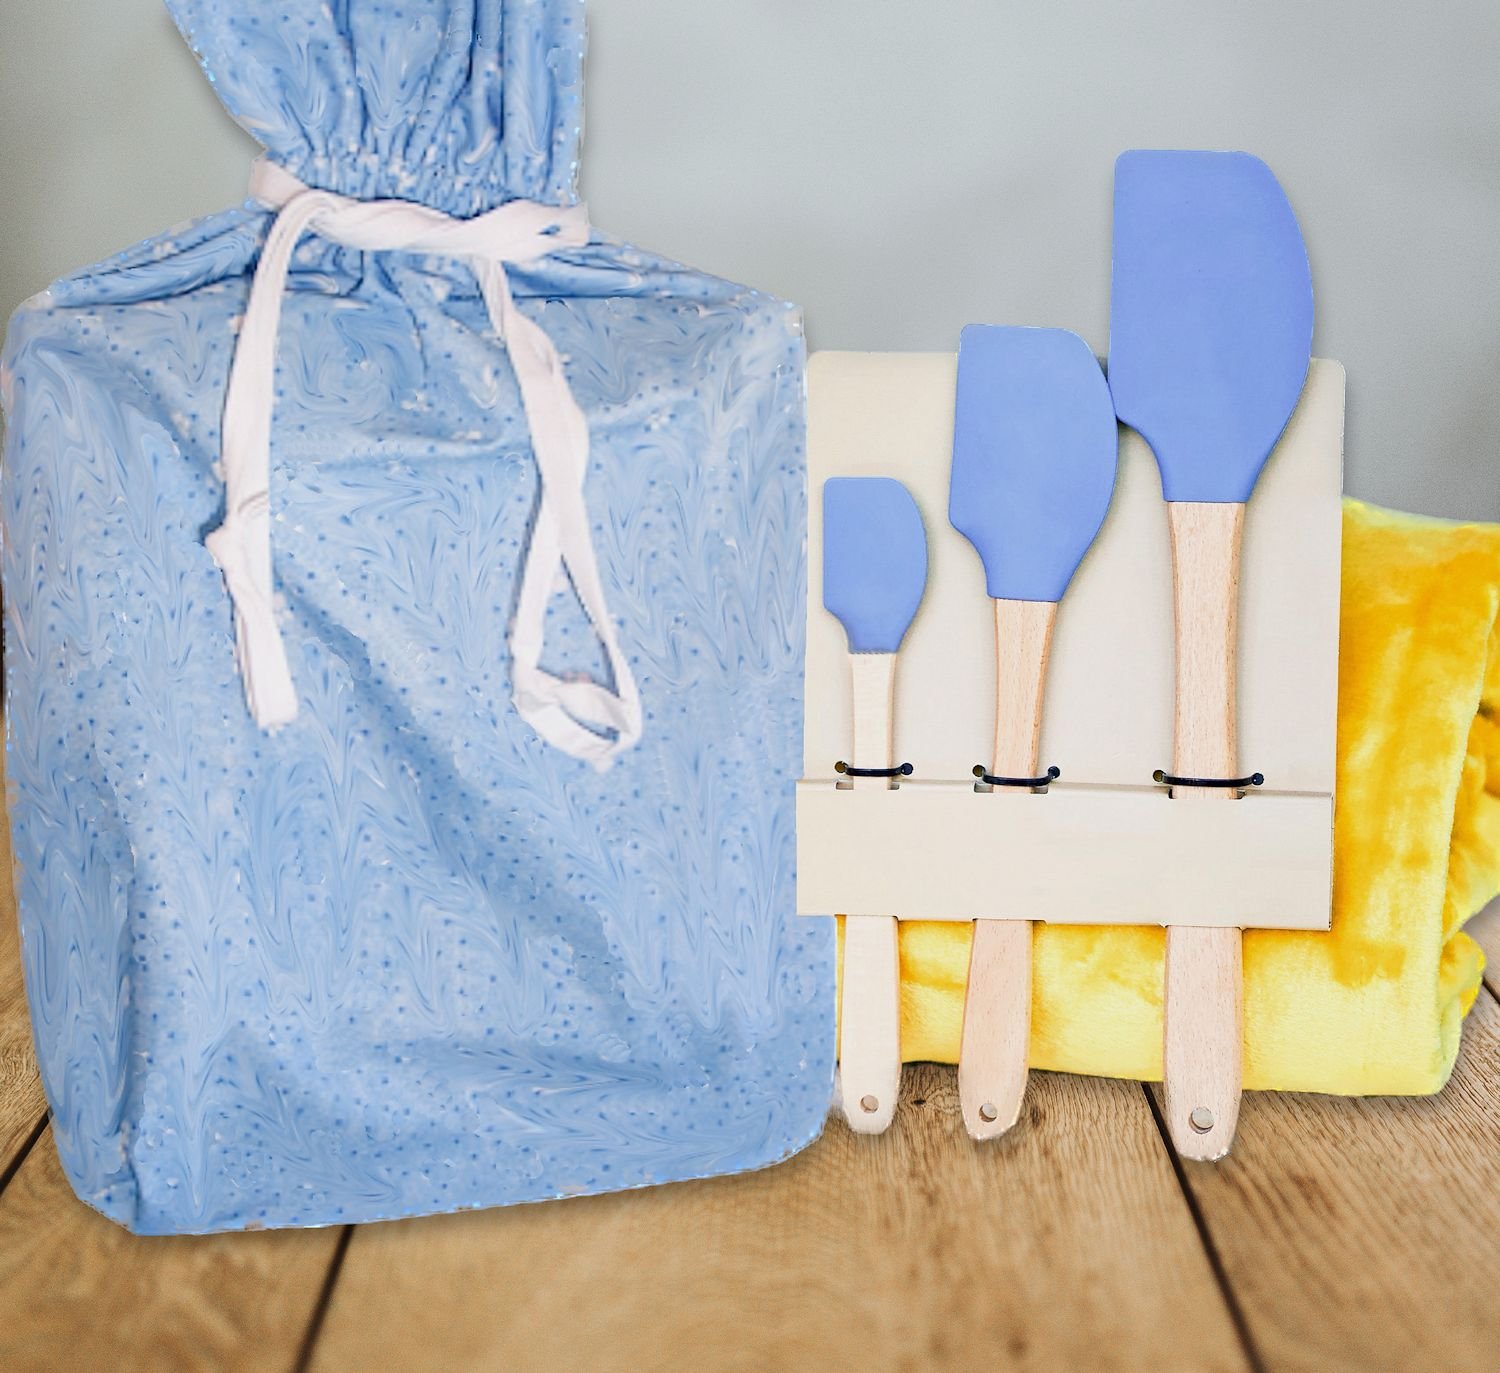
Add your own trimming to create your own look. Gift bags make wonderful gifts themselves, or use them to present your gifts in.
Better For The Environment
I have made several and they have been passed through the family numerous times as they are used to “wrap” gifts.
Omit The Casing?
These bags are made with a casing to hold the ribbon that will tie the bag closed. Small slits provide the openings for the ribbon. If you prefer an easier pattern (no casing), check out our Easy Gift Bag Pattern. Make these 4 bags the as stated on this page, but omit the casing. Instead follow the directions for the top hem for the easy gift bag.
Gift Bag Sizes
Approximate sizes (width x height x depth): small: 9” x 5” x 2”; medium: 9” x 9” x 3”; large: 9” x 11” x 4”; wine: 5” x 10.5” x 1”.
SUPPLIES
Check Amazon for prices. Affiliate links are green.
Basic Sewing Supplies - my “must haves” for any sewing project
rotary cutter and cutting mat makes cutting straight lines a snap
large clear sewing ruler I can't say enough about large rulers – I use them in my home remodeling and art projects as well
straight quilting pins (optional) quilting pins are larger than regular pins, so are easier to see
spring action fabric scissors regular and micro tip – I use both; the spring action is a huge assistance when doing a lot of cutting
thread most of my thread is on large serger cones – very economical
Project Supplies - set of 4 bags
Fabric: to make all 4 bags, you will need 1 yard of 45” multi-directional fabric (if your fabric is less than 45” in width, make the small bag slightly narrower; for example, if your width is 43” make the small bad only 9” wide - or distribute the difference between the 3 larger bags - do not adjust the wine bag). Multidirectional fabric is important because the fabric is folded to create a front and back. You would not want Christmas trees right side up on the front of the bag and upside down on the back of the bag.
Thread (to match fabric background)
Ribbon or lace, etc. for trim; ribbon for use as ties (I used 1 yard per bag of 5/16” ribbon)
Fusible Interfacing (small square - see step 2)
Freezer paper - for creating pattern (see step 1)
Safety Pin
DIRECTIONS
PRE-WASH, DRY, & PRESS ALL FABRIC BEFORE USING
NOTE: All seams 1/4"
1. Create Patterns / Cut Fabric
Cut bag patterns from freezer paper. You will need a pattern for each bag.
Cut paper pattern pieces in the sizes listed below.
Paper Pattern Pieces:
Medium Bag: cut 1 piece 12.5” x 32”
Large Bag: cut 1 piece 14” x 36”
Small bag: 1 piece 12” x 23”
Wine bag: 1 piece 6.5” x 34”
Lay out the pattern pieces as shown above and cut fabric.
NOTE: you can omit the pattern pieces, and use a large sewing ruler to measure, but I recommend using pattern pieces if you are new to sewing.
2. Mark Slits For Ribbon
Place the large bag fabric piece wrong side up. Use a fabric marker or pin to mark 5.5” from the upper edge, at the center of the front of the bag. Cut a small square of fusible interfacing and use an iron to press the interfacing onto the bag. Draw two small slits on the interfacing, in the center. The slits should be just below the 5.5” mark. I used 5/16” width ribbon so drew my slits about 1/4” long. Your ribbon must be able to pass through the slit openings, but the slits don’t have to be as wide as the ribbon.
3. Cut Slits For Ribbon
Using sharp, precision cut scissors (such as thread snippers), cut the two slits.
Repeat steps 2 and 3 for the other three bags.
Added Decorative Ribbon
For one of my bags, I stitched a second ribbon just under the casing slits. It was stitched on in the center of the ribbon with just a stitch or two. When the bag was finished, I tied that ribbon into a bow. You can see that in the top image, or image at the bottom of this lesson.
4. Stitch The Side Seams
Fold each bag right sides together. Sew 1/4” side seams.
4. Draw Lines For Mitered Corners
Using a quilter’s square, draw squares of the following sizes, in the two lower corners of the bag (the bag is still inside out). Do not include the seam allowance in your measurement; in other works start the measurement at the seam line stitching.
large bag: 2” square
medium bag: 1.5” square
small bag: 1” square
wine bag: 1/2” square
Draw a second line 1/14” inside the first square. The following photo shows my original square, plus the placement for my inside line.
6. Cut Lines For Mitered Corners
Cut out the INSIDE square. The outer square’s lines will become your stitch line.
7. Stitch Miter Seams
Pull apart the fabric layers and line up the seams so one is on top of the other. Line up the top cut edges.
NOTE: The following two photos are from my cushion cover pattern. The fabric is different; the method is the same. That tutorial shows how to create a mattress cover, futon cover, pet bed cushion cover, and wheelchair cushion cover (plus how to use foam to create a nice cushion). You can also see more on mitered corners at Mitered Corners Lesson
Pin the layers together. Stitch the miter seam. The stitch line is enhanced in red in the following photo. This creates the mitered corner. Repeat for the opposite side, so that you have a mitered corner on each side of the bottom of the bag. Repeat for the other bags.
The photo shows a nicely finished mitered bottom on the gift bag.
8. Stitch Hem
Press the upper edge of the bag under 1/4”. Fold down the upper edge to create a hem that just covers the cuts for the ribbon. The cuts are enhanced in the following photo. The bag hem is partially folded down in the photo.
The hem should be approximately 3”. This allows a 2” ruffle and a 1” casing. It does not have to be exact.
Press the hem with a hot iron and pin into place. Stitch the hem into place, close to the edge. I run my stitch line approximately 1/8” from the edge of the hem.
9. Create Casings
Run a second line of stitching 1” above the first line of stitching, all the way around the bag. You will now have a line of stitching just below the ribbon holes, and just above the ribbon holes. This creates the casing for the ribbon.
Turn the bag right side out. Attach a safety pin to one end of a 1-yard piece of ribbon. Use the safety pin to pull the ribbon through the casing. Go in one hole, through the casing, and come out the other hole. Tie off the ends of the ribbon so they do not fray.
Beautiful Bag Set - Get Creative!
These bags are quick and easy and very economical to make. I buy my ribbon at the dollar store, and a roll is enough for 6 bags.
Use special occasion, holiday, elegant, or casual fabric for different looks.
Stencil, paint, or applique your bags. Attach beads to the ribbon. Use your own sense of creativity to create bags that are uniquely your own.
More Totes, Bags & Purses
Lifestyle Blog











Use double sided pre-quilted fabric to create this roomy tote with pockets. Multi-use bag. Baby supplies, day travel.