Dala Horse Intarsia Crochet
DIY Projects -> sewing -> crochet
Dala Horse Crochet With Surface Crochet Embellishment
Skill level: intermediate to advanced
Instructions plus printable pattern
Approx 7” square - perfect for table trivet
Enlarge for pillow, tote, or other item
Disclosure: This site contains affiliate links. As an Amazon Associate, I earn from qualifying purchases. Clicking on links, and purchasing products, may result in the seller paying us compensation - at no extra cost to you. Affiliate links are in green.
Also see:
Lifestyle Blog
Holiday Sewing & Crafts
Kitchen Projects
Embroidery & Crochet
Dala Horse Trivet Size
My trivet measures approximately 7 3/4” w x 7 1/4” high.
It is 26 sc wide x 29 rows high.
I used a size I crochet hook. I tend to crochet a bit tight, so size I worked well for me.
The size is not real important. It is important that the stitches not be too loose or too tight. Use the hook that works well for you - and for your yarn.
NOTE: To create a table trivet, crochet a second piece of the same size. That will be the back piece. It can be all sc. Slip stitch the two pieces together for a double thickness.
Intarsia Crochet - asymmetrical
My dala horse intarsia crochet pattern is a bit more advanced than my Christmas tree pattern because it it is not symmetrical in design. That means that the right half of the design is not a mirror image of the left half of the design (my tree pattern, shown below, is symmetrical).
I recommend that you read the directions, and review the photos, of my tree pattern before beginning the dala horse project.

Scandinavian minimalist tree design in single crochet
With my dala horse intarsia crochet pattern, which is asymmetrical, you must pay attention to which direction you are going when creating each row. When looking at the diagram of the pattern, odd rows follow the diagram right to left. At the end of the row, you would chain one and turn your piece over (as you would normally do in crochet). You are still crocheting from right to left, but you are now on the WRONG side of the piece, so now follow the diagram from left to right. You will understand once you get going. The odd rows are always the RIGHT SIDE for this project, and the even rows are always the WRONG SIDE.
I recommend making up the Christmas Tree Intarsia Crochet first. The pattern is symmetrical, so you don’t have to worry about working a row backward from what you are looking at on the pattern. Also, I explain the difference between intarsia and tapestry (carrying yarn). Like that project, the Dala Horse uses both. I also have a refresher on how to start your chain: create the slip knot and work up your foundation chain.
For this piece, I provide the visual (grid of stitches in a diagram), and I also provide the written instructions - taking into account that odd rows are worked from right to left.
EXAMPLE:
look at the following dala horse grid design below

intarsia crochet: dala horse
Row 6: background color sc 7, horse color sc 3, background color sc 10, horse color sc 3, background color sc 3. Row 6 is an even row, so you follow the diagram from left to right. Total 26 stitches.
Row 7: background color sc 3, horse color sc 3, background color sc 10, horse color sc 3, background color sc 7.
Remember Always!
End a row with chain 1, turn. That will count as the first sc of the next row. If a row calls for 26 sc, your chain 1 is the first sc - you would need to sc 25 more stitches.
Intarsia Crochet Bobbins
Intarsia crochet requires a yarn bobbin to hold yarns for colors brought in by the intarsia method. You can purchase bobbins, or create your own bobbin using cardboard. For my first project, I created a cardboard bobbin. After that I purchased bobbins on Amazon.

yarn bobbins
Just as in my Christmas Tree Intarsia project, I carried the ecru (background color). The horse was completed using 4 yarn bobbins.
My grid diagram shows where the bobbins are used. Any time there is a break in stitches (background color is needed between horse color areas), you will need to change to a new horse color bobbin for the next area of horse color. If you do not, and you carry the horse color, it will show in the background color. That would be tapestry crochet - not intarsia. I did not want my blue to show in my white (ecru) so I switched bobbins. It’s just a personal preference. You could do this entire project using the tapestry method (carrying both blue and white).
Refer to the Bobbin Use Grid (link to printable diagram below under Supplies) to see where I switched bobbins.
For the third area, I did not create a bobbin. Instead, I used the skein as the “bobbin.”
Video Lessons
I am not showing how to create these stitches. There are numerous, very good YouTube videos that show it very clearly. This is an example. It is not my video, and we are not affiliated with the creator in any way. I like the video: Intarsia and Tapestry Crochet Tutorial
sc: single crochet
bobbin sc: I use this to designate that you need to switch to a bobbin yarn for your next set of sc
ch: chain
ch 1: chain 1 for turning (always end a row with ch 1, turn: this always starts the next row and is your 1st sc of the new row)
Free Patterns & Instruction Pages

I provide three pages to download. They are all pdf files. Print the pages you need. I am a visual person, so prefer to work from a grid diagram.
The first is the basic grid for the dala horse design. Each square represents one single crochet.
The second shows the area each bobbin covers.
The third page is the written instructions.
Dala crochet Written Instructions
NOTE: the written instructions are provided for your convenience. Though I have carefully proofread them, I cannot guarantee they are error free. Always refer to the diagram for accuracy.
Every row is done only in sc.
Ch 1 at the end of every row. That ch 1 will be the first sc of the following row.
SUPPLIES
YARN

COTTON YARN
If you are making a dishcloth, table trivet, or other item that will be washed, or will get a lot of use, I recommend using a strong cotton yarn (100 percent is great). You can find it here: cotton dishcloth yarn Yarn Bee, Caron, Lion Brand all make good yarns. Check product descritpion to be sure it is COTTON.
I chose Sugar ‘n Cream by Lily, in ecru (100 percent cotton - washable) for my background color.
Crochet Hook
I used a size I crochet hook . I crochet a bit tight, so tend to choose a size larger than what the pattern calls for.
Use what works best for you - the important thing is to obtain the correct overall design that is not too tight and not too loose.
DIY Yarn Bobbin
Intarsia crochet requires a yarn bobbin to hold yarns for colors brought in by the intarsia method. You can purchase bobbins, or create your own bobbin using cardboard. For my first project, I created a cardboard bobbin. After that I purchased bobbins on Amazon.
Tapestry Needle
I used a bent tip tapestry needle to weave my ends in.
Directions
For a refresher on starting your slip stitch, creating your foundation chain, using yarn bobbins, and changing colors, refer to my Christmas Tree Crochet Pattern.
EACH ROW IS 26 STITCHES ACROSS, all sc. There are a total of 29 rows.
After each row, ch1, turn.
ALWAYS finish one color’s last stitch by leaving 2 loops on the hook and using the new color to pull through and finish the stitch (see following diagram).

1. Create Dala Horse Piece
Follow my printable written instructions or my printable diagrams (listed under Supplies above) for creating your dala horse piece. The following photograph shows my dala horse, not yet embellished.

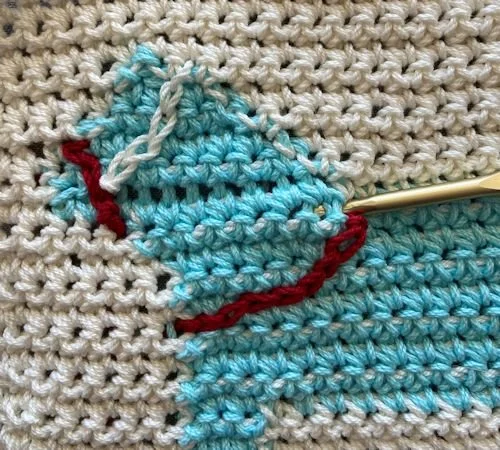
2. Add Surface Crochet
I used surface crochet to add the detail on the horse. Surface Crochet creates a nice chain stitch on the surface.
The following photograph shows 3 lines already added, via surface crochet.

Surface Crochet Instructions
Choose the yarn color you wish to use for surface crochet. Create a slip knot.

Remove the slip knot from the hook and hold it on the WRONG SIDE of your work. Push the hook through from the RIGHT SIDE to the WRONG SIDE at the point where you want to embroidery to start.
Catch the slip knot onto the hook and pull it through to the front. You now have one loop on the hook. Push the hook through to the back side where you want the chain to end, and yarn over and pull it through to the front (see below). Keep it loose because that first loop you pull up (from the slip knot) will become the first chain and will extend to the point where you pushed your hook back through the piece again.

Pull the new loop on through the first loop. That creates the first surface chain stitch.

Continue until you reach the end of where you want the line to extend to. For each chain, you will push the hook to the back, yarn over and pull through - all the way through the loop already on the hook.
NOTE: the chain line will run in the direction of the where you next push your hook to the back. I sloped my line DOWN from where it started, then turned it up toward the nose of the horse. I wanted a natural looking draping of the reins.

When you get to the end, cut off the yarn, leaving a tail several inches long. Draw the tail up through to the RIGHT SIDE of your work, through the last chain.

Place your hook on the WRONG SIDE of your work, push the hook to the front (right side), grab the yarn tail and pull it through to the back.
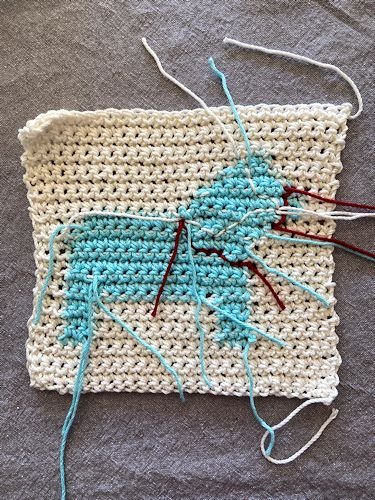
3. Weave All Yarn Ends
Use a tapestry needle to weave all yarn ends so that they are secure. I sometimes knot my ends (slip knot) before weaving them. The embroidery yarn can be woven right over the chain stitches on the back side, so that they follow the same lines. Go through only one yarn layer to ensure your yarn tails do not show on the right side of your work.
The following photo shows all of my yarn tails on the WRONG SIDE before weaving them in.
4. Create Second Layer For Trivet
If you are creating a table trivet (or pillow), you will need a second layer.
Create a second piece that measures the same size as your dala horse piece. It can all be one solid color. It should also be 29 rows high by 26 stitches wide (or whatever your piece measures, if you made changes to the pattern).
5. Stitch Layers Together
Once that layer is completed, slip stitch the two layers together.
If creating a pillow, slip stitch three sides, insert pillow form, then slip stitch the fourth side.
Related Projects

Snuggly Scarf

Fully illustrated embroidery stitch glossary.
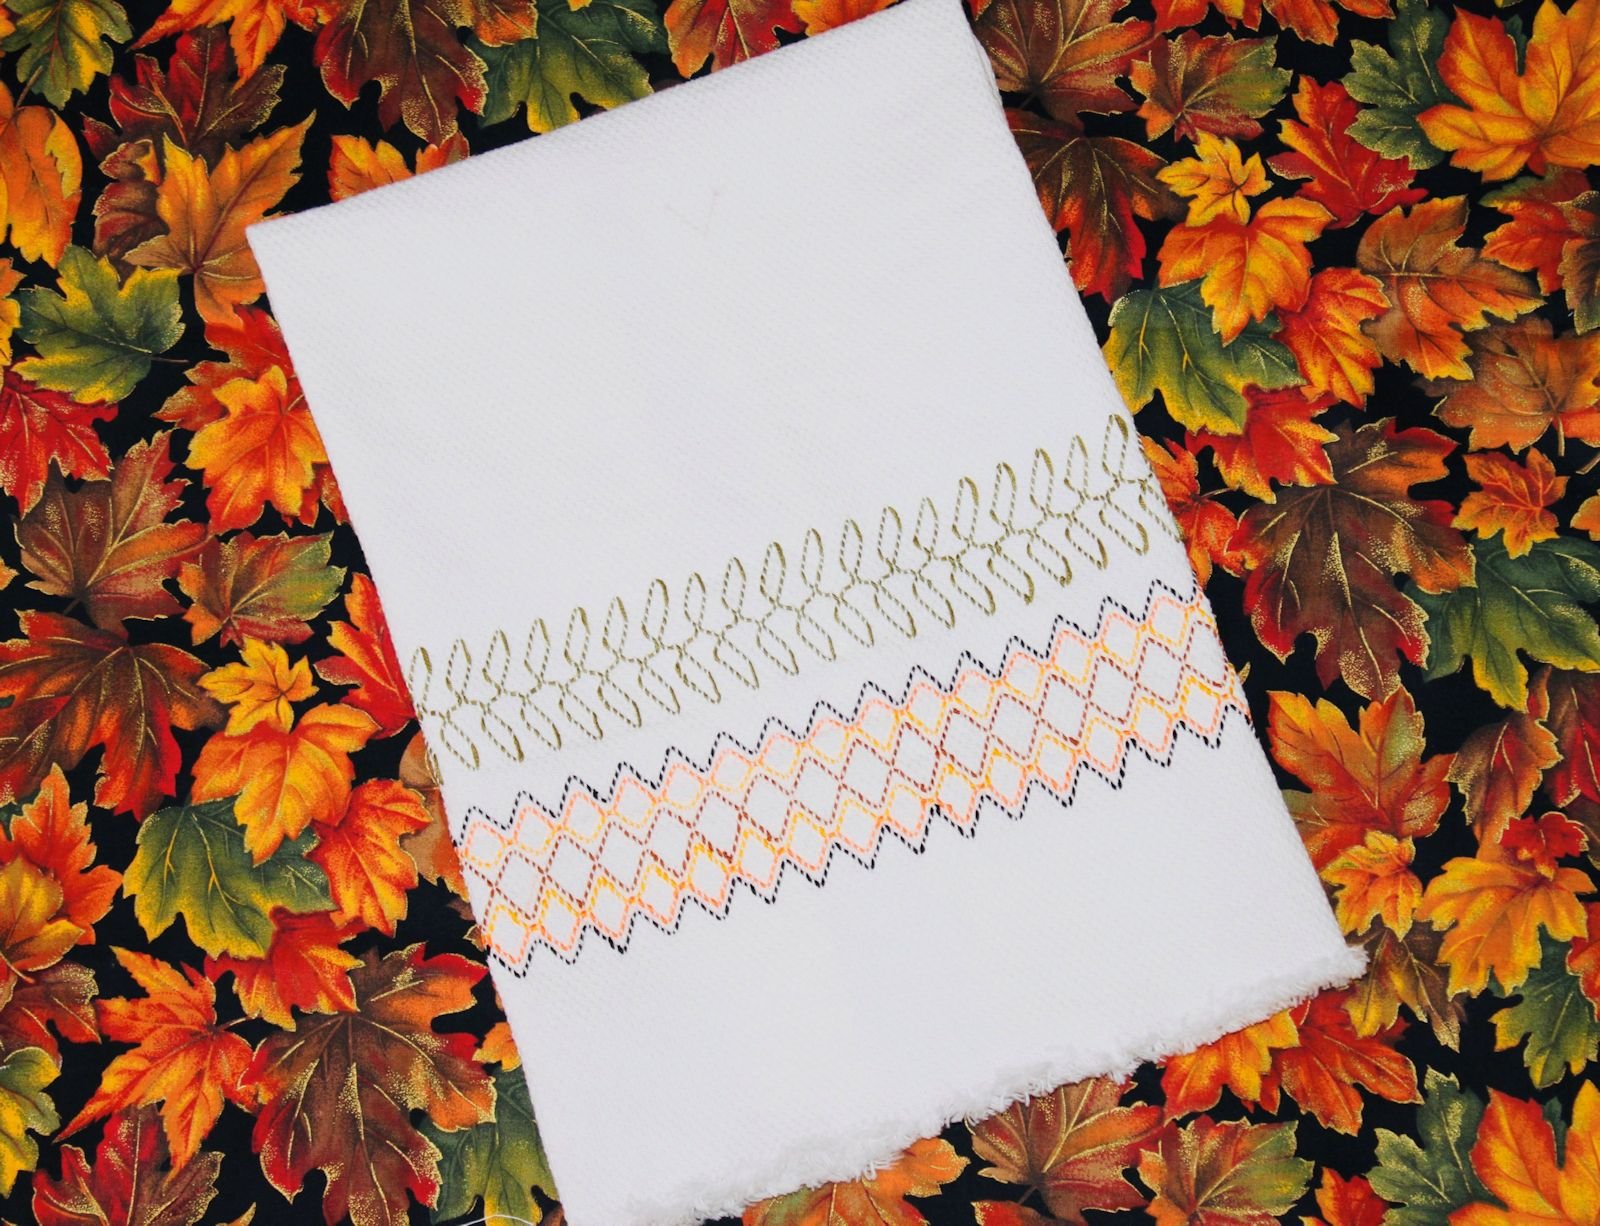
Learn the art of huck weaving. Lesson and 2 free patterns.
Pet & Animal Theme


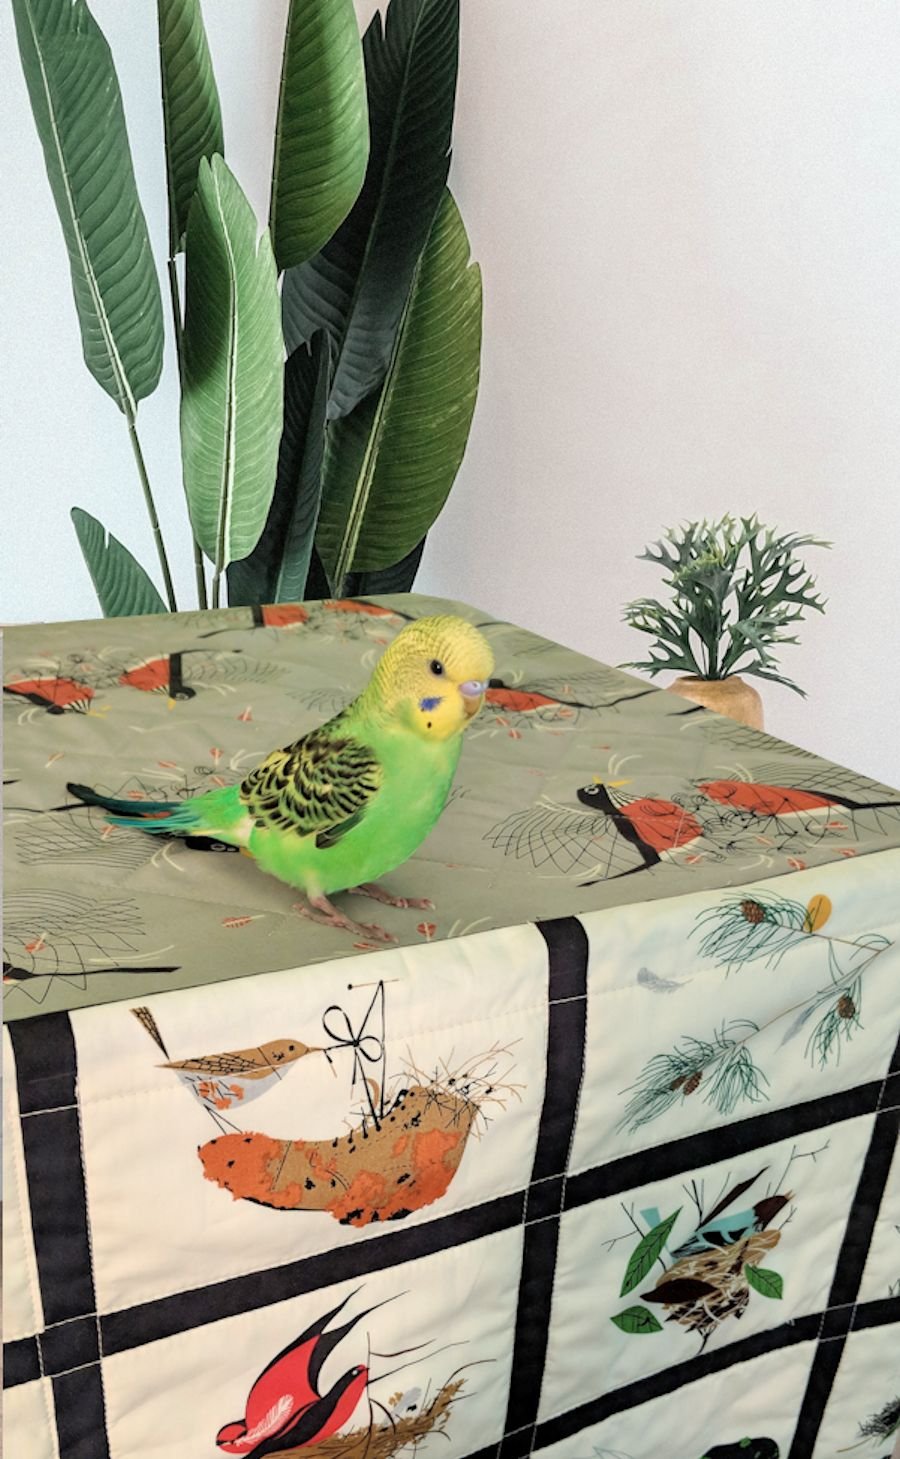


Seasons At Spruce And Fjell


Adorable, super easy stuffed cat ornament. Embroider or paint a face. Add a ribbon bow.