Quilt Lessons - page 3
page 1 page 2 page 3 page 4 page 5 page 6
Cutting Techniques Continued
Flip And Sew
"Flip & Sew" is a technique that stitches strips of fabric together by placing one fabric piece over a second piece of fabric on the right side, and then flipping the fabric over for sewing.
To start, a pattern is traced onto a piece of backing fabric. Fabric strips are pinned into place and sewing is done on the BACK of the project piece.
When finished, the top is already "quilted" to the backing. Batting can be placed between the top layer and backing during stitching.

Use the flip and sew technique to quickly and easily create an intricately pieced quilt block. Create several for a quilt, or add a frame for an "instant" wall piece!
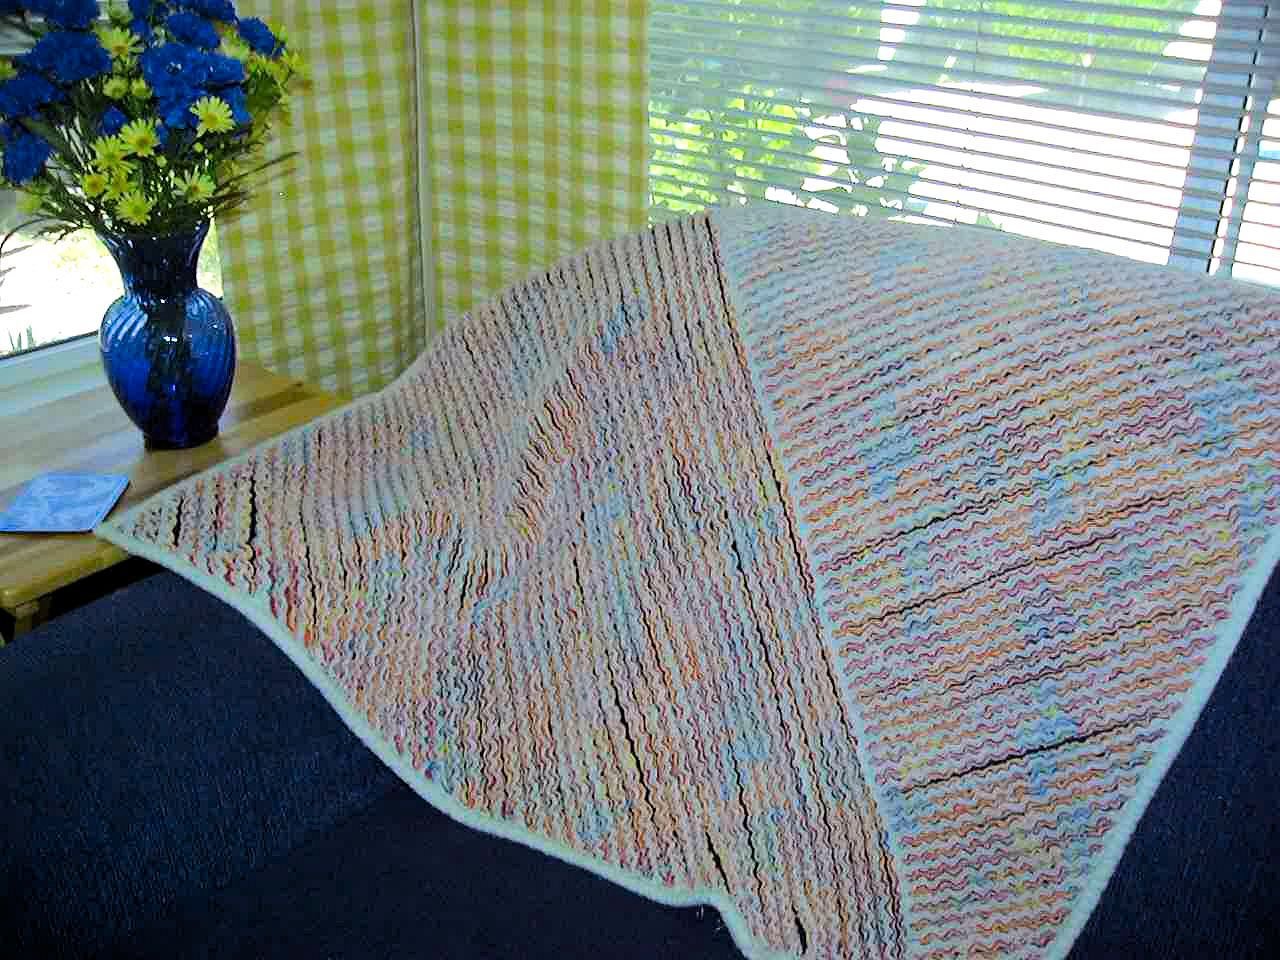
I used the flip & sew technique to create "Earth Curves" and "Solar Flares".
For my projects, I used four fabrics each. Therefore, I started with four strips of fabric, each measuring 4” x 22”. My backing fabric was 12” x 14” for solar flares and 14” square for Earth Curves. Adjust your size as needed for your project.
Step One: Cut fabric strips (as stated above).
Step Two: Trace The Pattern
I drew straight lines onto the fabric backing.
Step Three: Stitch Rows
Lay out your four rows of fabric. Stitch rows together, right sides together. Press seams in one direction.
Step Four: Cut Rows
Place fabric so that the stitched rows run vertically. Cut into five horizontal rows, each 4” wide.
NOTE: the fabrics shown are from a different project.


Step Five: Line Up First Row
Place the backing piece right side up so that the one line shows in the lower right hand corner. Place piece 1 right side up over line so that its upper edge overlaps the line 1/4".
Do NOT pin or stitch yet.
In the photo, the pattern a bit of the line shows under the fabric strip.
Step Six A: Line Up / Pin Second Piece
Place piece 2 over piece one, right sides together, lining up upper edges, but not seams. Seams should be at least 1/4" off. In other words, piece 2 seams are slightly to the right of piece 1 seams. Both pieces' upper edges overlap the line 1/4". Pin pieces into place.
Do NOT stitch.
Step Six B: Flip & Sew Pieces 1 And 2
Flip piece to back side. Stitch the first two pieces, using the line as a guide.
The photos below show steps 5, 6A, and 6B.


Step Seven: Line Up Third Piece
Flip piece to front side. Place piece 3 over piece 2 aligning upper edges, but not seams. Piece 3 seams should be about 1/4" to the left of piece 2 seams. Pin into place.
Step Eight: Flip & Sew Third Piece
Flip piece to back side. Stitch piece 3 into place using line 2 on back as a guide.
The photos below show steps 7 and 8.


Step Nine: Trim Seams
Flip piece to the front side. Trim the seam to 1/4”.


Step Ten: Press all seams open.
Step Eleven: Stitch Pieces 4 and 5.
Place and stitch remaining strips (pieces 4 and 5) in the same way you did the first pieces.
Press all seams open.


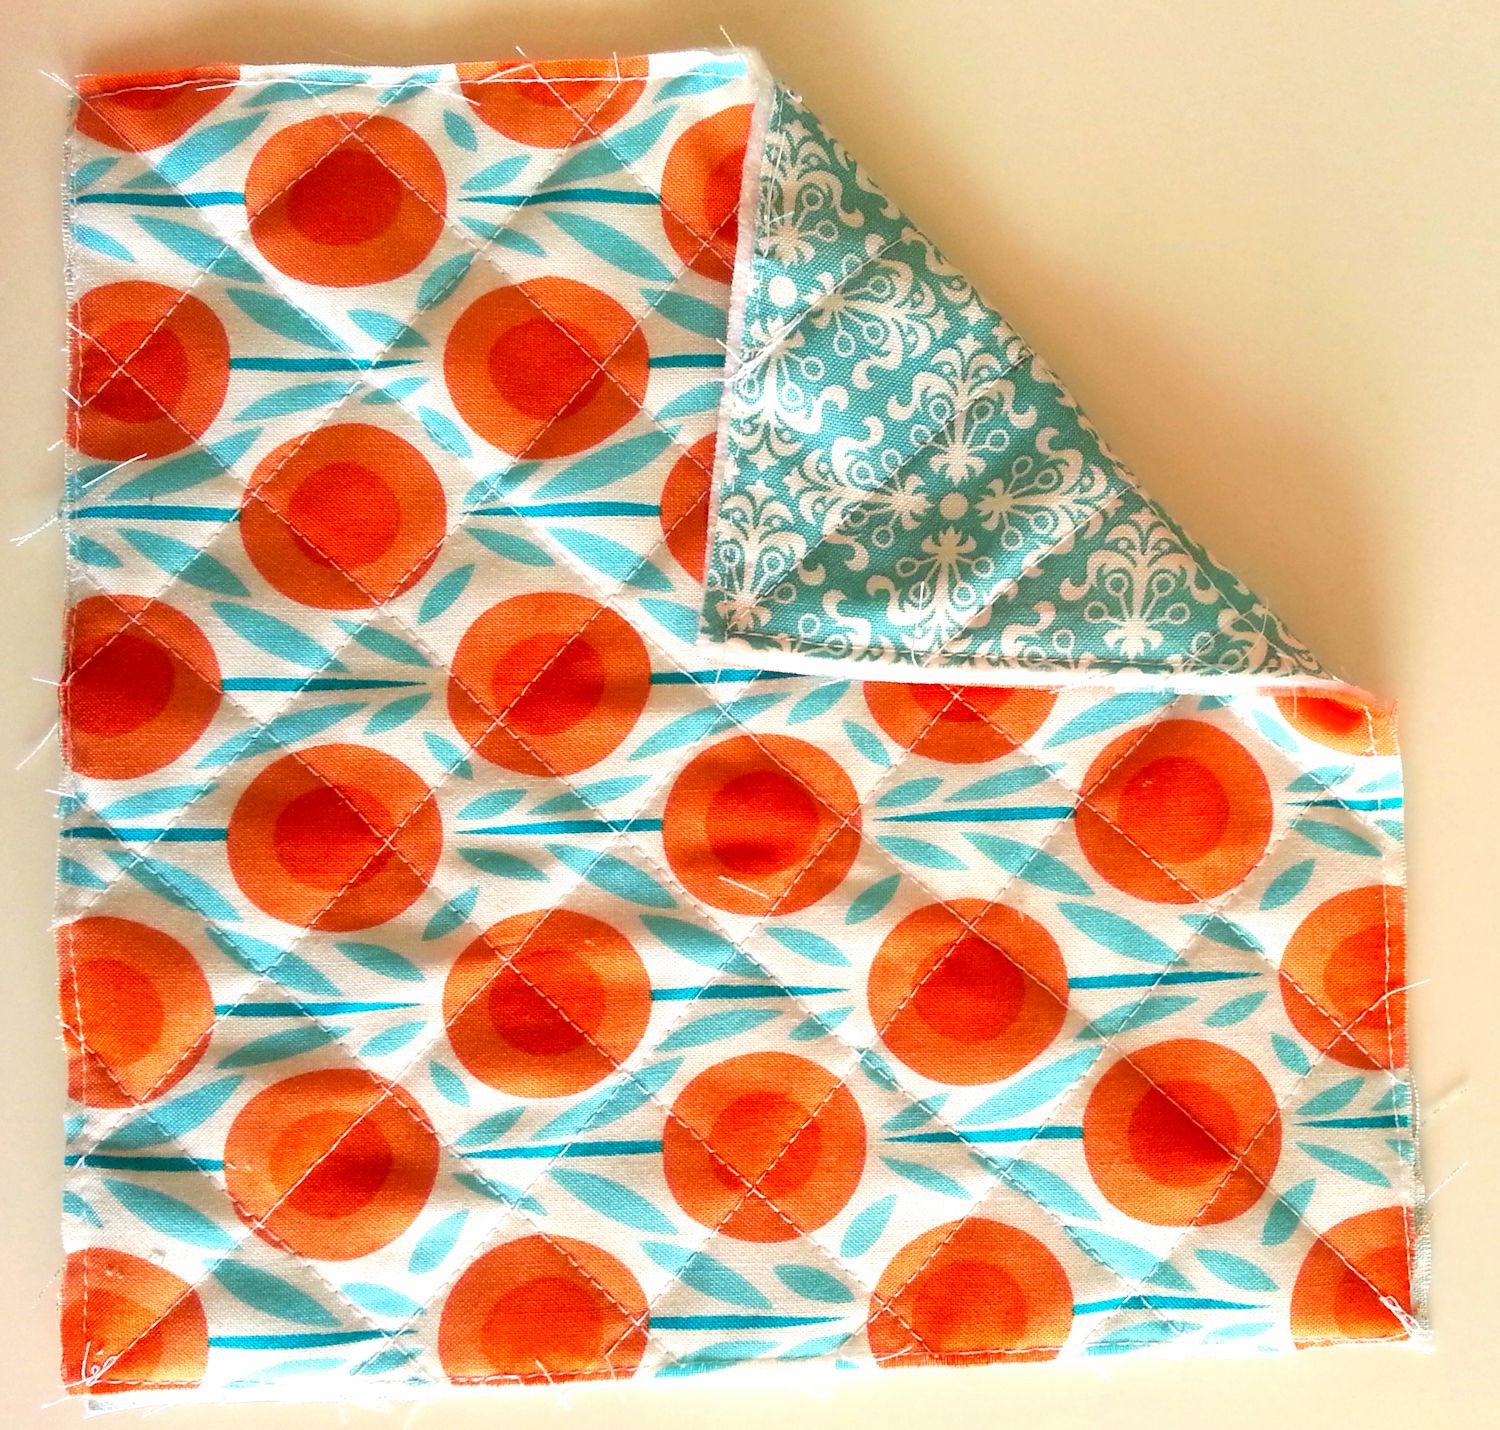
Adorable doll quilt or quilt block. Prairie girl enjoying her garden along with her dog.