Tea Cozy

DIY Projects -> sewing -> kitchen
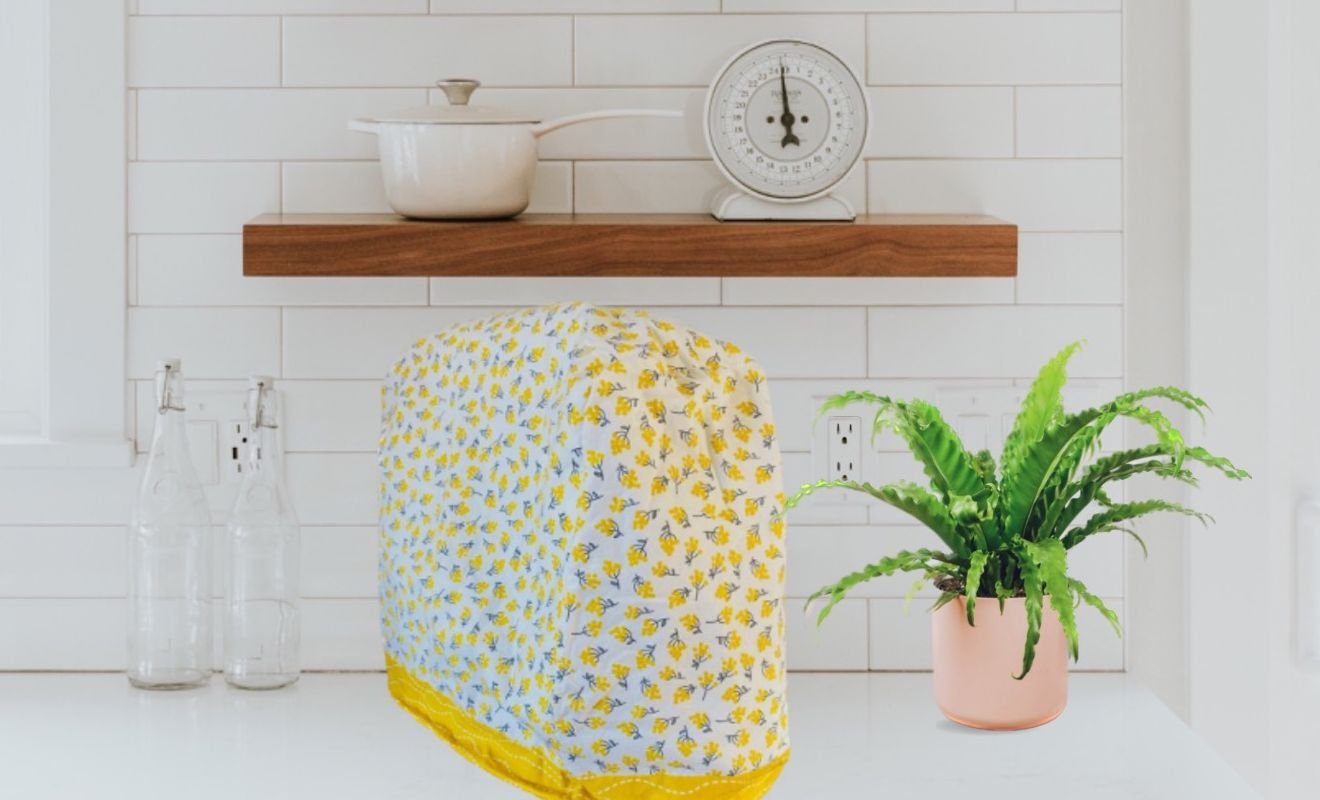
Our cozy covers a 6-cup teapot
This pattern comes from our former site, CraftAndFabricLinks. Same owners - new site.
Disclosure: This site contains affiliate links. As an Amazon Associate, I earn from qualifying purchases. Clicking on links, and purchasing products, may result in the seller paying us compensation - at no extra cost to you. Affiliate links are in green.
Great “beginner” sewing project. Practice straight stitching.
Also see:
Follow Our Adventures
Easy Sewing Patterns
Remodel Projects
Holiday Projects
Properly Served Tea
Properly served tea is not a tea bag dipped into hot water that has been zapped in the microwave. Yes, that is my usual method. However, I have a friend who moved to the US from England and she knows the difference!
To create that perfect cup of tea, heat the tea water, add it to your warmed porcelain pot (warmed by running warm water through it), and then add loose tea to the pot. Let it set until the flavor strength is to your taste. Pour tea into cups that are covered with a strainer.
Keep your tea hot with your beautiful new tea cozy.
Tea Cozy Size
This pattern will make a tea cozy that covers a 6 cup pot of tea.
Insulation Fabric
This project uses Insul-Bright. It is a fabulous insulation material that keeps heat or cold out. It also keeps hot things hot or cold things cold. I use this material when making oven mitts. See the Amazon links at the end of this article.
Cutting Tools
I recommend using a Rotary Cutter, Cutting Mat, and Sewing Ruler. I use these tools for most projects. They allow for easy, precise cutting. See Amazon links at the end of this article.
Supplies
Fabric
One 9.5" x 19" piece of outer fabric
One 9.5" x 19" lining fabric
Other
Two pieces Insul-Bright*, each measuring 5" x 9.5"
*(or cotton batting, if you are not using Insul-Bright)
1 yard 1/4" ribbon
Sewing Supplies
thread
sewing scissors
quilting pins
large sewing ruler
fabric marking pencils
seam ripper
rotary cutter and mat (optional but nice)
PRE-WASH, DRY, & PRESS ALL FABRIC BEFORE USING
DIRECTIONS
NOTE: All seams 1/4"
1. Cut Fabric Pieces / Press Under Ends
Cut 19" x 9.5" lining
Cut 19" x 9.5" outer fabric
Cut two pieces 5" x 9.5" Insul-Bright insulation
Cut 1 yard of 1/4" ribbon
Iron under 1/4" on each short end of lining and outer fabric.
2. Mark Fabric

On the right side of the lining, draw two dots 2" from the edge of one short end, so that the dots are 2" from the short end and right next to the side edges. Draw two more dots 1/2" from the first set of dots. Repeat on the opposite short end. You will now have 4 dots on each short end.
Draw a line across the center.
Turn piece to wrong side. Repeat all markings. Place Insul-Bright so that top edge is 1/4" from center line. Baste along sides, close to edge. Repeat on other side of center line.
If you are using batting instead of Insul-Bright, skip the part on adding the Insul-Bright. You will add batting at a later step.
3. Stitch Outer Fabric To Lining
Pin outer fabric and lining right sides together.

Stitch along two long sides, leaving casing areas (area between dots) open. Blue lines on right represent stitch areas. Use 1/4" seam.
DO NOT STITCH BETWEEN DOTS
4. Gather Center
TURN RIGHT SIDE OUT
With the piece right side out, draw a line 1/4" on each side of the center line. Using a long basting stitch, stitch 2 gathering lines, using your drawn lines as a guide. Leave long tails on your thread.
Photo: stitched line is shown in red.

Pull on the upper threads of one end with one hand, while adjusting gathers with the other end. Pull until wide at center equals 4.25". NOTE: tie off ends of thread to hold gathers in place.
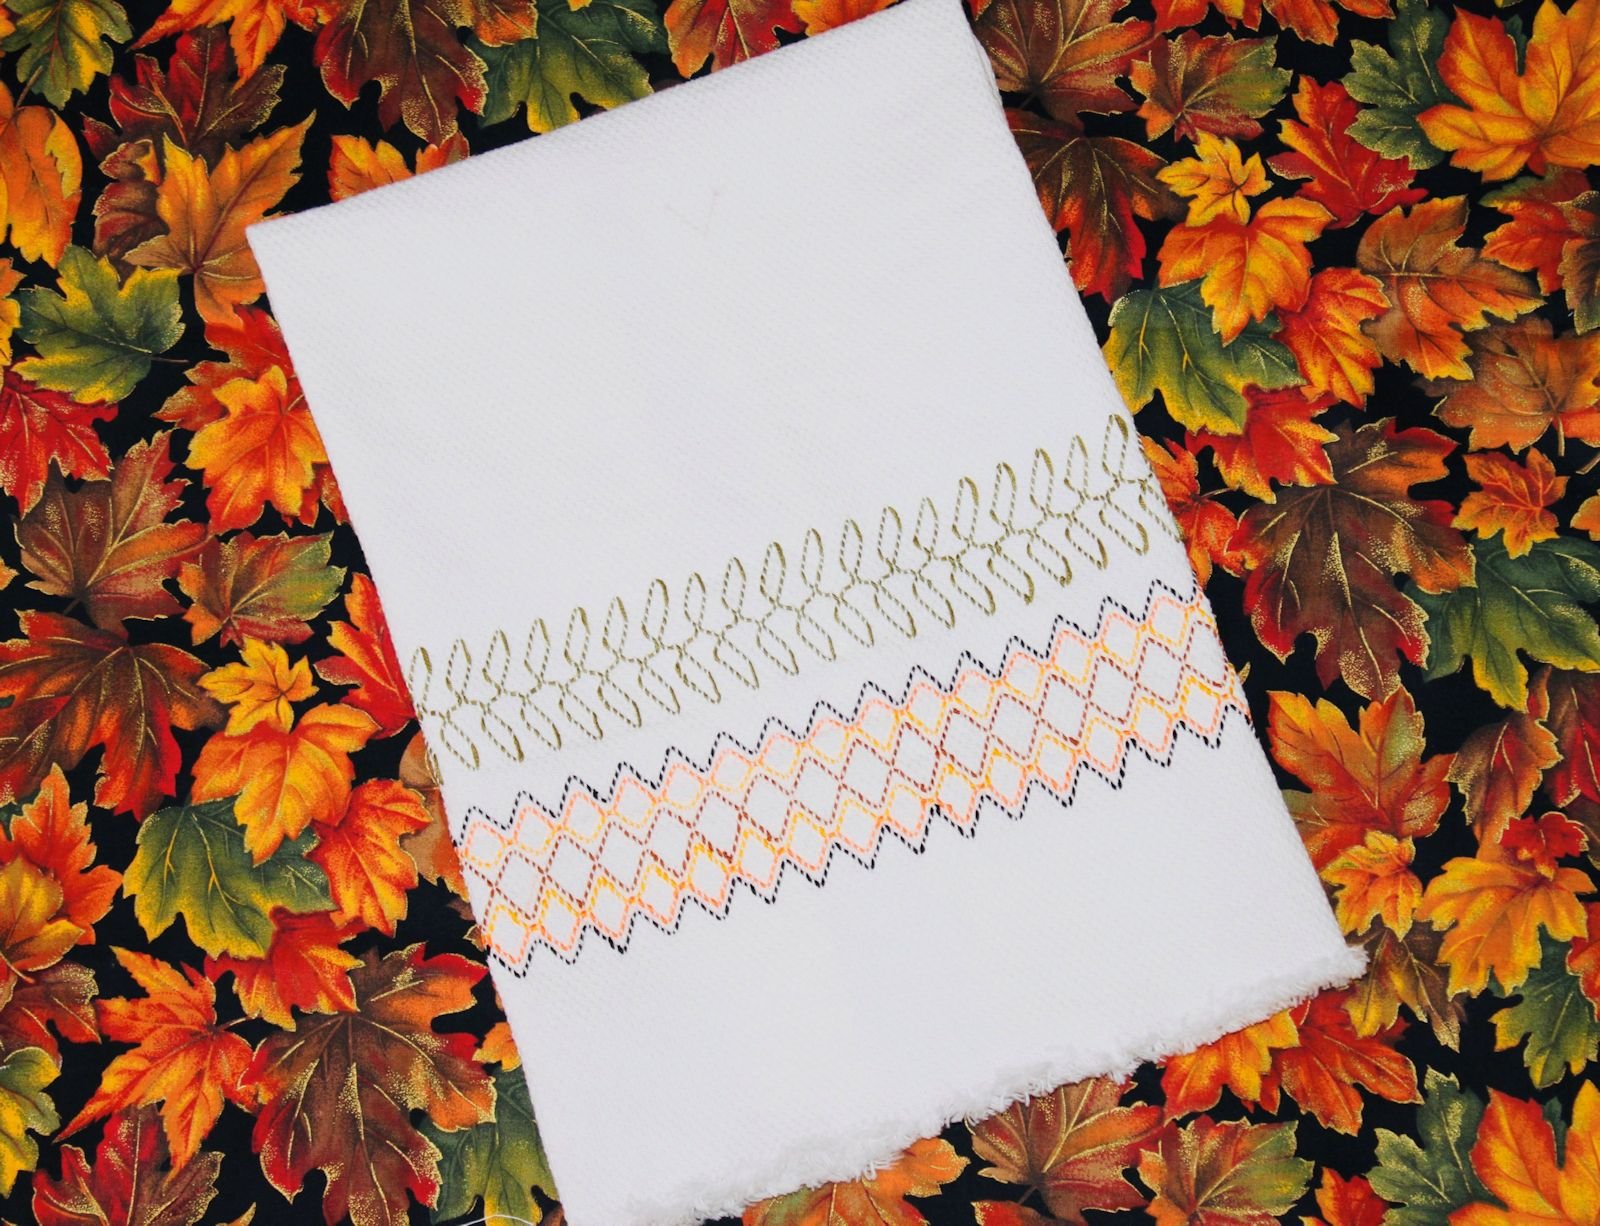
The following photograph shows a single layer of fabric that is gathered. This is an example of gathering.

5. Stitch Center Line
Properly served tea is not a tea bag dipped into hot water that has been zapped in the microwave. To create that perfect cup of tea, heat the tea water, add it to your warmed porcelain pot (warmed by running warm water through it), and then add loose tea to the pot. Let it set until the flavor strength is to your taste. Pour tea into cups that are covered with a strainer. Keep your tea hot with your beautiful new tea cozy.
For viewing purposes, center stitched line is shown in red and gather lines have been enhanced.

6. Stitch Casings / Ends
Turn under each open end 1/4" to create a hem. Press sides and open ends.

For those using batting: Stuff batting into each side; do not stuff past your casing areas.
Stitch two open ends closed, stitching very close to edge.
Stitch two lines for casings on each end of the piece, using the dots on the lining side as a guide. Your casing lines should be on each side of the holes you left open in step 3.
Stitch lines are shown in white.
7. Stitch Sides

Fold the tea cozy so that it is wrong side out (lining is on outside). Make a mark 2" from the base. Stitch from base to mark, close to the edge. Repeat on the other side.
8. Run Ribbon Through
Using a safety pin on one end, run the ribbon through one end of your cozy (through one casing) and then on around through the other casing. Insert tea pot, handle first; tie ribbon in front.

Finished Pot
When tested, our cozy lost only 10 degrees in over 30 minutes, and the water was still warm a couple of hours later.

Kitchen Projects


Lifestyle Blog


Table trivet - fast crochet with bulky yarn.