Appliance Cover
DIY Projects -> sewing -> kitchen
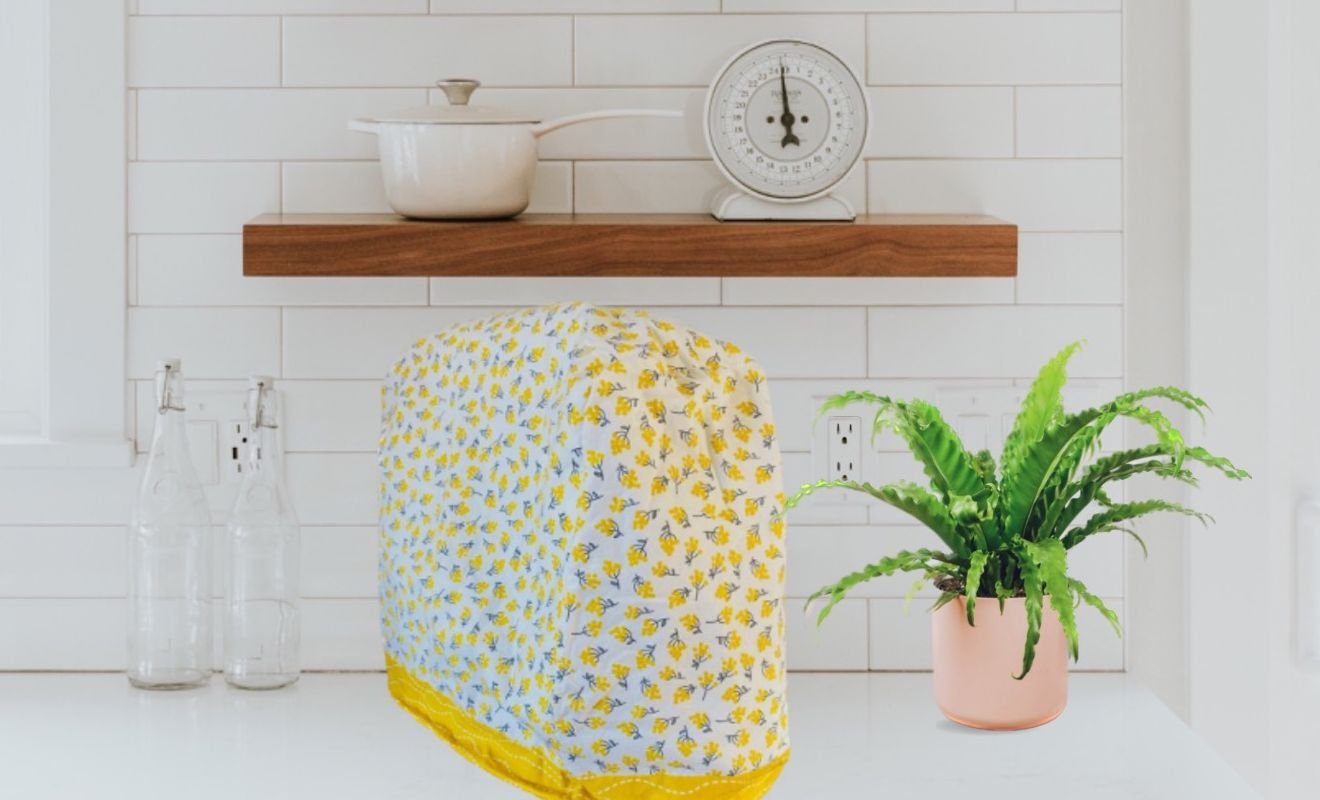
Kitchenaid Mixer Cover
I created this pattern for my mixer, but it can be modified in size and shape to fit any appliance.
This pattern comes from our former site, CraftAndFabricLinks. Same owners - new site.
Disclosure: This site contains affiliate links. As an Amazon Associate, I earn from qualifying purchases. Clicking on links, and purchasing products, may result in the seller paying us compensation - at no extra cost to you. Affiliate links are in green.
Also see:
Articles & Tips
Easy Sewing Patterns
Kitchen Patterns
Crafts & Decor
Kitchenaid Mixer / Small Appliance Cover
Follow the instructions for any mixer or appliance by modifying the shape or size of the pattern - then follow the instructions below. Change size to make a cover for a toaster, electric mixer, crock pot, blender, etc.
Appliance Cover Variations
Size
This pattern was designed for a Kitchenaid electric mixer. Measurements can be adjusted to fit your mixer, blender, toaster, or other kitchen appliance.
16" tall x 16" deep x 12" wide
From the lower edge of one side, up over the top, and down to the edge on the opposite side, the measurement is 38".
Change dimensions as needed for other appliances.
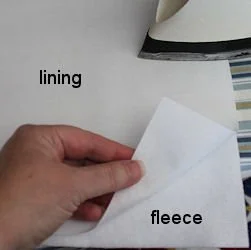
The cover is made in three layers: lining, batting (I use fusible fleece) and outer fabric layer. It uses just two pattern pieces: one for the two ends and one for the sides/top.
Finished Lower Edge - Add 2” Border
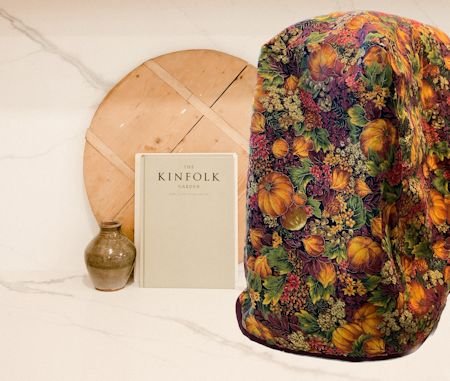
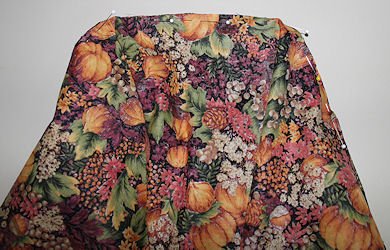
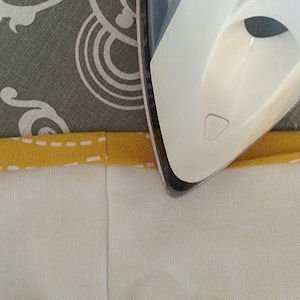
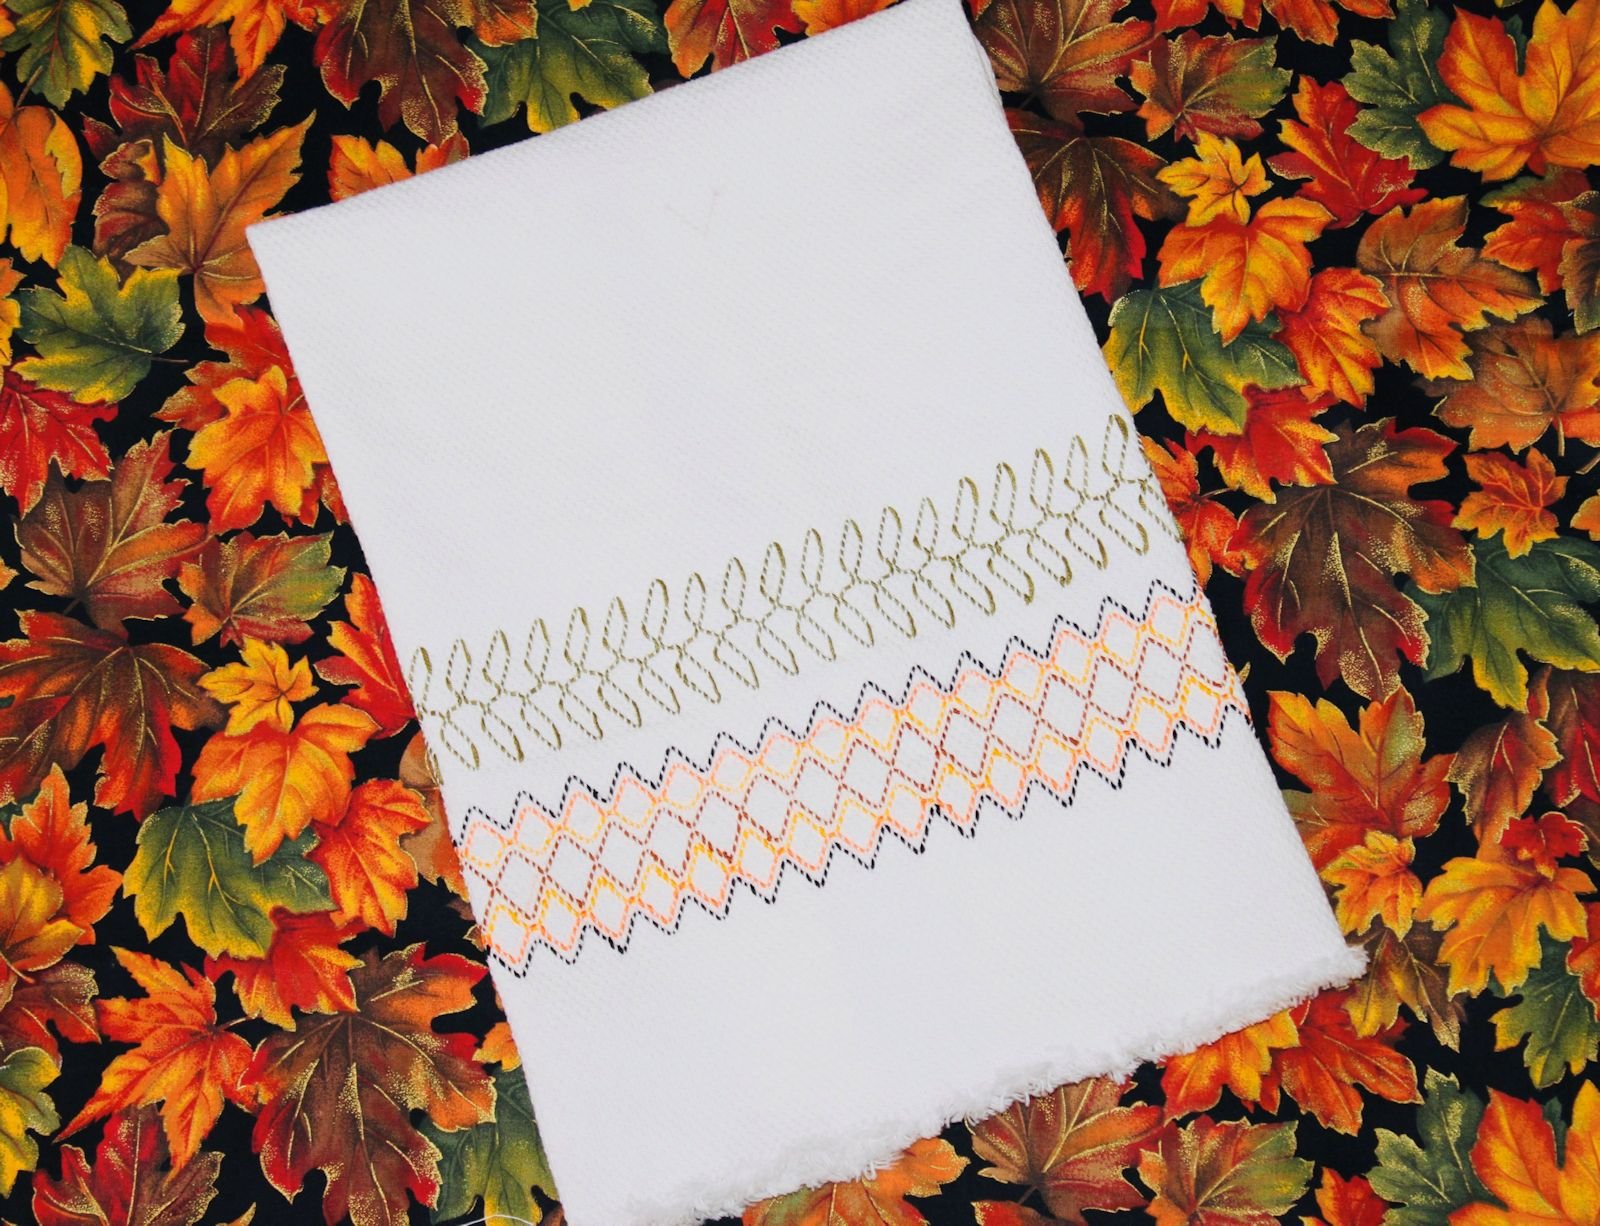
The photo at the top of this page shows a cover I made with a 2" border. The border can be omitted. I will include instructions for adding a border. Without the border, your cover will look look like the one shown below, in the fall leaf print. I like to use different fabrics for different seasons.
Finished Lower Edge -Add Seam Binding
The following photo, with the fall holiday print, shows the lower edge finished with seam binding.
Padded Sides
This project uses Fusible Fleece. It is a fabulous material for adding soft body & padding. I use this material when making many of my projects.
General Sewing Supplies
thread to match lace (or trim)
sewing scissors
quilting pins
large sewing ruler
fabric marking pencils
seam ripper
rotary cutter and mat (optional but nice - I use for all of my sewing projects)
SUPPLIES
Fabric
I will refer to the fabric used in this project. Substitute for your fabric. Assumes fabric is at least 40" wide.
Outer fabric (use multi-directional print): 1 yard
Fusible Fleece: 1 yard (crafter's felt or batting can be used instead - also assume 40" wide)
Lining: 1 yard of 40" lining fabric
Bias binding (optional - for lower edge): 2 yards of 1/4" or 1/2" binding
NOTE: Use double sided pre-quilted fabric, which combines the outer layer, batting, and inside layer into one. Purchase ready made or make your own.
To learn how to make your own double sided, pre-quilted fabric go to: DIY Pre-Quilted Fabric
Pattern Pieces
You might need to modify the measurements of the sides, top and front to fit the dimensions of your mixer.
Click the following links to save the pattern to your computer. Open them on your computer and then print. I have found that if I print directly from the browser, the pattern sometimes prints to an incorrect size. I provide a dimension on one pattern piece so you can check size.
NOTE: The patterns contain the name “CraftAndFabricLinks.com.” That is our previous site. Same owners - new site now at SpruceAndFjell.com.
INSTRUCTIONS
All seams are 1/4”
1. Create Pattern Pieces / Cut Fabric
INSTRUCTIONS IF NO BORDER AT LOWER EDGE
Front/Back Piece
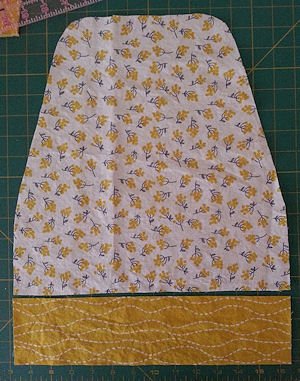
For the front and back, print the pattern pieces above and cut them out along the solid lines. Overlay them as shown on the right by placing the dashed lines of B directly over the dashed lines of A. Tape pattern pieces A an B together. Do the same with D and C. Then tape A-B to C-D. The dot in the corner of each piece should all lay one on top of the other. This creates the pattern piece you will use to cut out the front and back.


Cut Out Fabric
Sides/ Top: Open up the fabric. Cut across the fabric (selvage to selvage) to cut one piece measuring 38" x 16.5". Do this for the outer fabric, batting and lining. This will be the piece that creates the two sides and top.
Front/Back: Use the pattern piece you created (pattern piece A-B-C-D) to cut two pieces (one for front and one for back) from the outer fabric, batting and lining. In the image below, I folded the fabric so that I had two layers to cut through. That way, I had two pieces - the front and the back.

INSTRUCTIONS IF ADDING 2” BORDER WITH HEM
Follow step 1 above for creating the pattern pieces. Use those pattern pieces as is for the fleece and lining fabric. Cut the main fleece and lining for the main piece 16.5" x 38" just as you would for a cover without a border.
Here is the change:
FOR THE OUTER FABRIC, cut the main piece 34.5" x 16.5". Fold under the lower edge of the end pattern piece 1.75". Cut two border strips, each 3.25" x 16.5". Cut two border strips, each 3.25" x 13.25"
Stitch the longer strips to each end of the main cover piece. Stitch the shorter strips to the lower edge of each end piece.
Your main cover piece should measure 40" The end pieces should extend 1" over the lower edge of the end pattern piece. This allows for a hem when the piece is finished (a total of 1" will be turned under all the way around)
2. Stitch Ends To Sides And Top
Top / Sides / End
Pin, right sides together, the long side-top piece to one end. Start by centering one edge of the long piece and aligning it with the top center of the end piece. Gently ease around the curves of the top of the end piece.


Stitch the end to the side/top piece. Your outer shell is now complete.
Iron the fusible fleece pieces to the wrong side of the lining pieces. If you are not using fusible fleece, baste batting pieces to the wrong side of the lining.
NOTE: The fusible fleece holds the fleece to the lining, but it is not a strong bond. I fuse it, then machine baste around the edges.
Pin and stitch the lining pieces (with fleece or batting attached) together the same way you constructed the outer shell.
3. Assemble Layers
1. Turn the outside layer right side out.
2. Turn the lining layer inside out and insert it up into the mixer cover. In other words, the wrong side of the lining will face the wrong side of the outer layer. This way, your cover will finished nicely inside and out.

Use hand quilting or machine quilting in several places to hold the three layers together OR use a small stitch to tack the layers together in the corners. I did this on one cover and omitted this step on my other covers. Follow your own preference.

4. Finish Lower Edge
Binding
Add seam binding to the lower edge.
Border
The outer layer will extend over the lining by 1". Turn the outer layer under 1/2". Press. Fold under another 1/2". Press. Place the lower edge of the lining inside the hem of the outer piece. You will now have a 1/2" hem. Hand or machine stitch the hem into place.
Kitchen Projects


Organizing


Table trivet - fast crochet with bulky yarn.