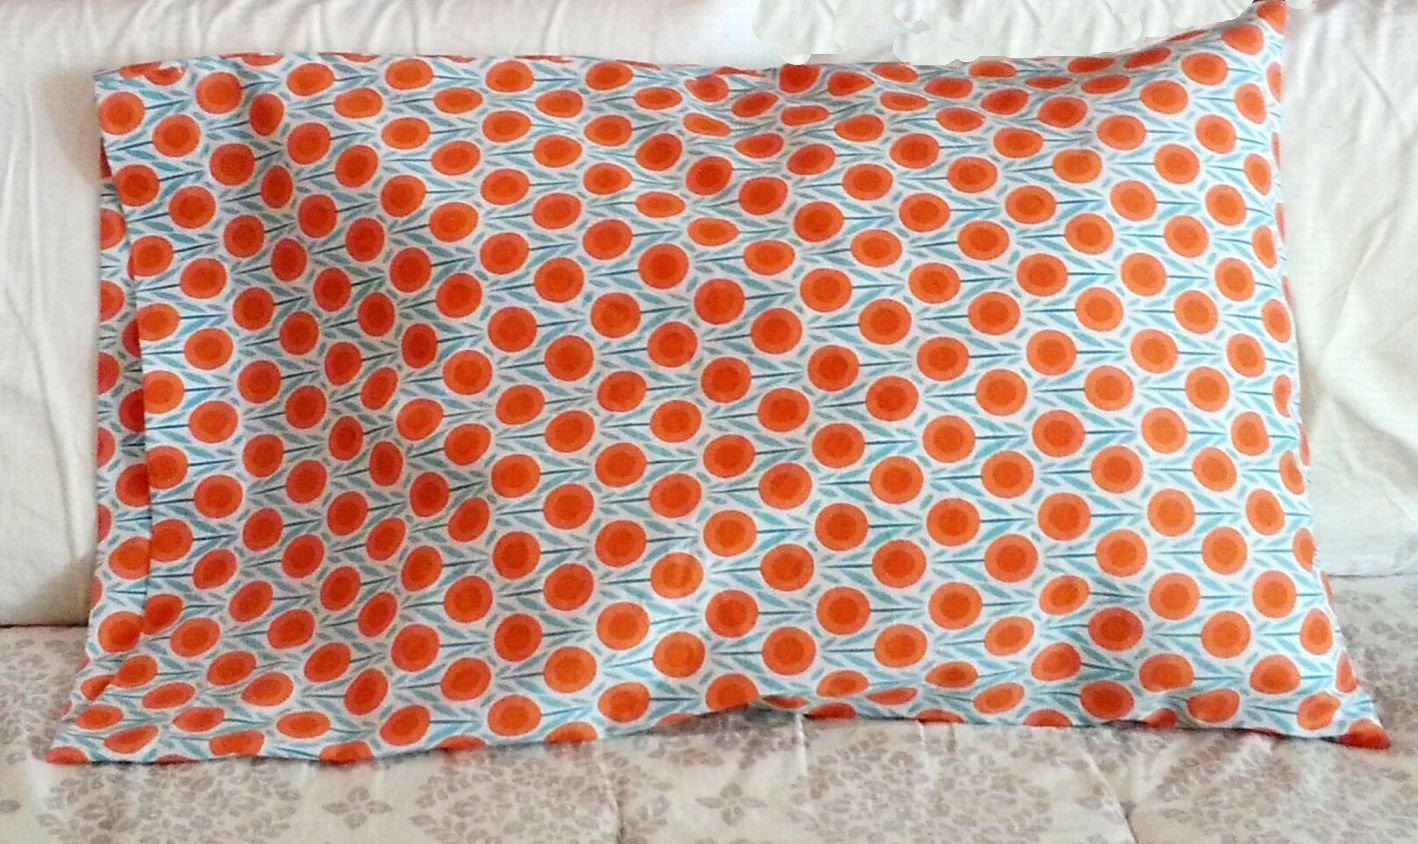
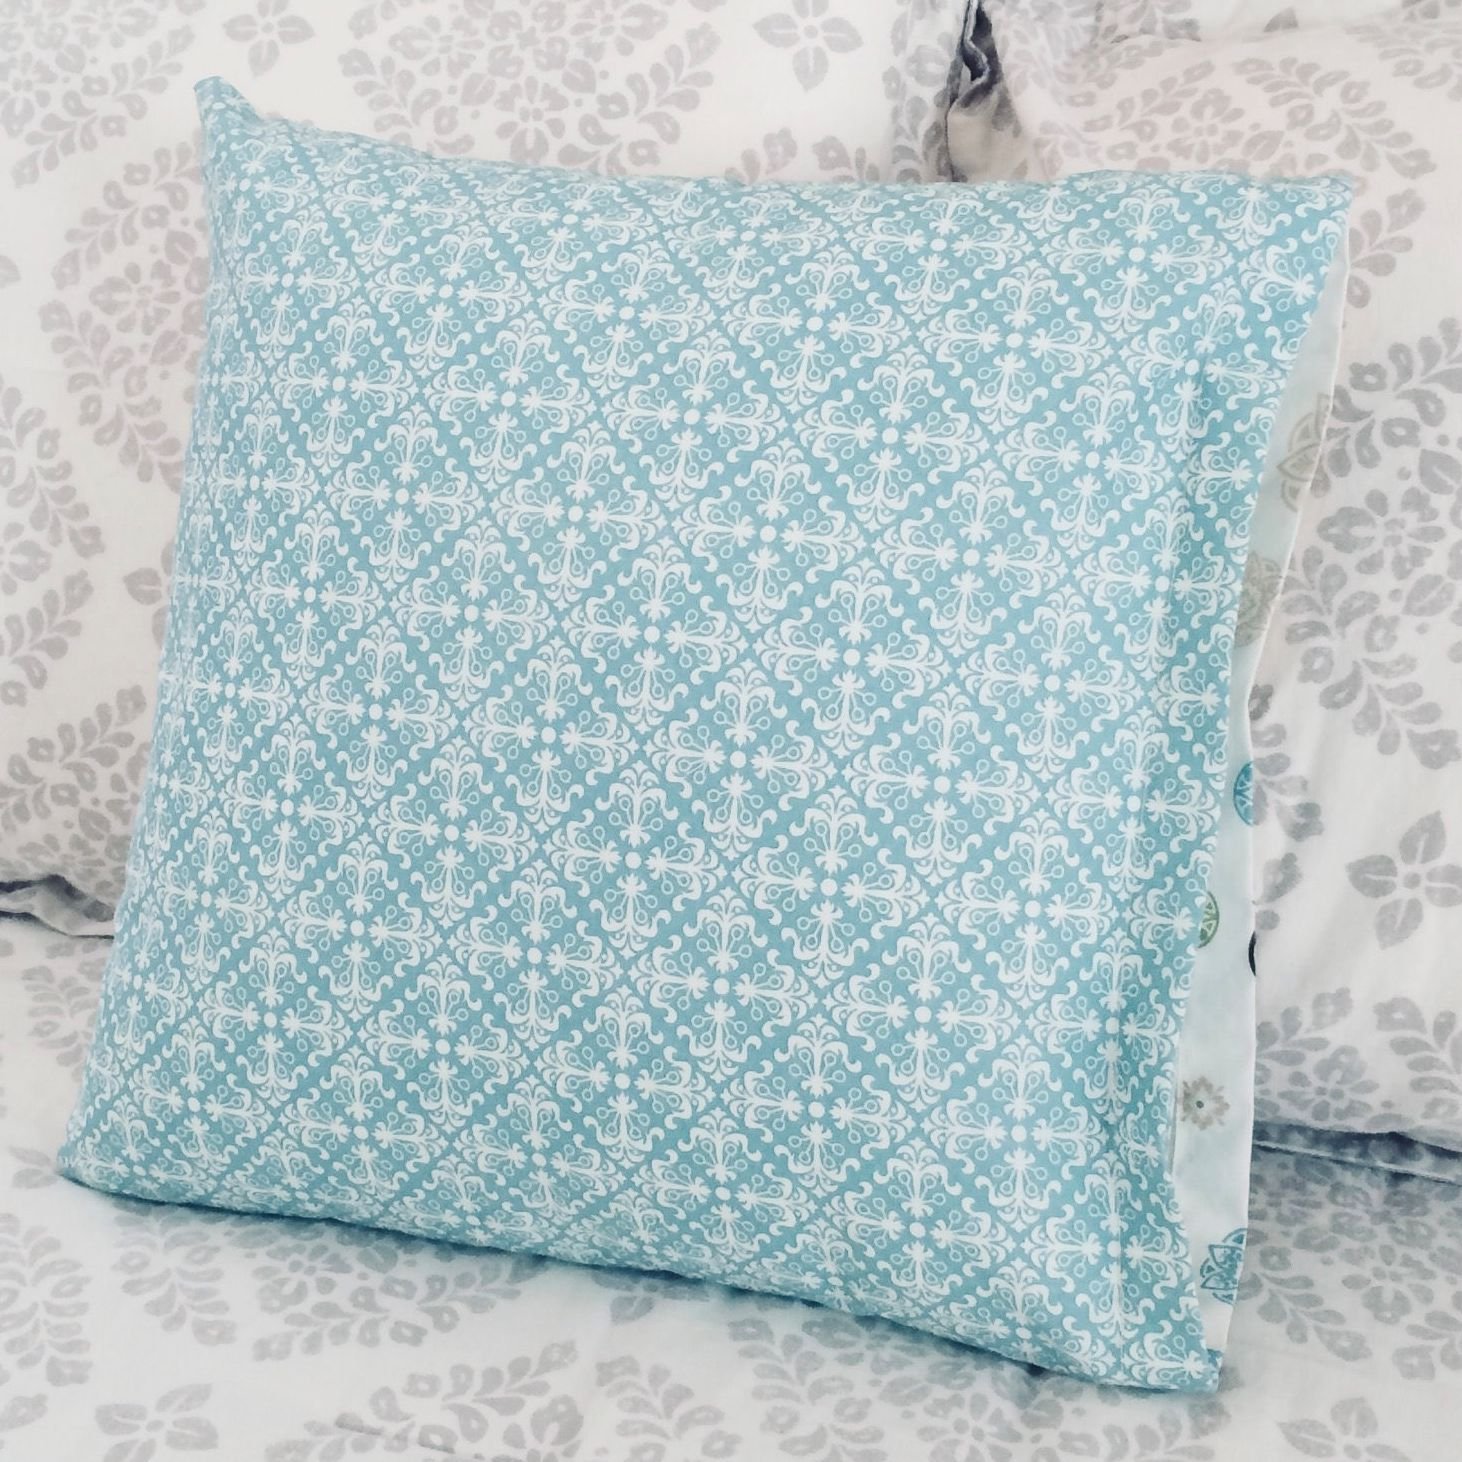
Pillowcase With Cuff

DIY Projects -> sewing -> pillows
With contrast cuff (hem area)
Learn how to easily attach a contrast cuff to a pillowcase.
This pattern comes from our former site, CraftAndFabricLinks. Same owners - new site.
Disclosure: This site contains affiliate links. As an Amazon Associate, I earn from qualifying purchases. Clicking on links, and purchasing products, may result in the seller paying us compensation - at no extra cost to you. Affiliate links are in green.
Also see:
Lifestyle Blog
Easy Sewing Patterns
Crafts
Pillow & Pillowcase Patterns
Pillowcase With Attached Cuff (contrast hem)
I will teach you how to make a pillowcase & cuff correctly. This means the attached hem (cuff) is nicely finished - inside too. Less expensive, store-bought pillowcases, have seam allowances that can be inside the pillowcase on the hem.
This is a fabulous method for attaching a cuff. For this project, I refer to the contrast hem piece as a cuff. That's basically what it is. This is the same method that I use when attaching a contrast cuff to a pajama pant leg. Don't miss my Pajama Series.
If you are not familiar with basic construction, refer to my easy, beginner Pillowcase Pattern. I provide dimensions for standard, queen and king.
Finished Pillowcase Sizes
Standard Case: 21" x 32"
Queen case: 21" x 36"
King Case: 21" x 42"
These will cover pillows nicely, with plenty of room. We are assuming the following pillow measurements:
Standard: 20" x 26"; Queen: 20" x 30"; King: 20" x 36"
Pillowcase Size vs Pillow Size
The finished pillowcase is 1" wider than the pillow. This gives a bit of room around the pillow, allowing for easier insertion of the pillow into the pillowcase.
For the length of the pillowcase, I add 10" to the length of the pillow. This allows for a nice, 3.5" hem.
If your pillows are not the size of those we listed above, simply do the following to create your pattern:
Width: measure the width of the pillow multiply by 2, then add 2.5"
Length: measure the length of the pillow and add 10"
Example: for a pillow that measures a bit wider, at 21" x 30", cut the pattern piece to be 44.5" x 40"
If you prefer a pattern piece that will be placed on the fold of the fabric, cut the pattern half as wide (22.25" x 40" for this example).
SUPPLIES - project supplies
CUTTING TOOLS
I recommend using a Rotary Cutter, Cutting Mat and Sewing Ruler . I use these tools for most sewing projects. They allow for easy, precise cutting.
FABRIC
Ribbon, lace or other trim.
FABRIC
The following amounts are needed for ONE STANDARD PILLOWCASE. Adjust the amounts for queen and king. For example, for a standard case, I know that the finished length will be 32". My finished cuff will be 3". Therefore, the length of my main piece must be 29" (29 + 3 = 32). Allowing for seam allowance, I add 1/2" to the length of the main piece, and to the width of the cuff. Follow this example for queen and king cases.
Standard Pillowcase
Main Piece: 29.5" x 42.5"
Contrast Piece: 6.5" x 42.5"
BUY EXTRA & PREWASH FABRIC: You will need the full amounts, so buy a bit extra fabric. Wash and dry the fabric before use.
Thread (to match background)
Sewing Supplies: scissors, quilting pins, large sewing ruler, fabric marking pencils, seam ripper
hint: quilting pins are easier to use than regular pins; a tupperware box works well as a supply box.
NOTE: If you do not have wide enough fabric to fold into a pillowcase, you can use two pieces of fabric. Each piece should be 21.5" wide.
SUPPLIES - general sewing supplies
Check Amazon for prices. Affiliate links are green. Qualifying purchases may help support our site.
rotary cutter and cutting mat makes cutting straight lines a snap
large clear sewing ruler I can't say enough about large rulers – I use them in my home remodeling and art projects as well
straight quilting pins (optional) quilting pins are larger than regular pins, so are easier to see
spring action fabric scissors regular and micro tip – I use both; the spring action is a huge assistance when doing a lot of cutting
thread most of my thread is on large serger cones – very economical
I always have a roll of butcher paper on hand for pattern making. It is economical and easy to use.
Thread (to match background)
Ribbon or lace, etc. for trim
Sewing Supplies: scissors, quilting pins, large sewing ruler, fabric marking pencils, seam ripper
hint: quilting pins are easier to use than regular pins; a tupperware box works well as a supply box.
Note: all seams are 1/4 inch. Always iron between steps.
DIRECTIONS
Note: all seams are 1/4 inch. Always iron between steps.
Stitch Pillowcase Side & End

Fold the main pillowcase fabric right sides together, lenghwise. Pin along the long side and one short end. Stitch, using a 1/4" seam allowance.
The following photo shows my pillowcase after stitching. I enhanced the stitch lines for clarity.
I used my serger sewing machine.
Create Cuff (contrast hem area)

Make it stand out
Turn the pillowcase right side out. Press. Lay the folded cuff right side up. Fold the left side of the cuff over the right side. Lay the folded cuff (now wrong side out) next to the open end of the pillowcase (still right side out).
Place a pin where the seam of the cuff needs to be, so the width of the cuff exactly matches the width of the pillowcase. If you have stitched and cut the pieces accurately, the cuff and main case should be the same width, but I double check before I stitch the cuff.
Stitch the two short ends of the cuff together, right sides together. Press.
NOTE: The pillowcase body is right side out. The cuff is wrong side out.
Press Hem Of Cuff
Turn under one long edge of the cuff 1/4". Press.
Stitch Cuff To Pillowcase
The pillowcase is still right side out. Turn the cuff right side out and place it inside the pillowcase, aligning the seam of the cuff with the seam of the pillowcase. Pin into place. Stitch all the way around the edge where the pillowcase is aligned with the cuff, using 1/4" seam allowance.

Pull the cuff to the outside. Press the seam allowance toward the cuff. The main pillowcase is right side out, but the cuff is inside out and the seam is on the outside of the case.
Finish The Cuff

Fold the cuff up over the seam allowance, covering the seam allowance. Pin in place all the way around the pillowcase. The edge of the cuff should just cover the seam allowance. Stitch the edge of the cuff to the pillowcase, stitching close to the edge of the cuff. Use a topstitch (topstitch is slightly longer than a regular stitch).
Quality
Your pillowcase is now finished nicely inside the cuff, meaning there is no seam allowance showing inside the cuff.
Enjoy Your New Pillowcase

The nice thing about this pattern is you can use scrap pieces of fabric. It is quite easy to do, and dresses up a pillowcase.

Custom PJ’s
I made myself a pair of comfy pajamas that are color coordinated with another new pillowcase that I made. I used the same method for attaching the cuff to the pants as I used for this pillowcase project. Try it! Don't miss our pajama pants series! Learn how to draft a pattern that fits, sew the pajamas, and add a cuff.
Pillow Patterns


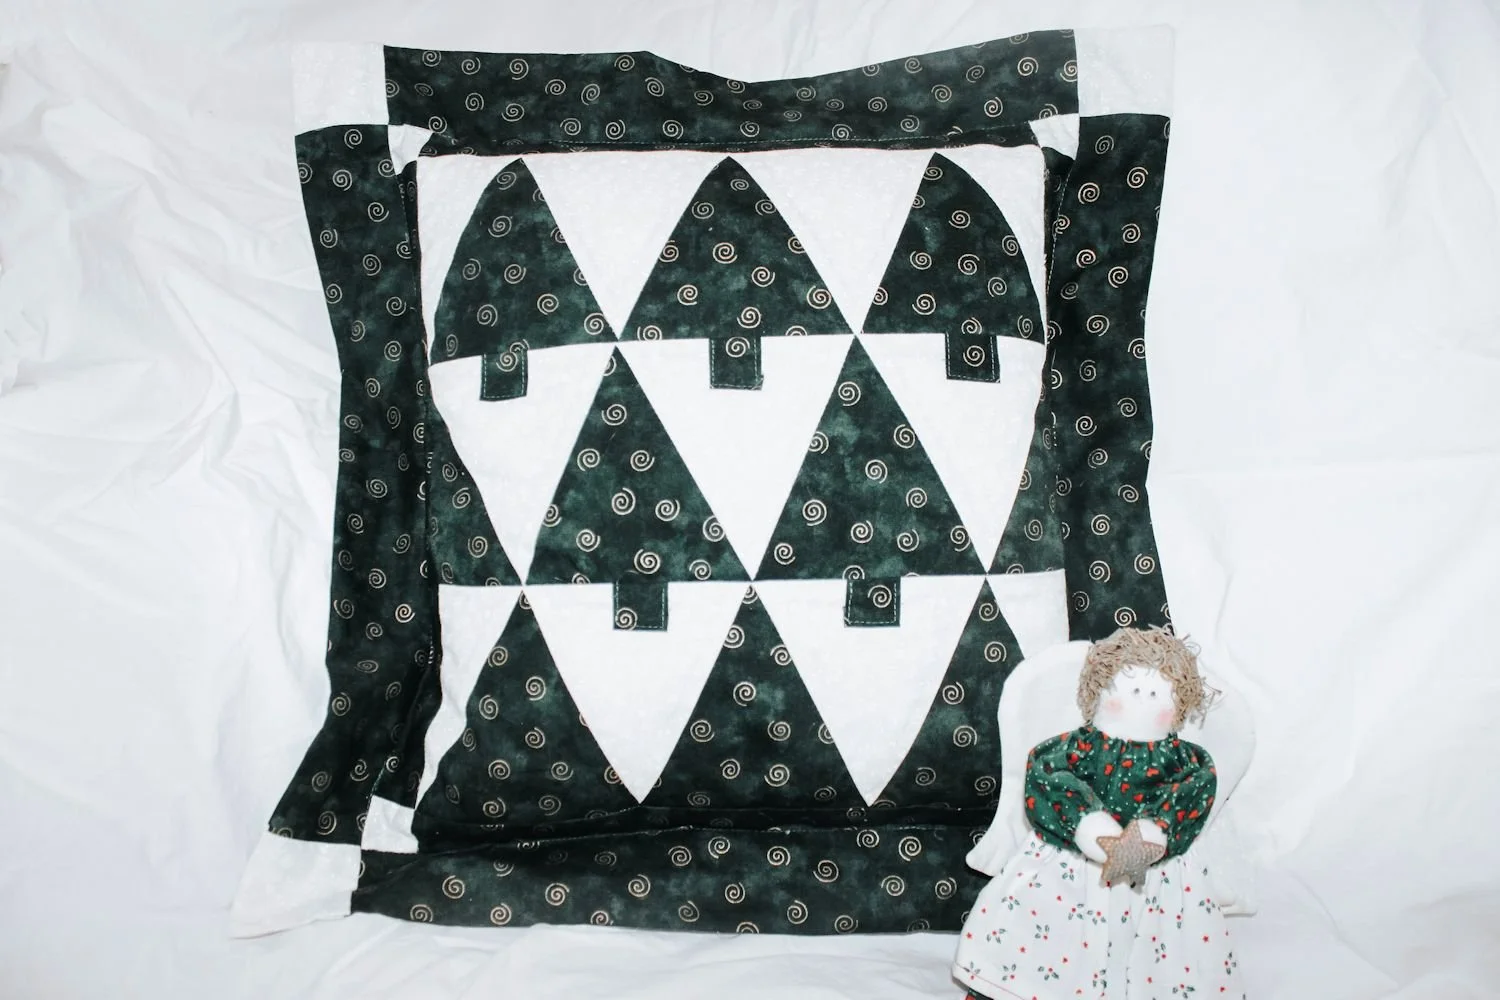
Quilt Patterns


Inspiration From Spruce And Fjell


Nicely constructed pillowcase with contrast cuff and piping trim. Cuff is nicely finished on the inside. Free sewing pattern with directions for standard, queen and king.